10
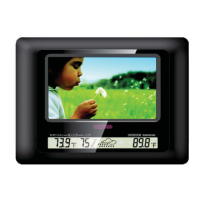
WALL MOUNTING
1. Insert a nail, screw, or hook into the
wall in a location that will support the
frame’s weight.
2. Leave at least ½” (about 12mm) of the
nail or screw exposed.
3. Hang the Wi-Fi Digital Photo Frame
onto the nail, screw, or hook in either
landscape or portrait orientation.
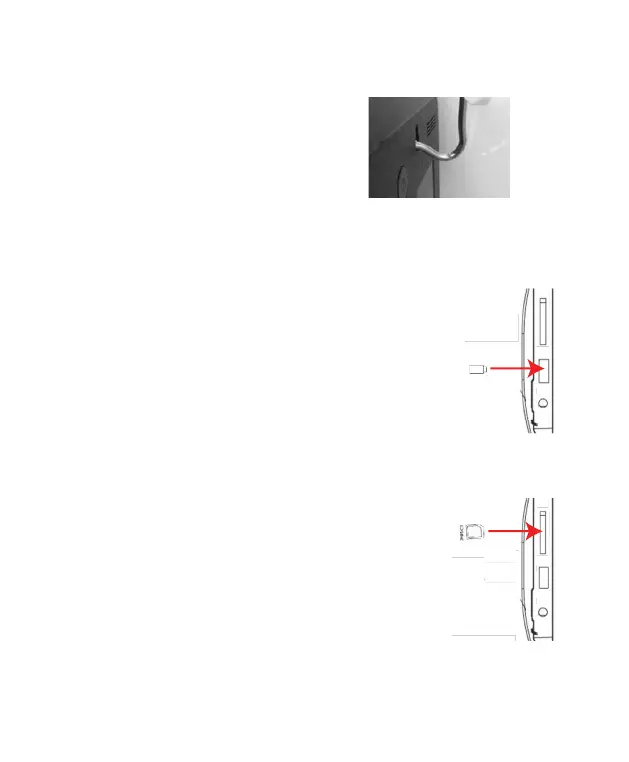
CONNECTING A USB DRIVE
To view photos from a USB flash drive, insert it into the
USB port on the side of the frame.
NOTE:
• Not all USB storage devices are compatible with this
digital photo frame.
• USB drive must be formatted using the FAT32 file
system. Drives formatted as NTFS or exFAT will not be
recognized.
• The maximum USB flash drive size is 64GB
INSERTING A MEMORY CARD
To view the pictures from a Secure Digital (SD), insert
it into the memory card slot on the side of the Digital
Photo Frame with the metal contacts of the card facing
the LCD Display.
Please note that a microSD card requires an adapter
(not included).
 Loading...