Do you have a question about the Polygroup FunSicle Activity Pool and is the answer not in the manual?
Let the liner sit under the sun for at least two hours before assembly for increased flexibility.
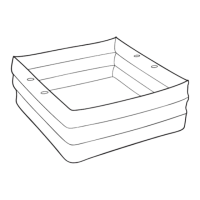
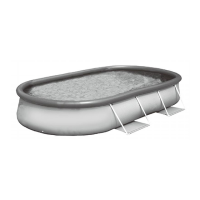
Arrange all pool frame parts on the ground around the liner as instructed.
Insert the horizontal beams into the sleeves of the pool liner.
Securely snap each T-fitting onto the horizontal beams.
Push pins through T-fittings until they snap into place on the lower side.
Slide vertical legs through the liner belt and lock them into T-fitting holds.
Continue connecting the liner to the frame around the entire perimeter.
Pull vertical legs to ensure poles are perpendicular to the ground for straighter walls.
Add about an inch of water with the drain plugged, then smooth out liner wrinkles.
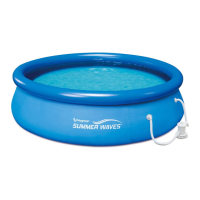
Set up the filtration system according to its specific user guide.
Add more water and consult the main user guide for usage and maintenance.
| Brand | Polygroup |
|---|---|
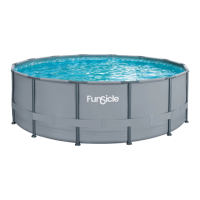
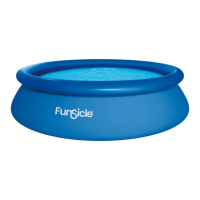
| Model | FunSicle Activity Pool |
| Category | Swimming Pool |
| Language | English |