12
7
. A
PP
L
Y
IN
G
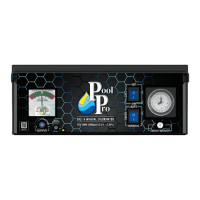
A CHLORINATOR
SK
IN
/F
RONT
S
TIC
K
ER
(CPPS MODEL ONLY)
1. Remove the two Rivet Clips and the Acrylic Cover, and set them aside (see below diagrams).
2. Gently wipe the existing skin/sticker to remove any dust/dirt/oils, ensure it is clean & dry.
3. Do not remove the backing of the new skin/sticker (yet). Sit the new skin/sticker on top of the existing skin/
sticker to gauge how to position the new skin/sticker. Ensure the new skin fits over all the switches, knobs
etc.
4. Remove the backing of the new sticker to reveal the adhesive. Hold the sticker taut (but not over-
stretched) at each end and place it squarely over the top of the existing sticker. Ensure you apply it evenly,
pushing out air bubbles as you go. Tip: Begin placing the bottom edge first to ensure it fits over the knobs and
switches.
5. Rub a soft dry cloth over the new sticker including all edges, ensuring it has properly & fully adhered to
the chlorinator, and ensuring there are no air bubbles.
6. Re-install the Acrylic Cover. Push in the Rivet Clips to secure the Acrylic Cover.
7. Ensure all settings on the chlorinator are correct.
2
1
1
Push the rivet pin so the claws
retract, then slide rivet out.
RIVET CLIPS &
ACRYLIC COVER
EXISTING SKIN/STICKER