10
NOTE: Be sure the length of the mortise has not removed stock
required for the two screws that retain the lock box to the door.
MORTISING A DOOR
After trial cut has been made resulting in a satisfactory fit for the lock box,
the door should be mortised in the following manner.
1. Place door in an upright position and anchor securely. If door is hung,
use wedges under bottom of door to keep it from moving.
2. Place lock box against side of door so that the door knob will be the
desired distance from the floor.
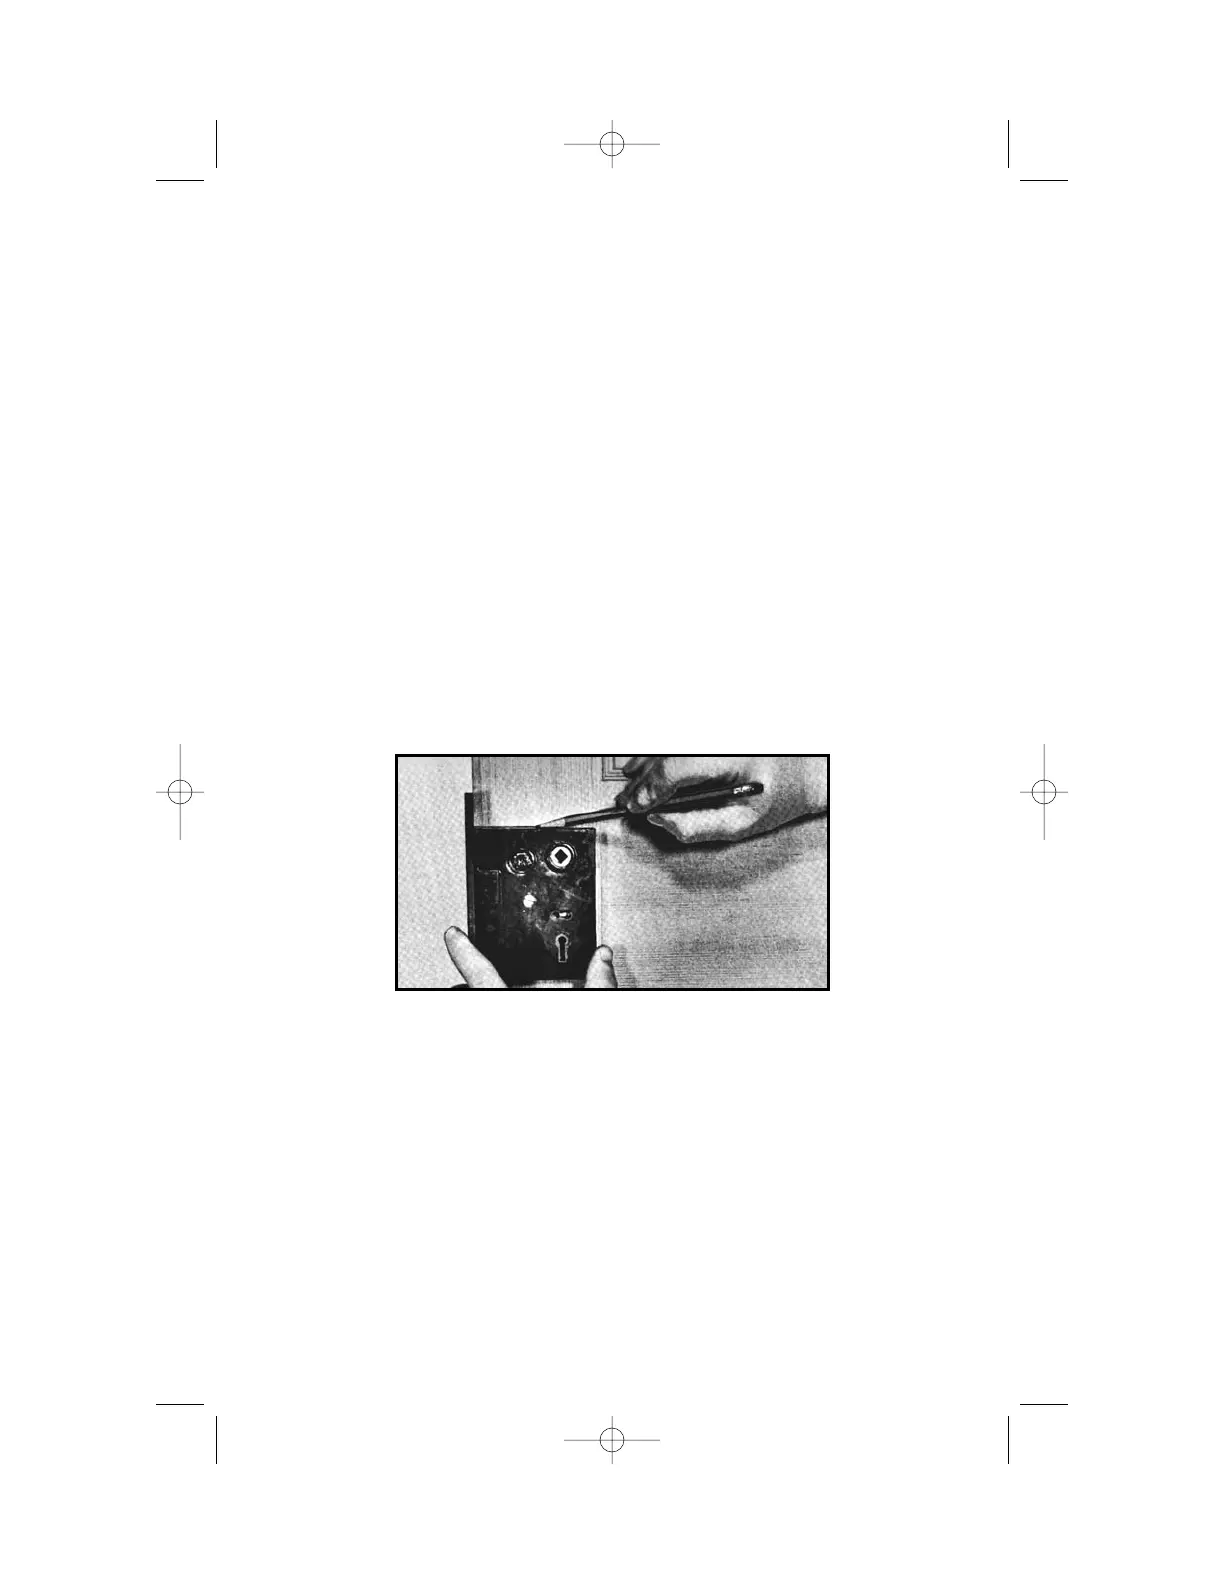
3. Make a mark on the side of the door at the top of the lock box (See
Fig. 10). Transfer this mark to the front edge of the door.
4. Draw a line
3
/8" above this mark across the front edge of the door. This is
required for clearance for the radius of the cutter. NOTE: The actual
clearance may be determined from the lock box and the trial cut in the 2" ×
6". This clearance may be used in place of
3
/8".
CAUTION: Disconnect tool from power source.
5. Turn mortiser crank handle until the bit is in the top most position.
6. Place the mortiser on the door so that the top edge of the bit just
touches the line drawn on edge of the door.
7. Mortise door in the same manner as outlined under MAKING A TRIAL CUT.
PRODUCTION LOCK MORTISING
If you have a number of doors with the locks at the same height, the height
rod attachment (see Fig. 11) will be of great value. After you have determined
the height you want, and have the lock mortiser in position on the first door,
assemble the four rods that compose the height rod attachment. Insert the
rods in the mortiser and place the height rod stop (G) on the top of the rod so
it rests on the top of the door. Lock the height rod screws, (H) Fig. 11A. To
locate the mortiser on the next door, simply place the mortiser on the door
with the height rod stop resting on the top of the door and tighten the
clamps. This will assure having all locks located in the same position.
Fig. 10