9
MAKING TRIAL CUT
After the mortiser (see Fig. 8) has been set up according to the preceding
instructions, it is strongly recommended that a trial cut be made in the
following manner to insure fit of lock box.
1. Clamp a length of 2" × 6", or larger, lumber in vise, or fasten it securely
to a work bench, in an upright position.
CAUTION: Disconnect tool from power source.
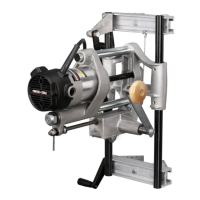
2. Move feed lever (A) to horizontal position (as shown in Fig. 8) and pull
motor carriage (B) to end of guide rod (C).
3. Place the mortiser against edge of the 2" × 6" so that the clamps are
firmly seated and crank (E) is free to revolve completely around. Tighten
clamp handles (D) securely to hold mortiser in position.
4. Move feed lever (A) to vertical position to engage feed mechanism.
CAUTION: Make sure motor switch is in the OFF position.
5. Connect mortiser to power source.
6. Turn motor switch ON and rotate crank (E) until collar (F) hits feed
housing, stopping depth of cut and completing mortise.
7. Turn motor OFF.
CAUTION: Disconnect tool from power source.
8. Move feed lever (A) to
horizontal position to disengage
feed mechanism.
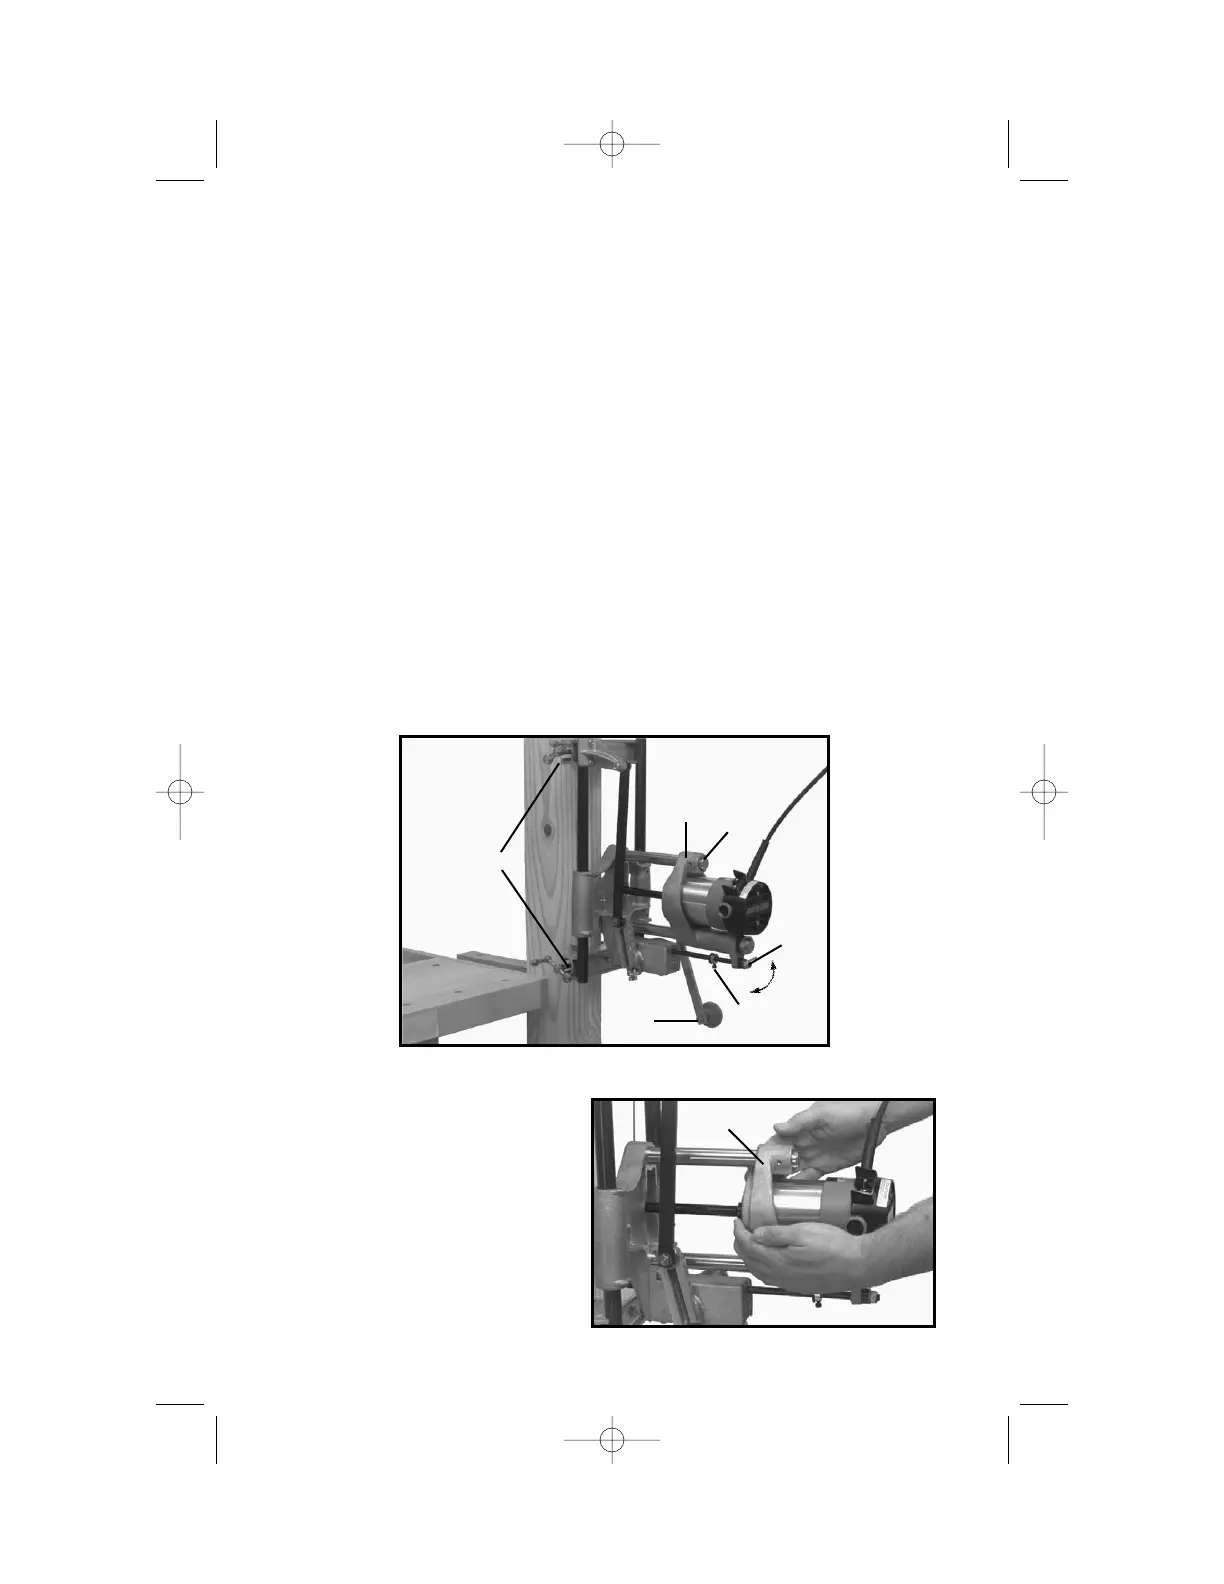
9. Grasp motor carriage (B), Fig.
9, with both hands and pull
towards you until bit is clear of cut
mortise. Remove mortiser from 2"
× 6".
10. Clean all chips from cut and
try lock box for fit. If necessary,
readjust mortiser as required and
make another trial cut.
Fig. 8
D
B
C
A
F
E
Fig. 9
B