EasyManua.ls Logo

pottery barn kids BELDEN BED User Manual

pottery barn kids BELDEN BED
5 pages
To Next Page IconTo Next Page
Page #1 background imageLoading...
Page #1 background image
1
pottery barn kids
BELDEN
BED
PRE
-
ASSEMBLY:
Remove all parts and hardware from the box and lay out on a clean carpeted or scratch
free work surface (The shipping
box provides an ideal work surface). This will avoid damaging any parts during assembly. Do no
t dispose of any contents
until assembly is completed to avoid accidentally discarding small parts or hardware.
Two people recommended for ease of assembly.
Use the parts and hardware lists to identify and separate each of the pieces included prior to star
ting assembly.
The illustrations provided allow for easier assembly when used in conjunction with the assembly instructions.
Note: Do not fully tighten all bolts until all parts are in place. Failure to follow these instructions may cause the bolts t
o
misa
lign during assembly.
If using power tools to aid in assembly please use caution. Power tools can damage hardware or split wood.
PARTS INCLUD
ED:
A
Front panel (1)
B
Back panel (1)
C
Left side panel (1
)
D
Right side p
anel (1)
E
-
Bottom
frame
with
drawers (
1)
F
-
Slat
rolls
(1)
G
Drawer
fill
-
in panel (1)
TOOLS REQUIRED:
Phillips head screwdriver (not included)
H
Allen Key (included)
HARDWARE INCLUDED:
I
A
llen bolt 1/4
x32x15mm (
7
)
J
Large
Phillips
head screw 8x30mm (28)
K
Small
Phillips
head screw
8x1
7
mm (
12
)
L
Mending plate 70x40mm (2)
Question and Answer IconNeed help?

Do you have a question about the pottery barn kids BELDEN BED and is the answer not in the manual?

pottery barn kids BELDEN BED Specifications

General IconGeneral
Brandpottery barn kids
ModelBELDEN BED
CategoryIndoor Furnishing
LanguageEnglish

Summary

Pre-Assembly Preparation

Assembly Instructions

Prepare Bottom Frame and Attach Levelers

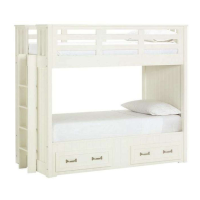
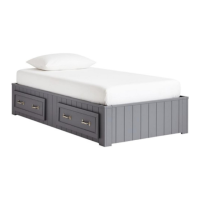
Pull out drawers from bottom frame and attach levelers using small screws.

Attach Front Panel and Bottom Frame

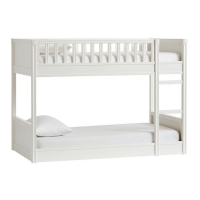
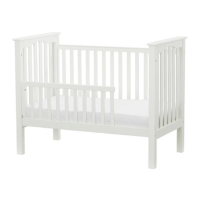
Connect front panel to bottom frame using dowels and Allen bolts.

Connect Side Panels

Attach left and right side panels to front and back panels via slots.

Secure Bottom Frame to Side Panels

Fix bottom frame to side panels using Allen bolts and tighten levelers.

Insert Drawer Boxes

Place drawer boxes back into the bottom frame, aligning wooden runners.

Install Drawer Fill-in Panel (Optional)

Replace open drawer front with fill-in panel using mending plates and screws.

Attach Slat Rolls

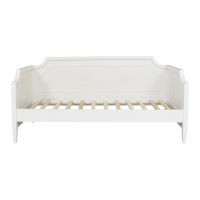
Secure slat rolls between front and back panels using large Phillips head screws.

Related product manuals