
X
xwagnerSep 12, 2025
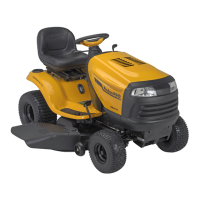
What to do if Poulan Pro PB20H42YT battery will not charge?
- KKarl AllenSep 12, 2025
If your Poulan Pro Lawn Mower battery will not charge, consider these potential reasons. The battery cell(s) might be bad, so replace the battery. Poor cable connections can also prevent charging, so check and clean all connections. If your mower is equipped with a regulator, it might be faulty, so replace the regulator. A faulty alternator can also cause charging problems, so replace the alternator.