• Only use approved containers when you move the
fuel or put the fuel into storage.
• Empty the fuel tank before long-term storage. Obey
the local law on where to dispose fuel.
• Clean the product before long-term storage.
• Remove the spark plug cable before you put the
product into storage to make sure that the engine
does not start accidentally.
Safety instructions for maintenance
• If you cannot adjust the idle speed to make the
cutting attachment stop, speak to your service
center. Do not use the product until the product is
correctly adjusted or repaired.
ASSEMBLY
WARNING: Read the safety chapter before
you assemble the product.
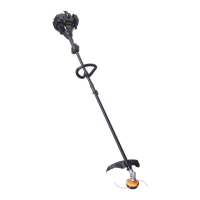
To attach the loop handle
1. Attach the loop handle to the shaft in compliance
with the illustration and tighten.(Fig. 26 )
2. Make sure that the loop handle attaches between
the arrows on the shaft.
To assemble the two-piece shaft
1. Turn the knob to loosen the shaft coupling.(Fig. 27 )
2. Push the shaft into the shaft coupling until the shaft
attaches.(Fig. 28 )
3. Make sure that you tighten the knob before you use
the product.(Fig. 29 )
To disassemble the two-piece shaft
1. Turn the knob to loosen the shaft coupling.(Fig. 30 )
2. Hold the engine end and pull the shaft out of the
shaft coupling.(Fig. 31 )
To adjust the harness
WARNING: Before you start the engine,
adjust the harness to make sure that you
have a good work position.
WARNING: Make sure that the engine fully
stops before you adjust the harness.
1. Put your right arm and your head through the
harness. Keep the harness on your left shoulder.
Note:
The one-half twist of the harness let the
harness stay stable on your shoulder.
2. Make sure that the danger sign stays at the center of
your rear body.
3. Keep the harness hook at your right side and 8 - 15
cm (3 - 6 in) below your waist.
4. Attach the harness hook to the clamp.
5. Adjust the position of the harness clamp if it is
necessary.
To adjust the harness clamp
1. Remove the two clamp screws.
2. Put the top harness clamp above the extension
shaft.
3. Put the lower harness clamp below the extension
shaft.
4. Adjust the harness clamp.
5. Align the screw holes.
6. Install the two clamp screws into the screw holes.
7. Tighten the two clamp screws with a hex key.
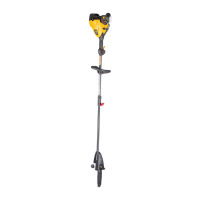
To assemble the cutting attachment
To attach the cutting attachment guard and
trimmer head (curved shaft)
1. Attach the guard. Tighten the nut.(Fig. 32 )
2. Attach the trimmer head to the shaft. Turn the
trimmer head clockwise.
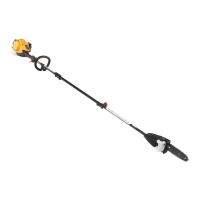
To attach the pole saw attachment
WARNING: Stop the product on a level
surface when you install or remove the
attachments.
1. Turn the knob counterclockwise and loosen the
coupler on the extension shaft.(Fig. 33 )
2. Remove the transport guard from the coupler.
3. Remove the shaft cap from the attachment.
4. Move the locking/release button into the guide
recess.
5. Push the attachment into the coupler until the
locking/release button sets into the primary hole.(Fig.
34 )
6. Do steps1 through 5 again to attach the other
attachment on the engine shaft.
7. Turn the knobs on the extension shaft and the
engine shaft clockwise and tighten them.(Fig. 35 )
8. Tighten the couplers on the extension shaft and the
engine shaft.
14
226 - 004 - 17.10.2018