3
Table of Contents
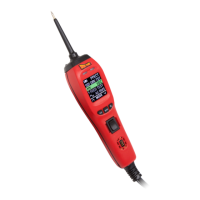
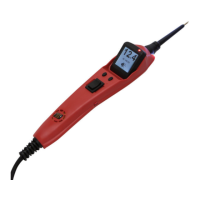
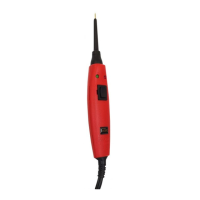
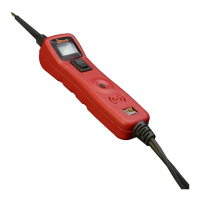
Power Probe I & II Instructions
Hook-up and quick self-test 4
Polarity testing 5
Continuity testing 6
Activating components out of vehicle's electrical system 7
Testing trailer lights and connections 8
Activating electrical components with positive (+) voltage 9
Activating electrical components with negative (-) voltage 10
Jumper lead feature 11
Checking for bad ground contacts 12
Following and locating short circuits 12
Using the light and tone (Power Probe II) 13
Parts and accessories for your Power Probe 14
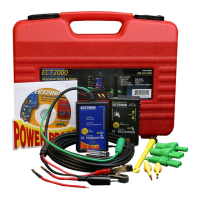
"SMART" ECT 2000 instructions
15
The "SMART" transmitter 16
Connecting the "SMART transmitter 17
The "SMART" receiver 18
Locking the reception distance 19
Tracing short circuits 20
Tracing open circuits 21
Circuit wiggle & flex test 22
Power Probe warranty 23
IMPORTANT TIP: When powering-up components, you can increase the life
of your Power Probe switch if you first press the switch, then contact the tip
to the component. The arcing will take place at the tip instead of the contacts
of the switch.
Tabla de Contenido - Indice
Power Probe I & II
Conexiones y Auto Prueba Rápida 4
Probando Polaridades 5
Prueba de Continuidad 6
Activando Componentes fuera del circuito del vehículo 7
Probando luces y conexiones de trailers 8
Activando componentes eléctricos con positivo (+) voltaje 9
Activando componentes eléctricos con negativo (-) tierra 10
Función de Puente 11
Verificando por malos contactos de masa/tierra 12
Siguiendo y ubicando corto circuitos 12
Usando la luz el tono ( Power Probe II ) 13
Repuestos y Assesorios para su Power Probe 14
Power Probe Garantía 23