WARNING:Before you connect the equipment to the mains supply make sure that the data
on the rating plate are identical to the mains data.
WARNING:Always pull the power plug before making adjustments to the equipment.
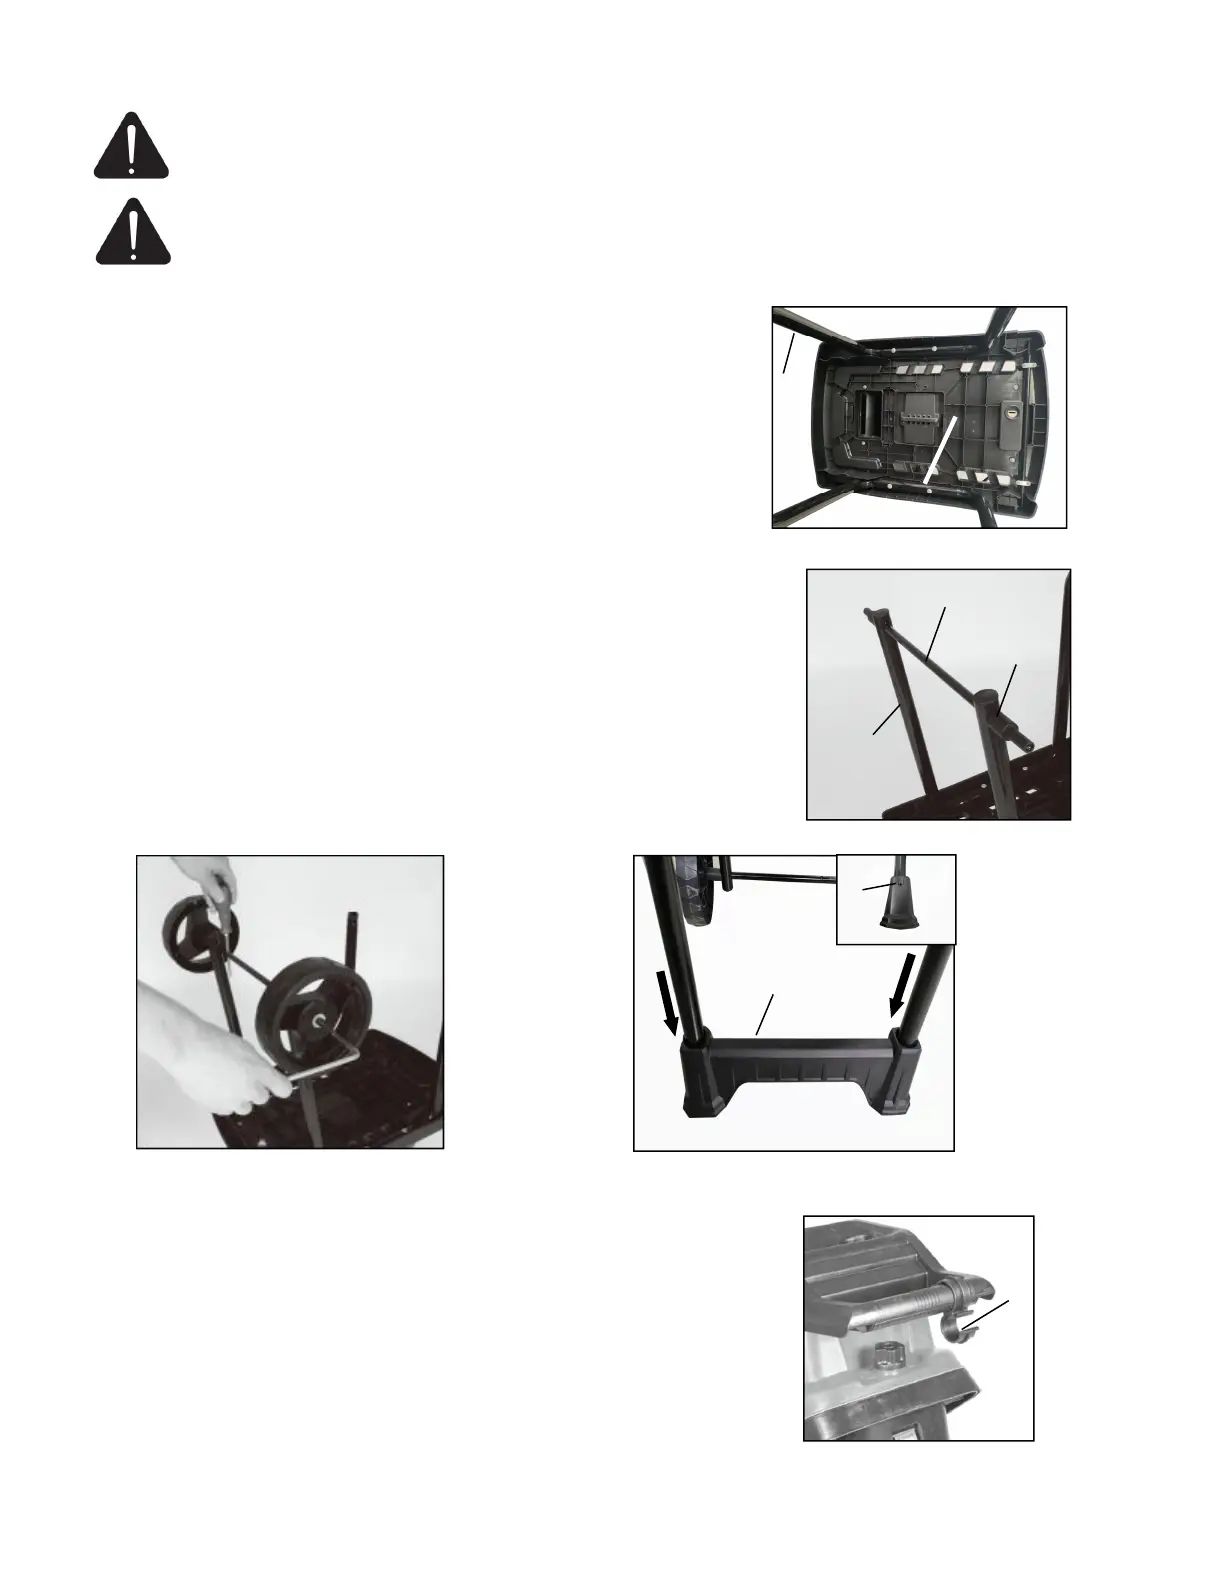
Assembling the chassis(Fig.3)
Place the motor housing upside down on the floor.
Insert the chassis (e) into the provided openings.
Secure the chassis with four screws(i).
Assembling the axle and wheels (Fig.4/6)
Mount the chassis as shown in Figs. 4-6.
Insert the axle (d) through the chassis(e).
Fit the sleeves (n) on both sides.
Attach the wheels(c) on both sides.
Insert a screwdriver through the holding hole on the axle and
secure the wheels with the screws as shown in Fig.5.
Then fit the round plastic caps to the wheels.
Insert the chassis in the direction of arrow to the non-kicking foot(g)
provided openings as far as it will go. Then secure it with the
screws(k) on both sides as shown in Fig.6.
Fitting the prodder holder (Fig.7)
Press the holder for the prodder (j) onto the transport handle as shown in
Fig.7.