ASSEMBLY INSTRUCTION
WARNING: If any parts are damaged or missing do not operate this product until the parts
are replaced. Use of this product with damaged or missing parts could result in serious
personal injury.
WARNING: Do not attempt to modify this product or create accessories not recommended
for use with this product. Any such alteration or modification is misuse and could result in a
hazardous condition leading to possible serious personal injury.
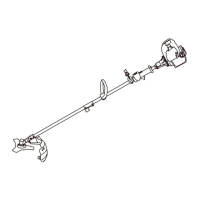
Installing Brush Cutter Attachment
When installing brush cutter attachment, place the unit on a flat surface for stability.
1. Push the rod 1 until the stop pin slots into the hole in the rod 2.
2. Tighten the knob securely by turning it clockwise.
WARNING: Make sure the locking/release button is locked in the primary hole and that the
knob is securely tightened before operating the unit.
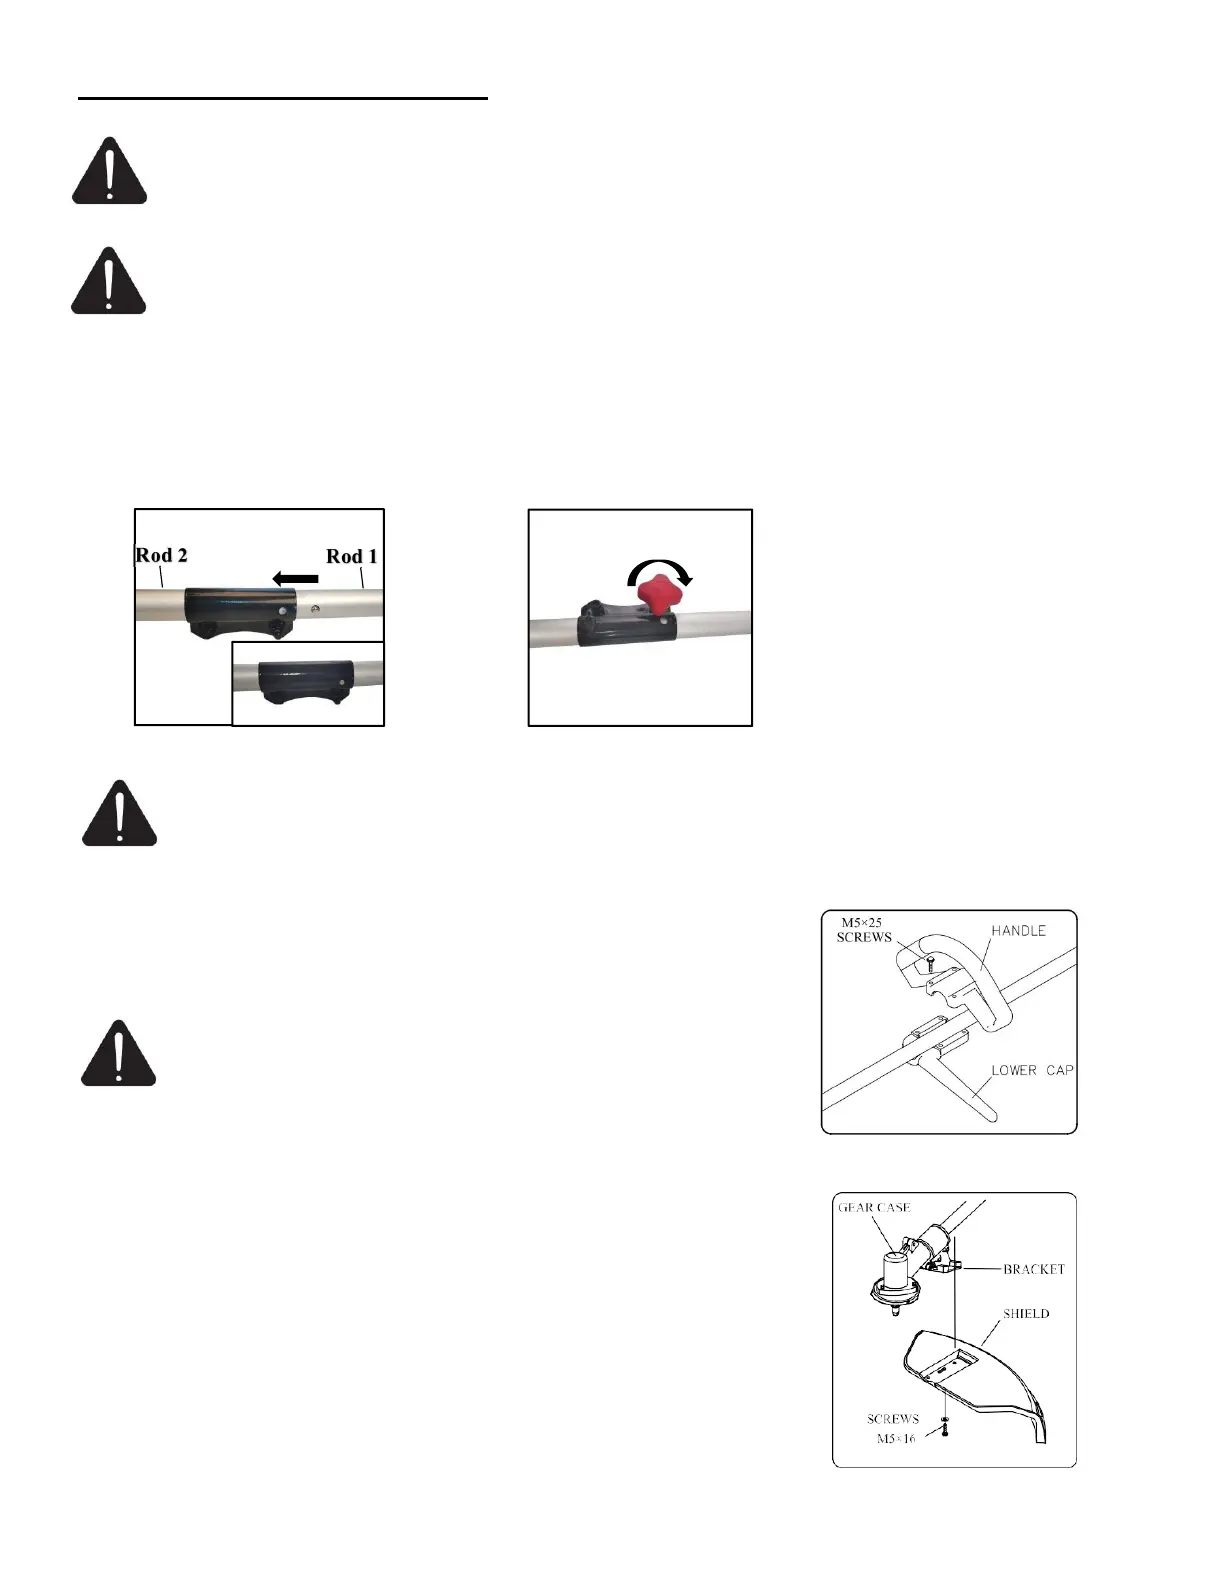
Installing Handle
Position handle in a comfortable operating position and tighten four
M5×25 screws.
WARNING: Do not attempt to disassemble the two special
screws. The two clamps position has been adjusted at a suitable
place,do not attempt to remove or move them. Otherwise, it can
result in serious personal injury.
Attaching The Plastic Blade Shield
CAUTION: The blade shield must be properly installed. This shield
helps provide partial protection to the operator, and others from the risk of
thrown objects and other debris.
1. Install the safety cover on the shaft with the safety cover bracket and the
screws provided.
2. Tighten the screws after setting the safety cover bracket at the
appropriate position.