Page No. 10
Issue Date: Rev 14 28 May 2012
Operating Instructions Form No. 102842
working conditions, severity of use and overall cleanliness and care given the pump.
IMPORTANT
Clean the exterior of the pump rst. After draining and ushing the reservoir, drain and
clean the other hydraulic system components (hoses, cylinders, etc.) before connecting
them to the pump again. This will help prevent contaminated uid from entering the pump.
Refer to Table 1 for your reservoir type.
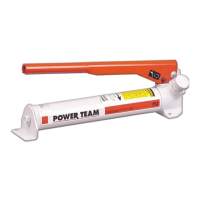
For models with Reservoir Type A:
A. Unthread and separate the pump head from the reservoir. Drain the reservoir of the used
hydraulic uid.
B. Flush out reservoir with a small amount of clean hydraulic uid. Clean the pump intake
lter.
IMPORTANT
Removing the lter from the pump assembly could result in its breakage. Attempt to clean it
as well as possible with it installed.
C. Rell the reservoir and reassemble the pump head to the reservoir. Tighten securely. Check
for leaks.
5. For models with Reservoir Type B & C:
A. Remove the ller cap. Drain the hydraulic uid through ller hole.
B. Remove the nut from the tie rod. Separate the reservoir from the pump body. Clean the
reservoir and lter.
IMPORTANT
Removing the lter from the pump assembly could result in its breakage. Attempt to clean it
as well as possible with it installed.
3. Reassemble and ll the reservoir with Power Team hydraulic uid. Replace the ller cap.
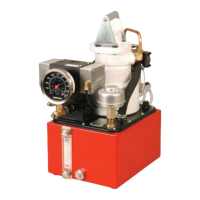
6. For models with Reservoir Type D:
A. Remove the ten screws fastening the reservoir cover to the reservoir, and lift the pump and
valve assemblies off.
B. Drain all hydraulic uid and ush reservoir with a small amount of clean hydraulic uid.
C. Remove the pump assembly lter, rinse it clean, and reassemble.
D. Rell the reservoir with Power Team hydraulic uid. Place the pump and valve assembly
(with gasket) on the reservoir, and thread the ten screws. Tighten securely and evenly.