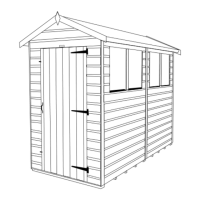
PAGE 17 OF 19
Power Base Installation Instructions
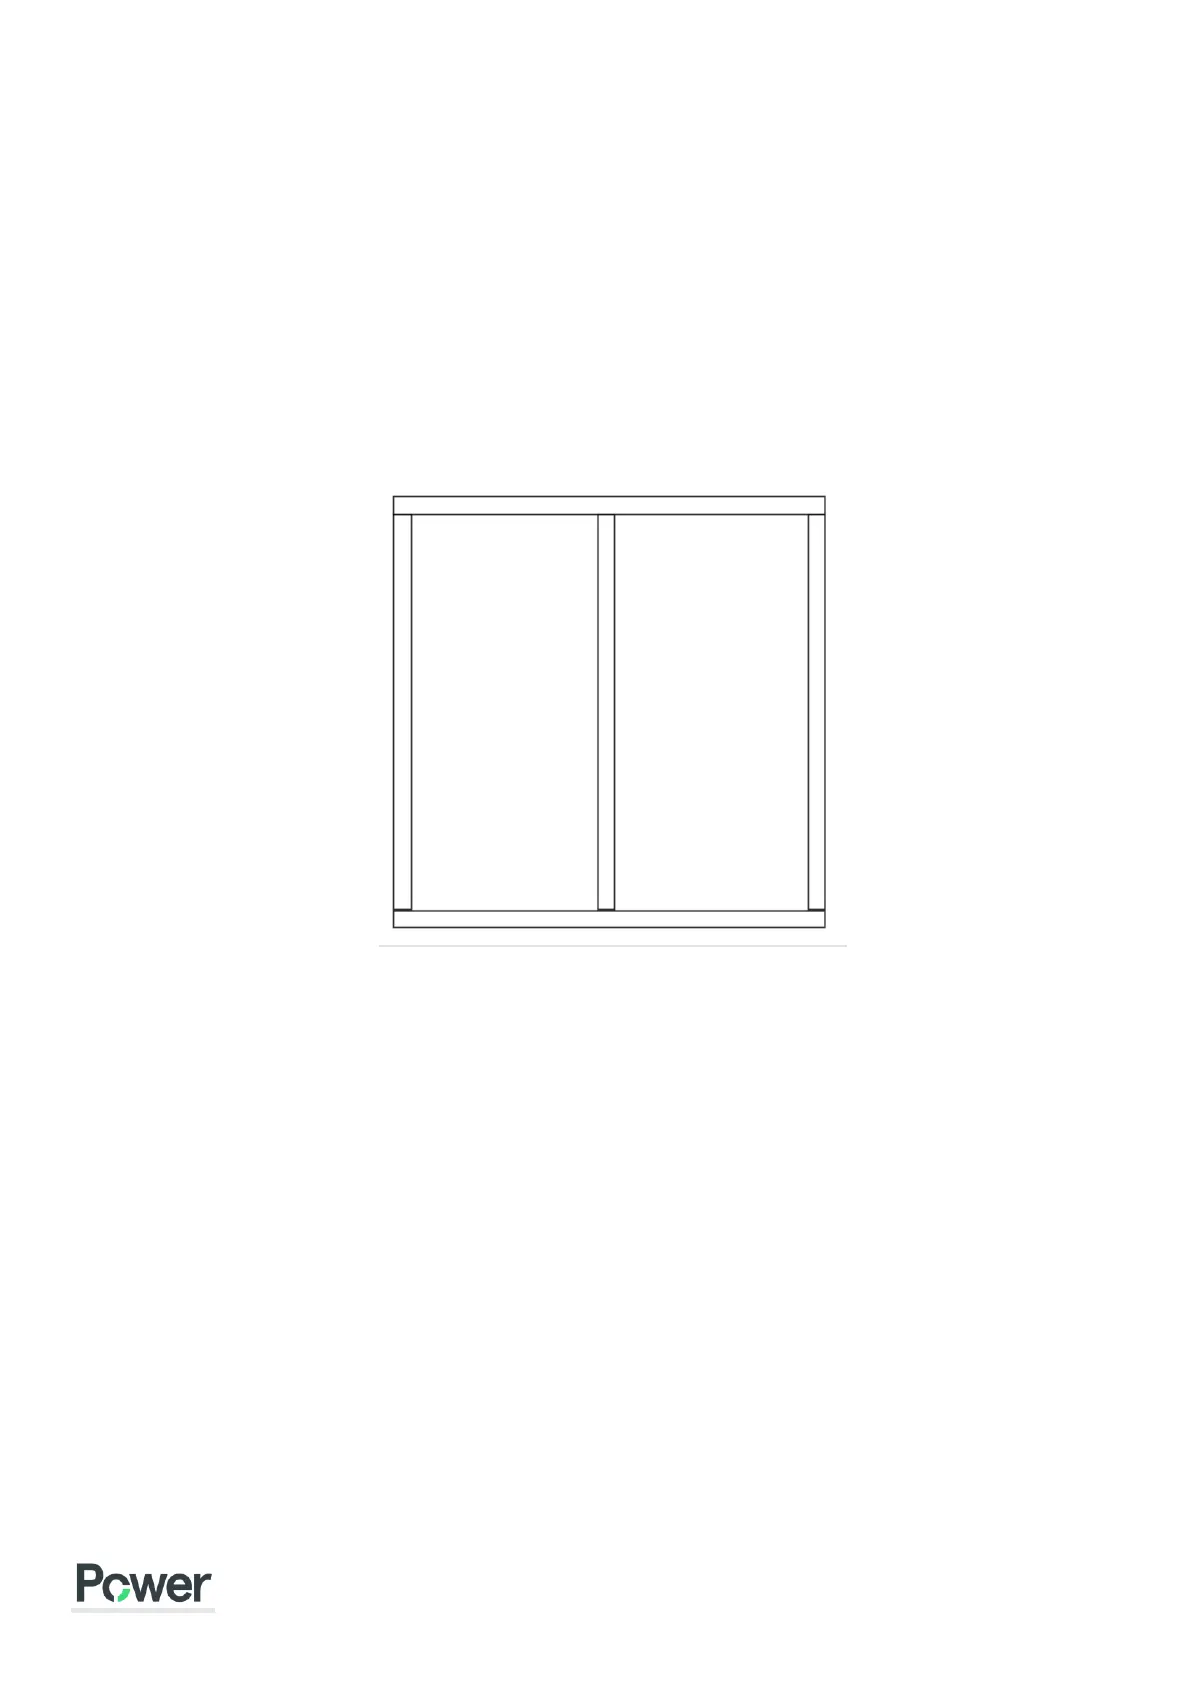
1. The Power Base will be made up from the pressure treated timbers in the pack (this is the
100mm x 50mm timber). Please consult the diagram in your base fixing pack for the precise
layout of your base.
Note – for any time you screw some timber together, we suggest that you pre-drill the timber with a 3mm
drill bit before inserting the screws. This will minimise the chance the timber will split.
2. Layout the timber as per the diagram in the fixing pack – you will have one timber frame section
per floor panel. The timber should be 100mm high and 50mm wide (therefore the floor of the
shed will be 100mm off the ground)
3. Screw the timber together using the 80m screws one floor section at a time. Once all the floor
sections are complete you can screw each floor section together. There will be two bearers to
screw at each end.
4. Measure the constructed base from corner to corner ensuring the base is square. The two
measurements from corner to corner should be equal.
5. Now is the time to attach the wooden stakes. Ensure the base is positioned exactly where you
want it and on the inside of the highest corner, drive the wooden stake into the ground at the
with a hammer. We would recommend placing some scrap timber between the stake and the
hammer to stop the stake being damaged when hammering it.
6. When you are happy with the height of the stake, secure this to the base with the 80mm screws.
7. Repeat this process in all other corners by going to the next highest corner of each base section -
4 stakes per base section. Keep ensuring base is level using a spirt level until all corners have
their stake attached and in the ground.
 Loading...