6. Maintenance
UP! mini 3D Printer User Manual 51
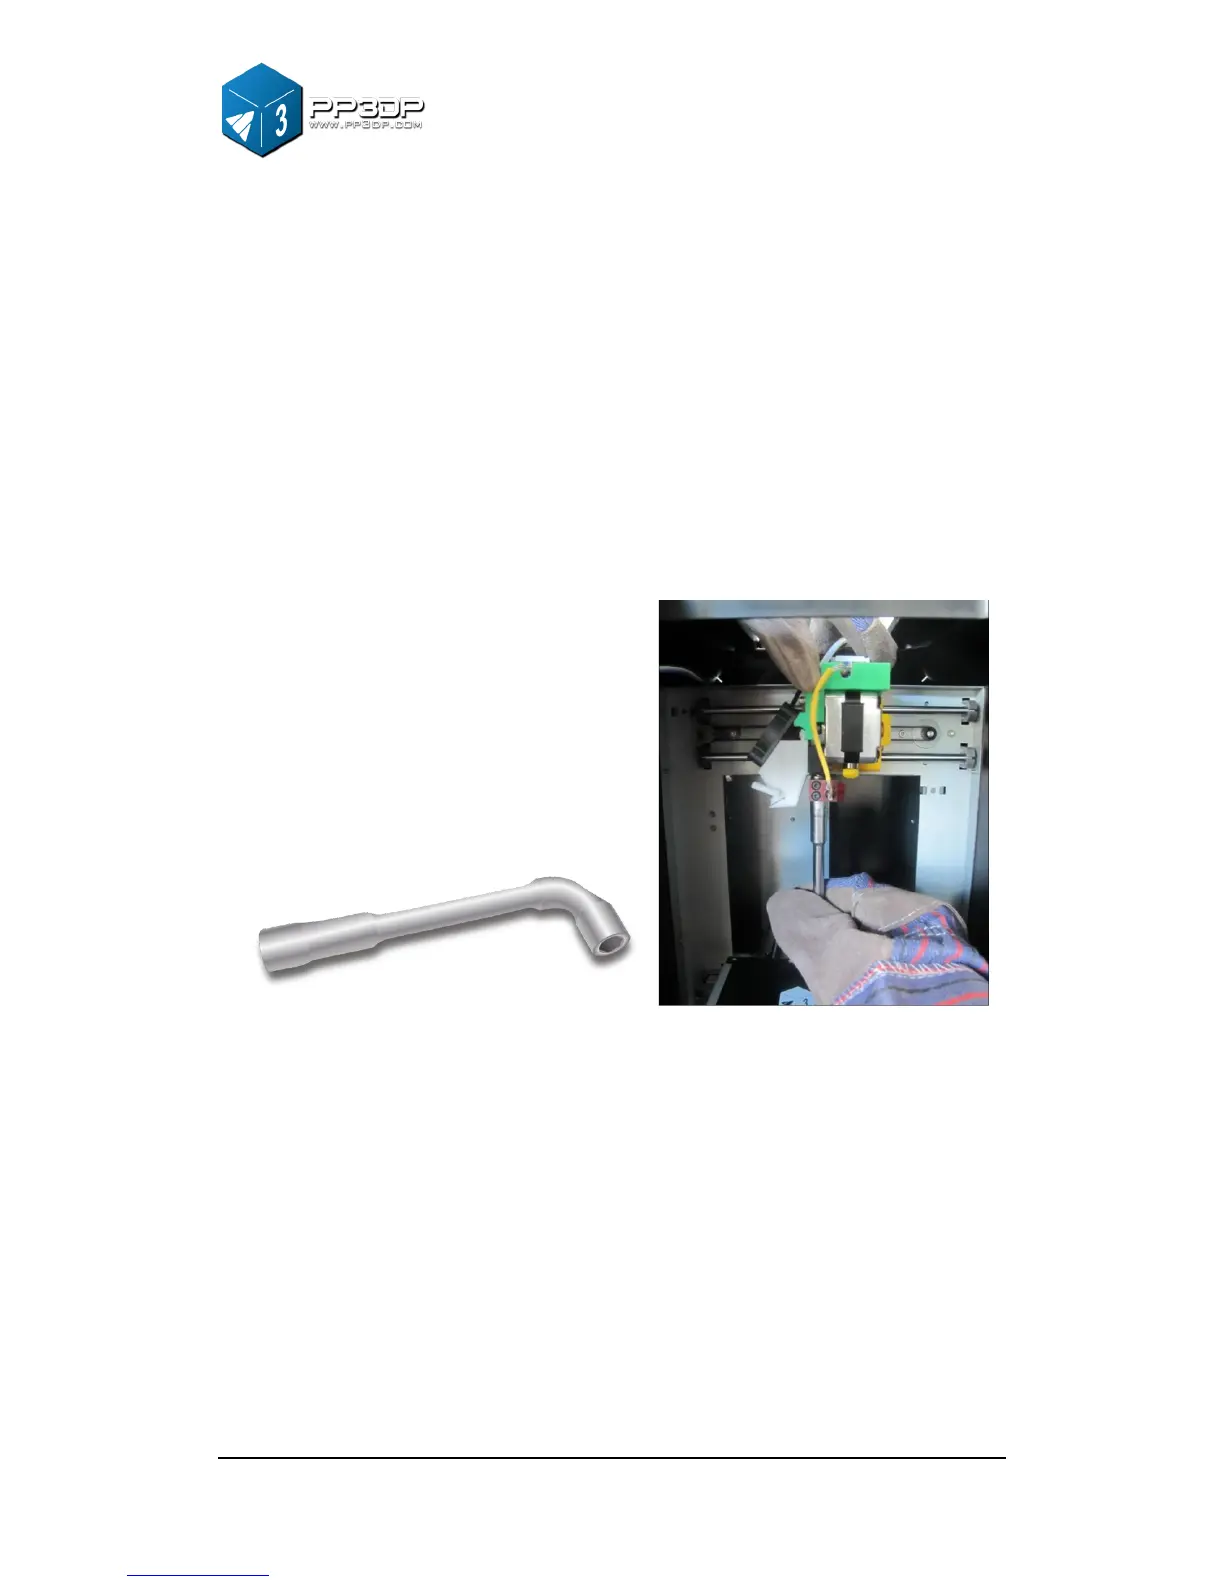
6.4 Removing / Changing nozzle
If your nozzle gets clogged, you need to remove it from print head, and clean it
or change a new one. To remove nozzle, use the nozzle wrench provided in the
toolkit that comes with your UP! mini Printer.
Generally, it is much easier to remove the nozzle when it is hot.
If you need more force than the nozzle wrench can provide, use it with a small
Allen Key provided in the tool kit.
Figure 6-6 Changing Nozzle
6.6 Models of Spare parts
Almost all the plastic parts on UP! mini printer are printed by UP! mini Printer
itself. If you need to print spare parts for your printer, you can find the STL files
for all the spare parts in the C:\ProgramFiles\UP\Example\UP Spare Part.