PPS25 Electronic Memory Gauge
User Manual
Pioneer Petrotech Services Inc.
infopps@pioneerps.com
1-888-PP-GAUGE (774-2843)
www.pioneerps.com
4.7 Assembling Battery Housing
For more information about replacing o-rings and backup rings, cleaning buffer
oil tube, check battery housings; please see “5.1 Field Maintenance
” for details.
To install battery housing:
(1) Check the metal C-ring (if available);
(2) Apply grease on the O-rings;
(3) Apply anti-seize compound on the threads for high temperature applications;
(4) Once completed, close the battery housing on each tool;
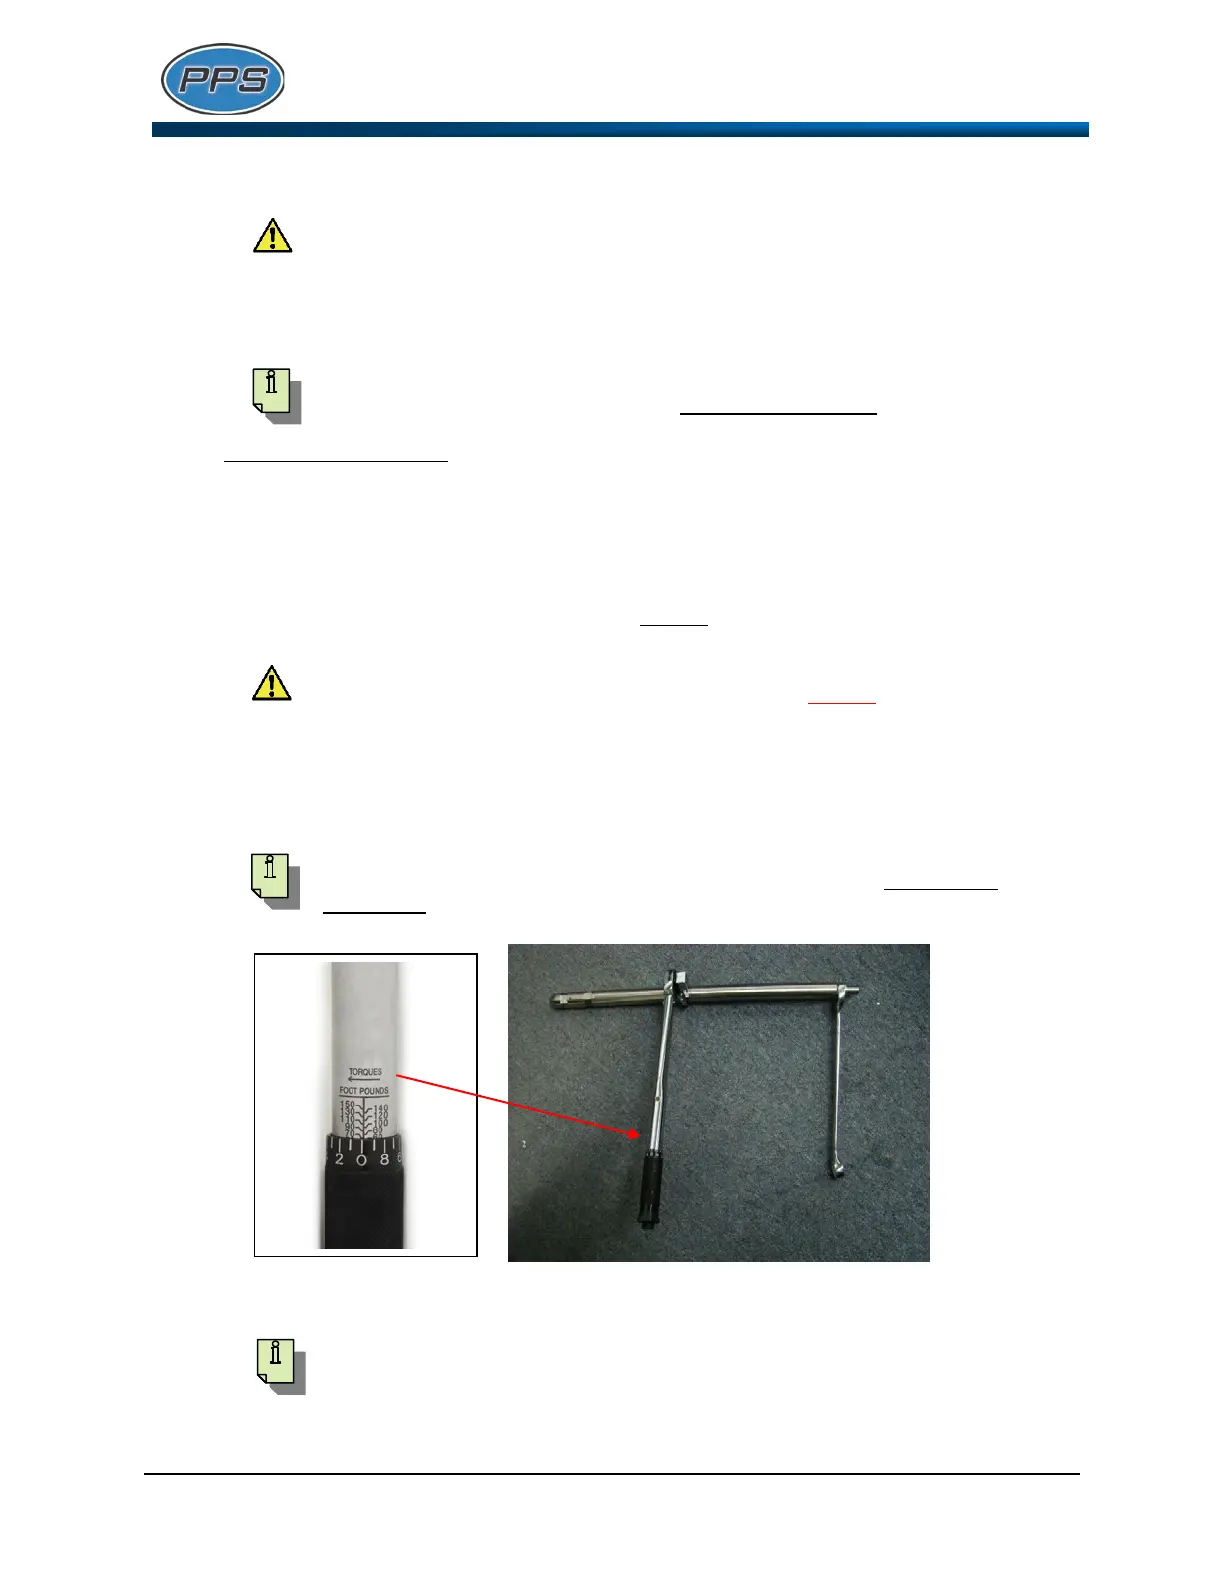
(5) Using a torque wrench and an open-end wrench assemble the battery housing with the
gauge (Fig 10). Torque all connections to 70ft-Ibs
;
(6) Using a torque wrench and an open-end wrench to assemble the bullnose with the gauge at
70ft-Ibs.
The size of wrenches is dependent on OD size of the PPS25 gauge that you are
assembling. For information about wrench size, please see “Appendix C:
Accessories” for details.
Fig. 10
Before assembling battery housing with the gauge, please check:
If the metal C-ring (if available) needs to be replaced;
If the o-rings and backup rings on the gauge need to be replaced;
If the buffer oil tube needs to be cleaned;
If the battery housing is in good condition.
If the metal-to-metal seal ring for the battery housings is used, each battery
housing connection to the gauge must be torqued to 90ft-Ibs in order to
properly energize this seal ring.
Now, your gauge is ready for an operation!