51
Door and Door Switches
The Chef Express oven door utilizes a choke design.
This design protrudes into the oven cavity slightly
to improve the microwave sealing capabilities and
functionality.
The ovens leave the factory only after conforming
to all the stringent testing required by multiple
governing agencies. Field service adjustments are
rarely needed but can easily be performed based
on this design.
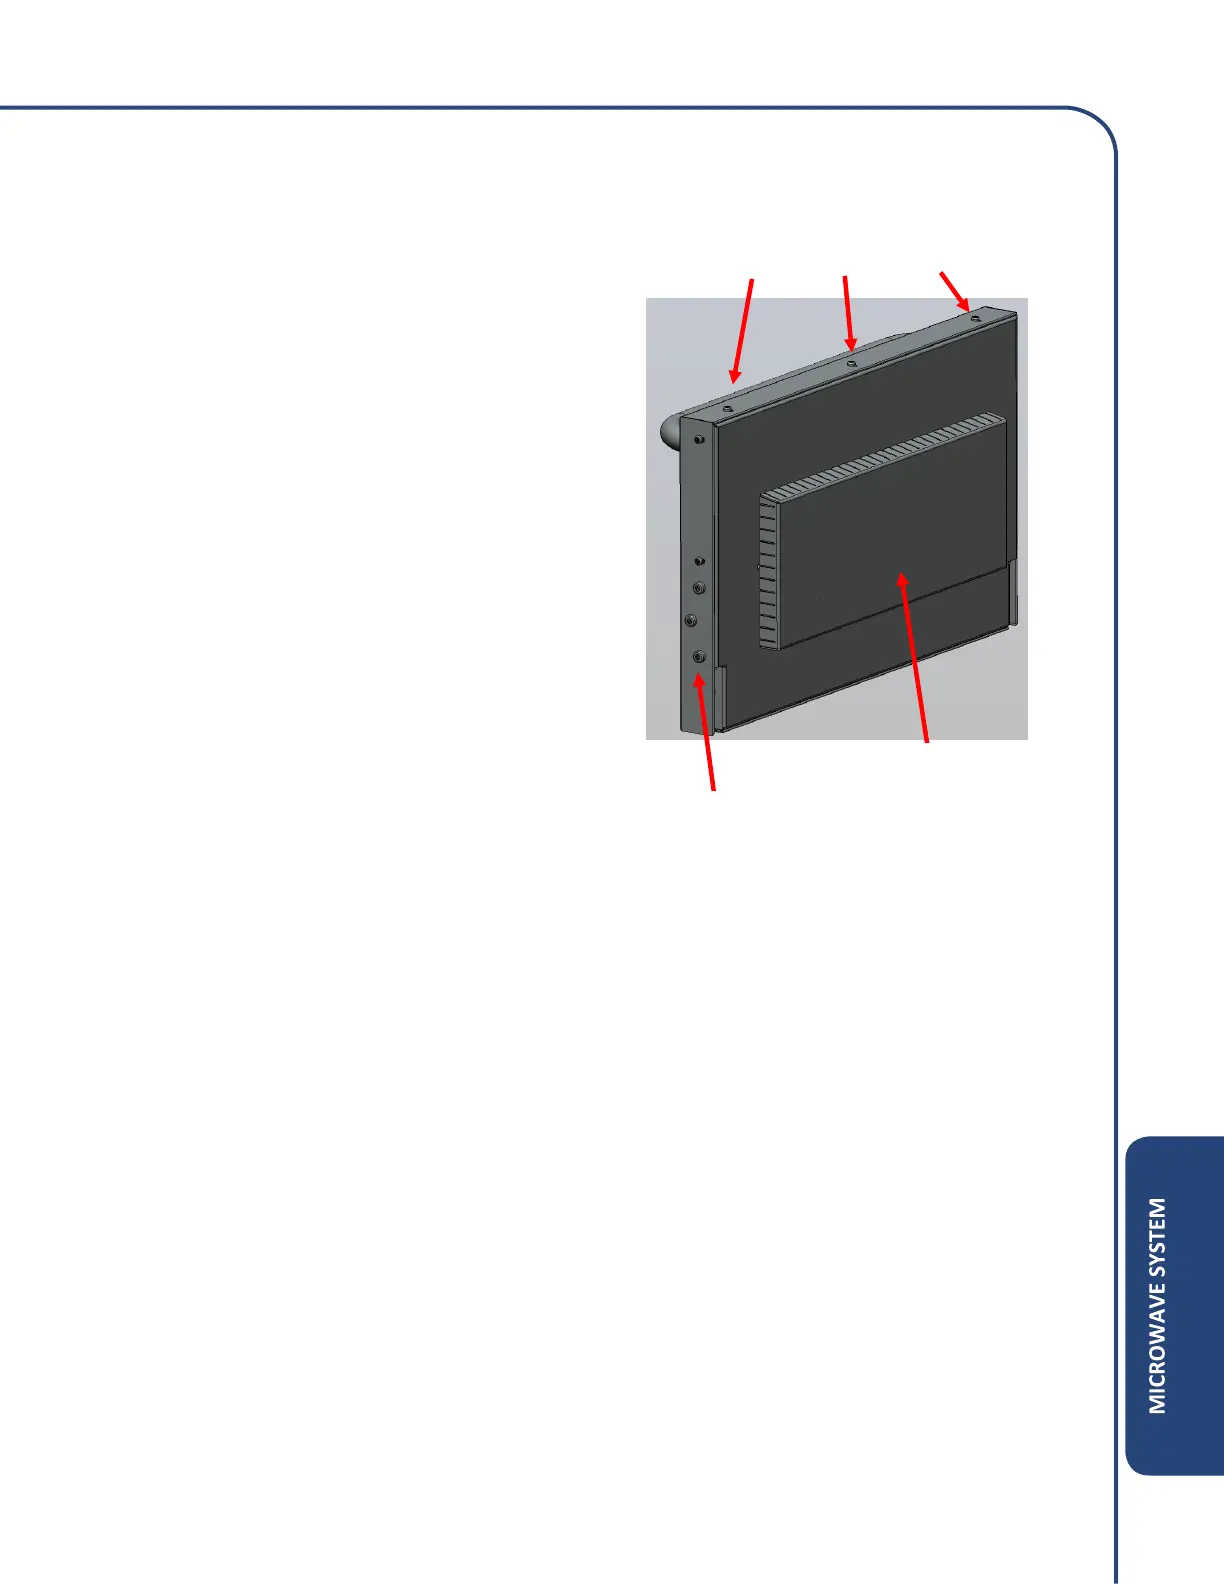
The door is mounted to the hinges with 6 – security
screws. This mounting point does not allow for any
adjustments to the sealing surfaces. However, the
adjustments to the door and the sealing surface are
made by loosening the 10 – Phillips head screws
around the perimeter. After loosening, the inner
door (choke assembly) is free to move closer to the
oven cavity as necessary. Retighten screws to
secure the adjustment.
Refer to page 68 for proper microwave leak testing procedures.
An RF leakage test should be performed after the following service tasks:
• Door removal, replacement and/or adjustment
• Waveguide removal and/or replacement
• Magnetron removal and/or replacement
• Door switch adjustment and/or replacement