20 www.PrecisionAerobatics.com
9 Copyrights ©2007 Precision Aerobatics. All rights reserved
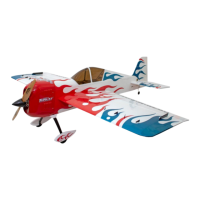
Install the tail servos in the opening you previously cut in the covering film
with the servos' output shaft closer to the control surfaces as per the photos.
DO NOT force the servos in as you will cause damage. Slightly enlarge the
openings if needed, using a sharp blade to "shave off" a bit of ply.
Alternatively, you may use a small flat file. Test fit servos during the process.
Drill mounting holes as required for the screws supplied with your servos using
a sharp 1.5mm (1/16”) drill bit. Ensure that the screw holes are centered. Use
only fully threaded screws.
The servo mounts have ply doublers glued on the inside of the fuselage;
therefore, applying a drop of CA into each hole is not actually required
(however this can be done should the screws become loose). Run the servo
leads through the bulkheads (over the CF rods).
Tip: Carefully “tap” the screws in by making a full turn in and then backing
out by ¼ turn and repeat until the screw sits fully in.
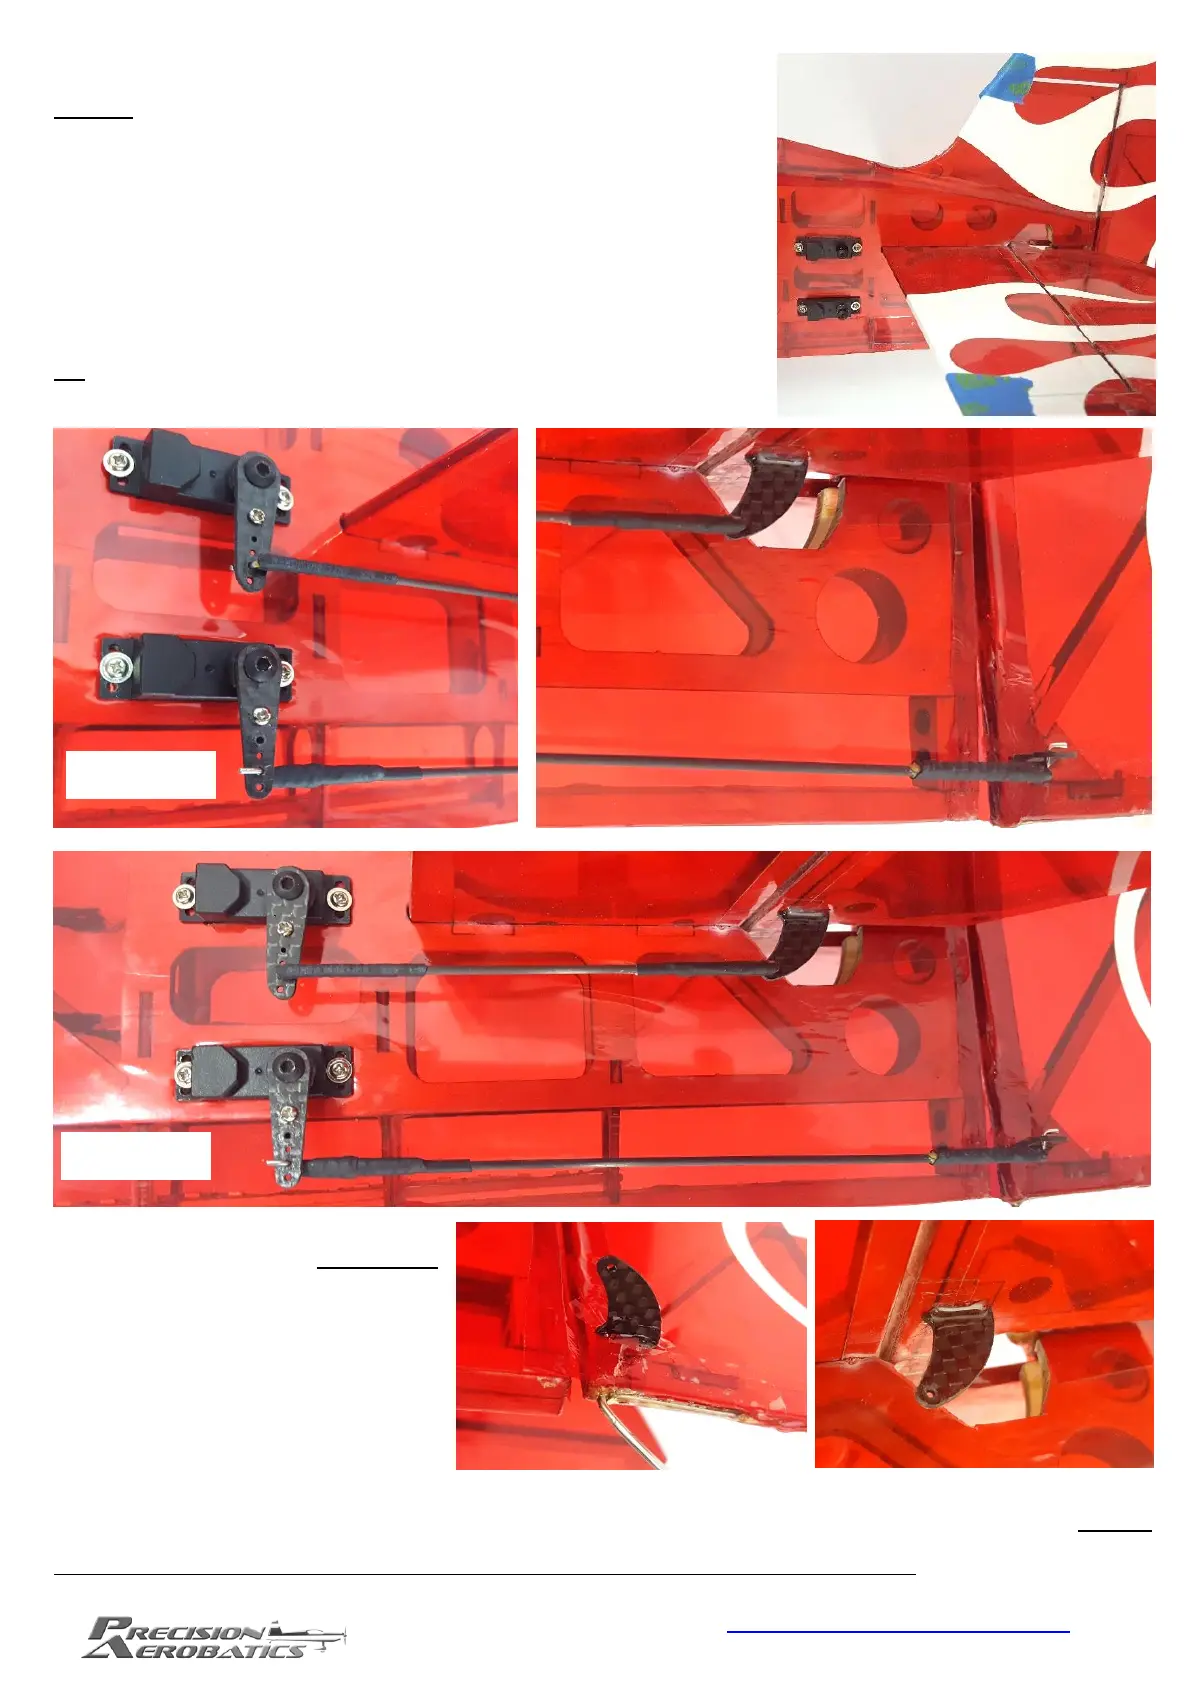
Expose the slots for the elevator and
rudder control horns in the correct side
of your servos final position.
Glue the elevator and rudder control horns
in place using epoxy in the same way as
you did with the aileron horns. Remember
to fully insert the horns, and ensure they
are perpendicular to the control surfaces.
Once the epoxy sets and with the elevator
and rudder taped in neutral position and
the servo arms at 90 degrees to the servos
install the pushrods.
The pushrod installation uses the same method used with the ailerons, however pay careful attention to the orientation
of the Z-bends; the rudder control horn Z-bend inserts from the bottom and the elevator Z-bend inserts from the outside
of the horn and servo arm.
Verify the gluing integrity of all Z-bends, as you did with the ailerons, prior to final installation.

 Loading...