PrecisionTemp
Cincinnati, Ohio
(513) 641-4446 Fax (513) 641-0733
www.precisiontemp.com
Rev 04/07
3
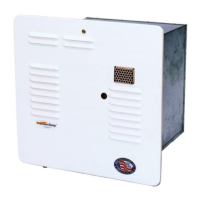
Do this on the inside of the side wall so that a screw would go through the screw hole on the
RV-500-1 case flange, through the side wall and into the 2”x2” support sandwiching the side
wall between the flange and the 2”x2” support.
Attach a 3/4“thick 2 x 2” wide wood spacer to the bottom of the cut out. This will center the
flange of the RV-500 vertically in the opening. This applies if you are installing the RV-500 in
either the flush or surface mount configuration.
Place the bottom of the back of the RV-500-1 on the bottom frame of the opening. Tilt the
water heater back and feed the gas line through the gas line grommet. (Note: If there is no
access from the inside of the coach to the back of the water heater compartment the water
lines and electrical must be connected at this stage. Refer to those sections of this manual).
Push the RV-500-1 into the opening. Center the heater in the opening and start a screw in
the top center hole.
Run the screw down but not tight. Apply silicone or other appropriate sealant under the RV-
500 flange.
Push the unit into the opening to bed into the sealant. Now screw in the other three center
screws.
Apply silicone or other appropriate sealant heavily in the corners and on the flange around
the corner holes.
Place the corner pieces in the corner so the holes line up and put four screws in each corner.
Seal where the corner bracket meets the corner of the case. Remove excess sealant.
Flush Mount Installation
• Surround the opening on the skin of the coach with four to six inches of masking tape to
protect the skin of the side wall.
3/4” Thick Spacer
”
Side wall opening
Case Flan
e
2”x2”
Support
Side wall of coach
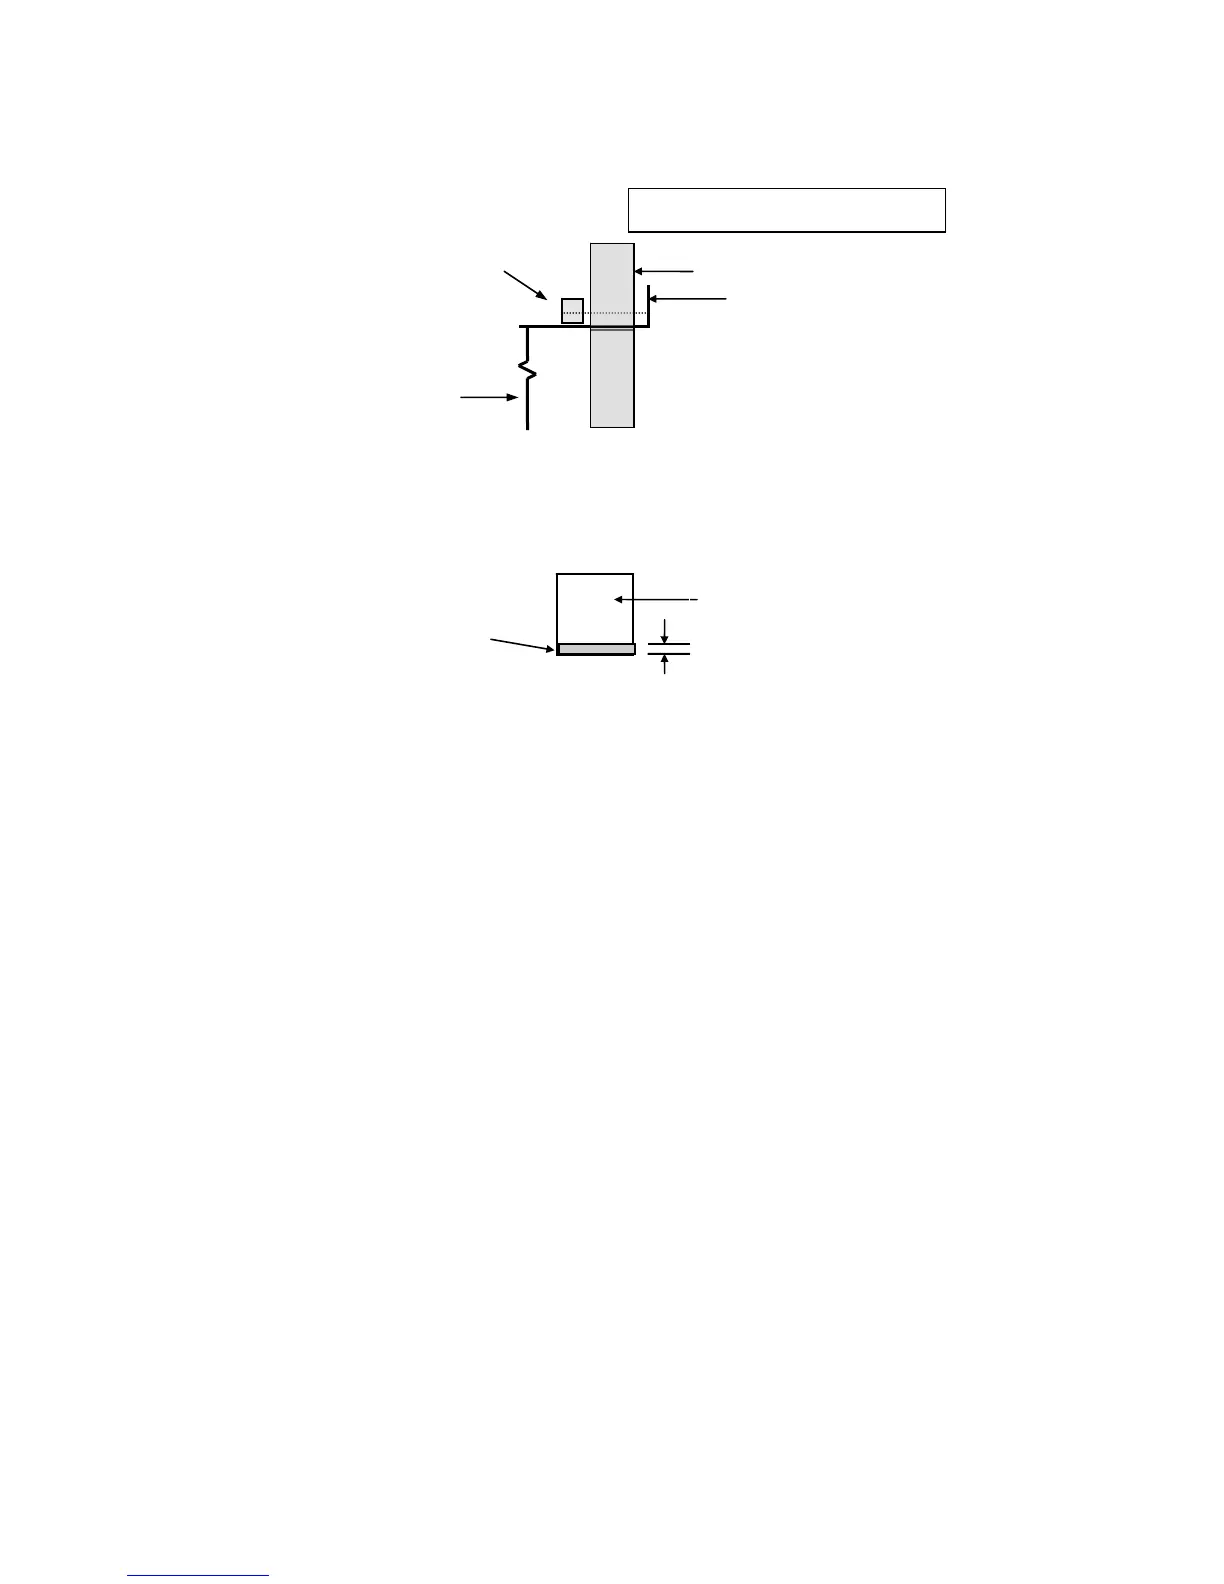
RV500 Case
Surface mount, ed
e view