Page 8
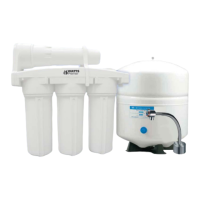
Turn off the cold water supply to the faucet by turning the angle stop valve completely off.
Open cold water sink faucet to relieve pressure.
Step 5
Step 6
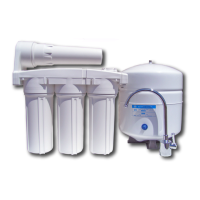
&KRRVLQJWKHFRQ¿JXUDWLRQWKDW¿WV\RXUSOXPELQJDWWDFKWKHDGDSWDYDOYHDVLOOXVWUDWHGLQ
the four photos above.
Adapt-a-Valve Installation
'RQRWXVH7HÀRQWDSHZLWKWKH$GDSWD9DOYHWARNING:
Caution:
Water supply line to the system must be from the cold water supply line only.
Hot water will severely damage your system.
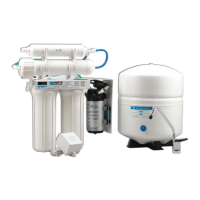
´&RQ¿JXUDWLRQ
(With Brass Fittings)
* Insert White Washer
´&RQ¿JXUDWLRQ
(Without Brass
Fittings)
*White
Washer
Hot
Supply
Cold
Supply
Hot
Supply
Cold
Supply
Verify contents prior to installation:
3ODVWLF$GDSWD9DOYHZLWKEODFNFROOHW
%UDVV$GDSWHUQRZDVKHU
%UDVV$GDSWHUZLWKEODFNZDVKHU
:KLWHUXEEHUZDVKHU
Make sure that the black collet is installed in to the 1/4” opening on the Adapt-a-valve.
'RQ¶WIRUJHWWRLQVWDOOWKHZKLWHFRPSUHVVLRQZDVKHUZLWKWKH´FRQ¿JXUDWLRQ
%UDVVDGDSWHU$GRHVQRWQHHGWREHWLJKWHQHGZLWKDZUHQFKRQO\¿QJHUWLJKW
Black
Collet
A
TIPS:
A
White
Washer
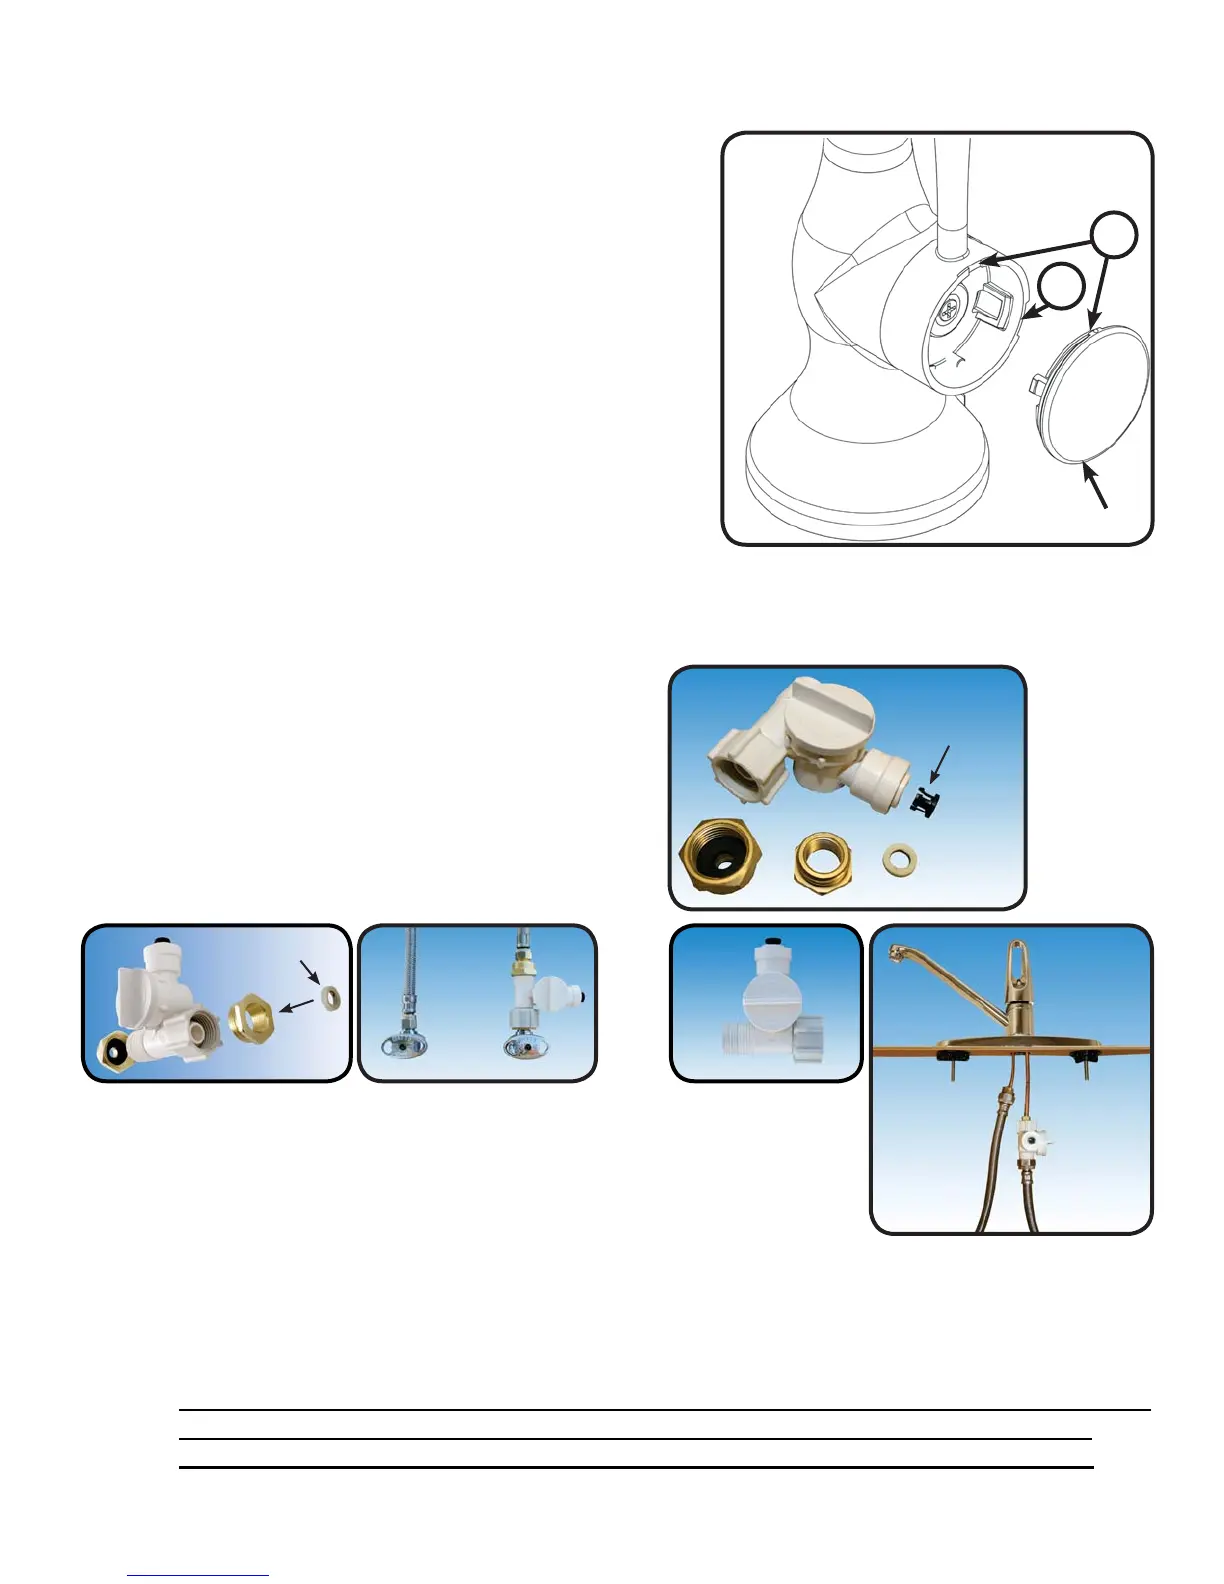
1. Turn the handle on the storage tank ball valve to the
³RII´SRVLWLRQDQGORZHUIDXFHWKDQGOHWR³RQ´SRVLWLRQ
5HPRYHWKHIDXFHWKDQGOHFRYHUDWWKHVORW (A).
Note: Water will dribble out of the spout, use caution
when handling the electronic components.
6OLGHWKHROGEDWWHU\RXWDQGUHSODFHZLWKQHZEDWWHU\
Note: Once the battery is pushed into the clip a red and
EOXHOLJKWZLOOÀDVKLQGLFDWLQJSURSHULQVWDOODWLRQ
5HSODFHFRYHUDVVHPEO\RQWRWKHIDXFHWKDQGOHZKLOH
aligning the tab on the cover with the notch on
the faucets handle - (B).
B
A
&29(5
Faucet Indicator Battery Replacement