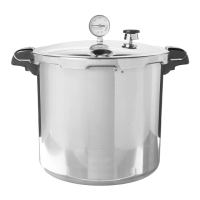
7
CARE AND MAINTENANCE
Canner Body
• It is normal for the inside of the canner to discolor. This discoloration, which is not harmful, is a result of the various minerals in
water and foods interacting with the aluminum. To remove this discoloration, use a solution of 1 tablespoon cream of tartar for every
one quart of water. Pour enough solution into the canner to cover the discoloration, making sure the canner is not filled more than
Remove canner from heat; allow to cool until air/vent cover locks drops. Remove regulator, open canner, and empty contents. Scour
thoroughly with a soap impregnated steel wool cleaning pad; wash, rinse, and thoroughly dry.
• Pitting is caused by the interaction of aluminum with other metals in the presence of moisture. To minimize pitting, wash, rinse, and
dry the canner body thoroughly after every use. Additionally, at least once a year, scour the inside of the canner body with an abrasive
cleanser, such as Cameo* Aluminum & Stainless Steel Cleaner. Always store the canner in a dry area.
• Do not leave an empty canner on a heated burner or allow canner to boil dry. This can cause damage to the canner bottom or stovetop.
• Do not strike the rim of the canner body with any metal utensil as this will cause nicks which may damage the rim and allow steam
to escape.
• Do not pour water into a dry, overheated canner as this may crack the metal.
• If the canner body or cover handles become loose, tighten them with a screwdriver.
Pressure Dial Gauge
• The pressure dial gauge is a delicate instrument and must be handled with care. Do not submerge the pressure dial gauge, allow it to
come into contact with liquid, or subject it to freezing temperatures.
• The pressure dial gauge needs to be checked for accuracy prior to each canning season and if any of the following conditions exist:
cover has been submerged in water or dropped, parts are rusty, pointer is not in the “0” block, or if you believe the gauge may not
be accurate. The gauge can usually be checked at your local county extension office. If you are unable to have your gauge checked
locally, carefully remove it, wrap securely, and send to the Presto Consumer Service Department (see page 33). An accurate gauge is
necessary to help prevent food spoilage and possible food poisoning.
Sealing Ring and Overpressure Plug
• Each time the canner is washed, remove the sealing ring and wash in warm, sudsy water, rinse, dry, and replace in cover.
• The sealing ring and overpressure plug should be replaced at least every three years or sooner if sealing ring becomes hard, deformed,
cracked, worn, pitted, or if the canner becomes difficult to open or close. Failure to replace the sealing ring and overpressure plug
could result in bodily injury or property damage. Use only genuine Presto
replacement parts.
• Exposure of the sealing ring and overpressure plug to direct high heat, such as a hot burner or stovetop, will cause the sealing ring
and overpressure plug to deteriorate rapidly. If this occurs, replace these parts.
• Before replacing the sealing ring, clean the sealing ring groove with a brush, if necessary.
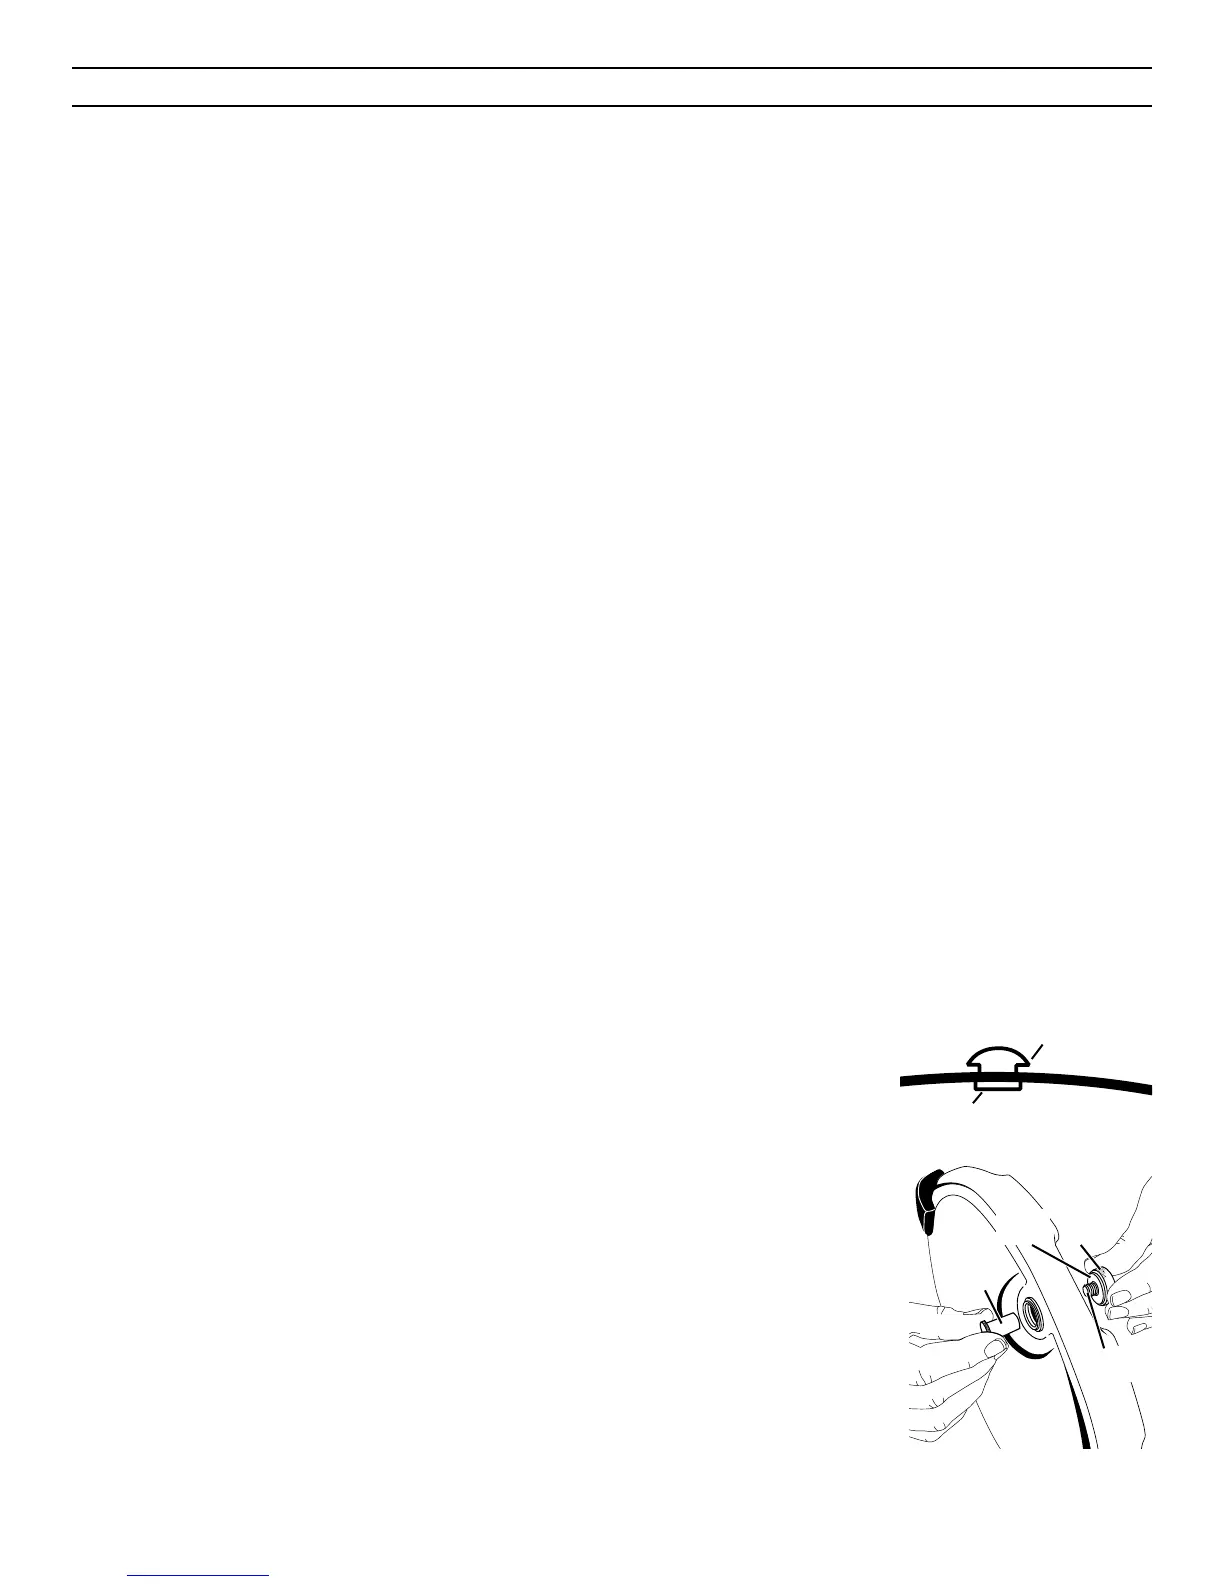
• To clean or replace the overpressure plug, push it out of its opening from the top of the cover. After
cleaning, or when replacing, reinsert the plug by pushing the domed side of the plug into the open-
ing from the underside of the cover, until the bottom edge is fully and evenly seated against the
underside of the cover. When properly installed, the word (TOP) will be visible on the overpressure
plug when viewed from the outside of the cover (Fig. M).
• If the overpressure plug is ever forced out of the cover due to excess pressure while cooking or
canning, it is important to call the Presto Customer Service Department at 1-800-877-0441. Do not
attempt to use the released overpressure plug.
Air Vent/Cover Lock
• The air vent/cover lock may be removed for occasional cleaning or for replacing the small gasket.
To remove the air vent/cover lock, grasp and securely hold the cup portion on the underside of the
cover with your fingers (Fig. N). Using the fingers of your other hand, turn the pin portion of the air
vent/cover lock on the top side of the cover counterclockwise until the pin is free of the cup portion.
Lift the pin out of the cover and remove the cup from under the cover. Carefully pull the small gasket
off the threaded shaft on the cup portion. Wash all parts in warm, sudsy water. Use a soft cloth or
small nylon brush to clean the cover hole.
* Cameo is a registered trademark of Church & Dwight Co., Inc. Presto is not affiliated with Church & Dwight Co., Inc.
Overpressure plug
Indented portion
Cover
TOP
Fig. M
Pin
Cover
Small
gasket
Cup
Fig. N
Threaded
shaft