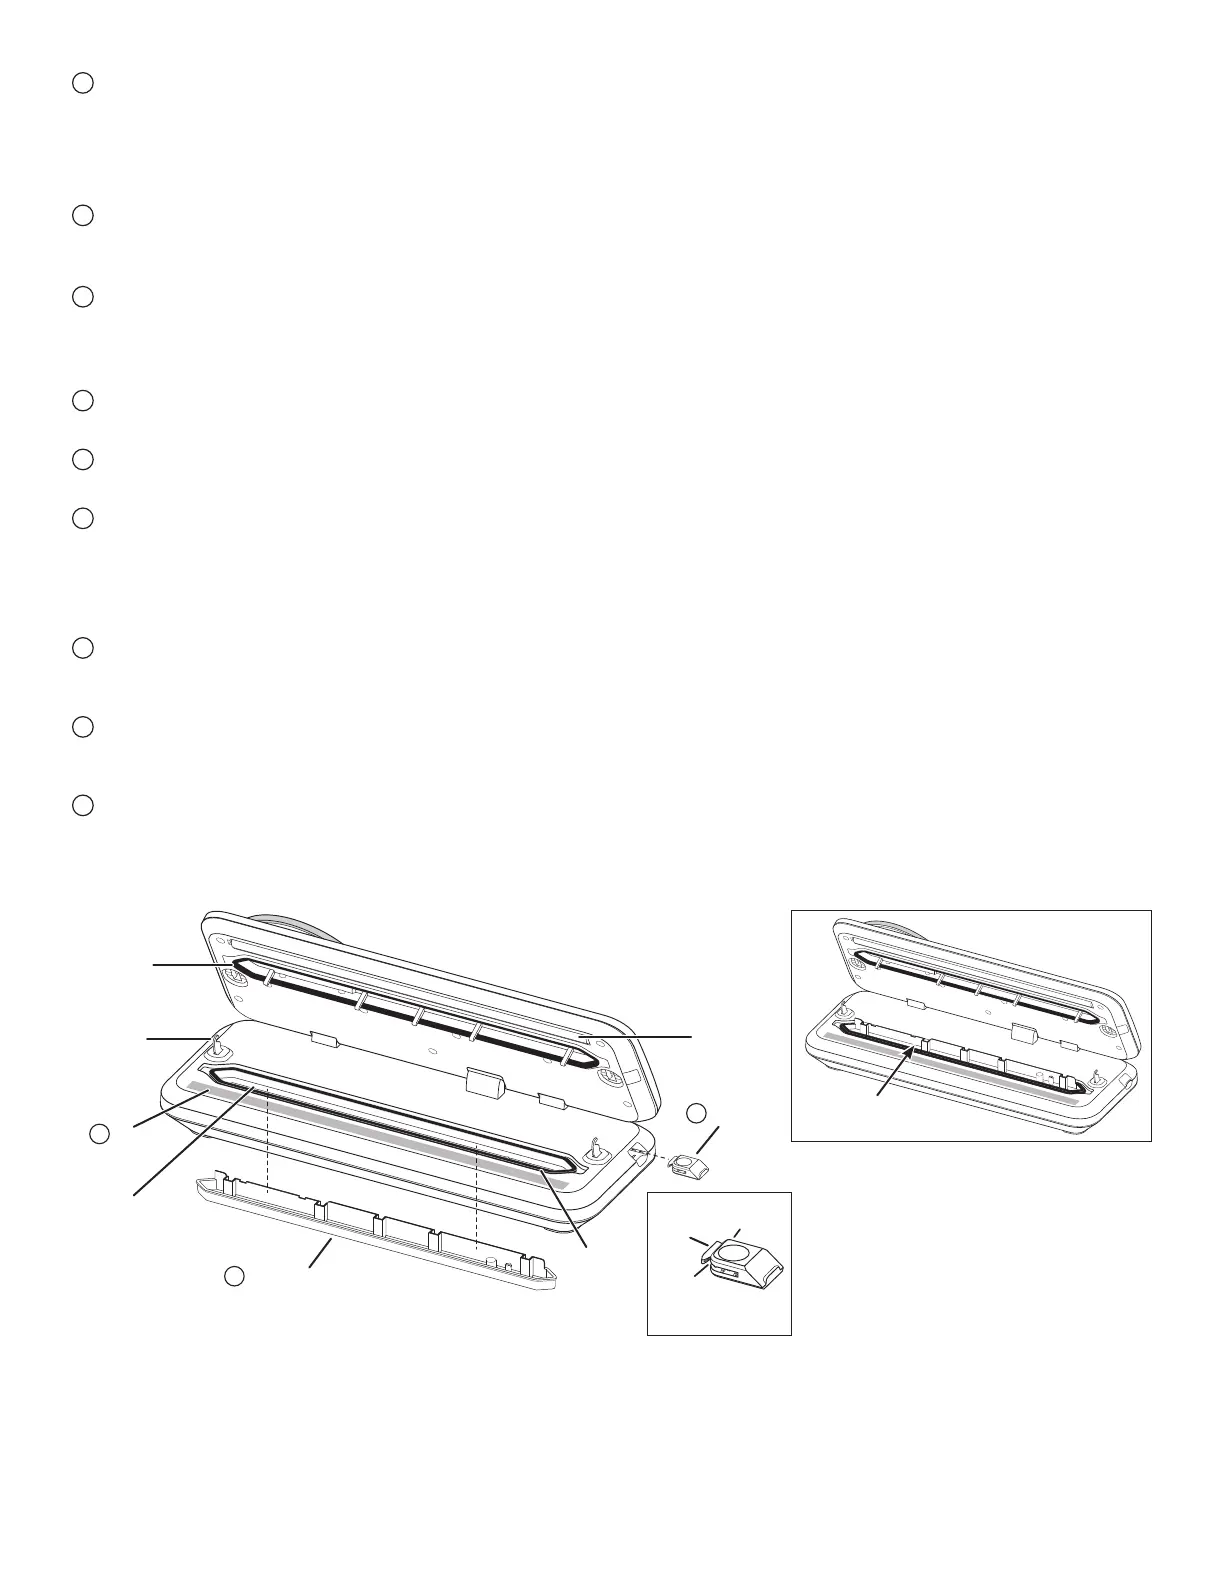
Blade
Magnet
Insert bag cutter into unit so
magnet is toward the back.
Upper sealing
gasket
Lower sealing
gasket
12
Brown
sealing strip
14
Bag cutter
13
Removable drip tray
(shown removed from the unit)
Fig. D
Silicone
contact bar
Locking latch
Vacuum cavity
Drip tray in vacuum cavity
Blade
guard
Fig. E
Fig. F
4
6
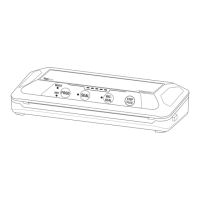
SEAL ONLY MODE
Press the SEAL button to create a bottom seal when making custom bags or to create a top seal on bags without vacuuming. Press this
button at any time during the vacuum sealing process to stop the vacuum process and immediately seal the bag.
NOTE: To ensure a high quality seal, the unit enters a smart protection mode at the completion of the seal function. This mode
prevents consecutive seals from being attempted until the unit has cooled for approximately 15 seconds.
7
DRY/MOIST FOOD MODES
Pressing the FOOD button changes the mode between DRY and MOIST. Select DRY if sealing food or items without moisture; select
MOIST if sealing food that is juicy or contains liquid. The light illuminates next to the food type selected.
8
NORMAL/GENTLE PRESSURE
Pressing the PRESSURE button changes the mode between NORMAL and GENTLE vacuum pressure. Select NORMAL for stronger
vacuum pressure. Select GENTLE for delicate foods or those that may crush easily, such as berries, baked goods, or pretzels. The light
illuminates next to the pressure type selected.
9
VAC AND SEAL MODE
After selecting the food type and pressure, press the VACSEAL button to remove air from bags and create an airtight seal.
10
STOP BUTTON
Press the STOP button any time during use to immediately stop the vacuum/sealing process.
11
VACUUM MARINATE BUTTON
Use this button with vacuum seal zipper bags, storage containers**, bottle stoppers**, and marinate containers**. Be sure to insert the
vacuum tube rmly into the accessory port before using this button. See more information on pages 6 through 8.
NOTE: Disconnect the vacuum tube before making or using custom bags from roll material and before using pre-cut vacuum sealer
bags** without ports.
12
SEALING STRIP
The brown sealing strip (Fig. D) heats the bag material to form a seal. To ensure the bag seals completely, the bag material must be
placed over the sealing strip. Avoid touching the sealing strip immediately after use as it may be hot.
13
REMOVABLE DRIP TRAY
The drip tray fits in the vacuum cavity (Fig. D) and is removable for easy cleaning. It should always be in place when using the
vacuum sealer (Fig. F).
14
BAG CUTTER
The removable bag cutter allows you to make custom-size bags in seconds. The magnet holds it securely in the unit for convenient
storage (Fig. E).
**Vacuum seal storage containers, bottle stoppers, pre-cut vacuum sealer bags, and marinate containers are sold separately. See page 13 for accessories.
INCLUDED ACCESSORIES:
• 8” x 10’ roll of bag material
• 11” x 20’ roll of bag material
• Quart-size zipper bag with port
• Gallon-size zipper bag with port
• Vacuum tube with vacuum and marinate
adapters (shown on page 6)