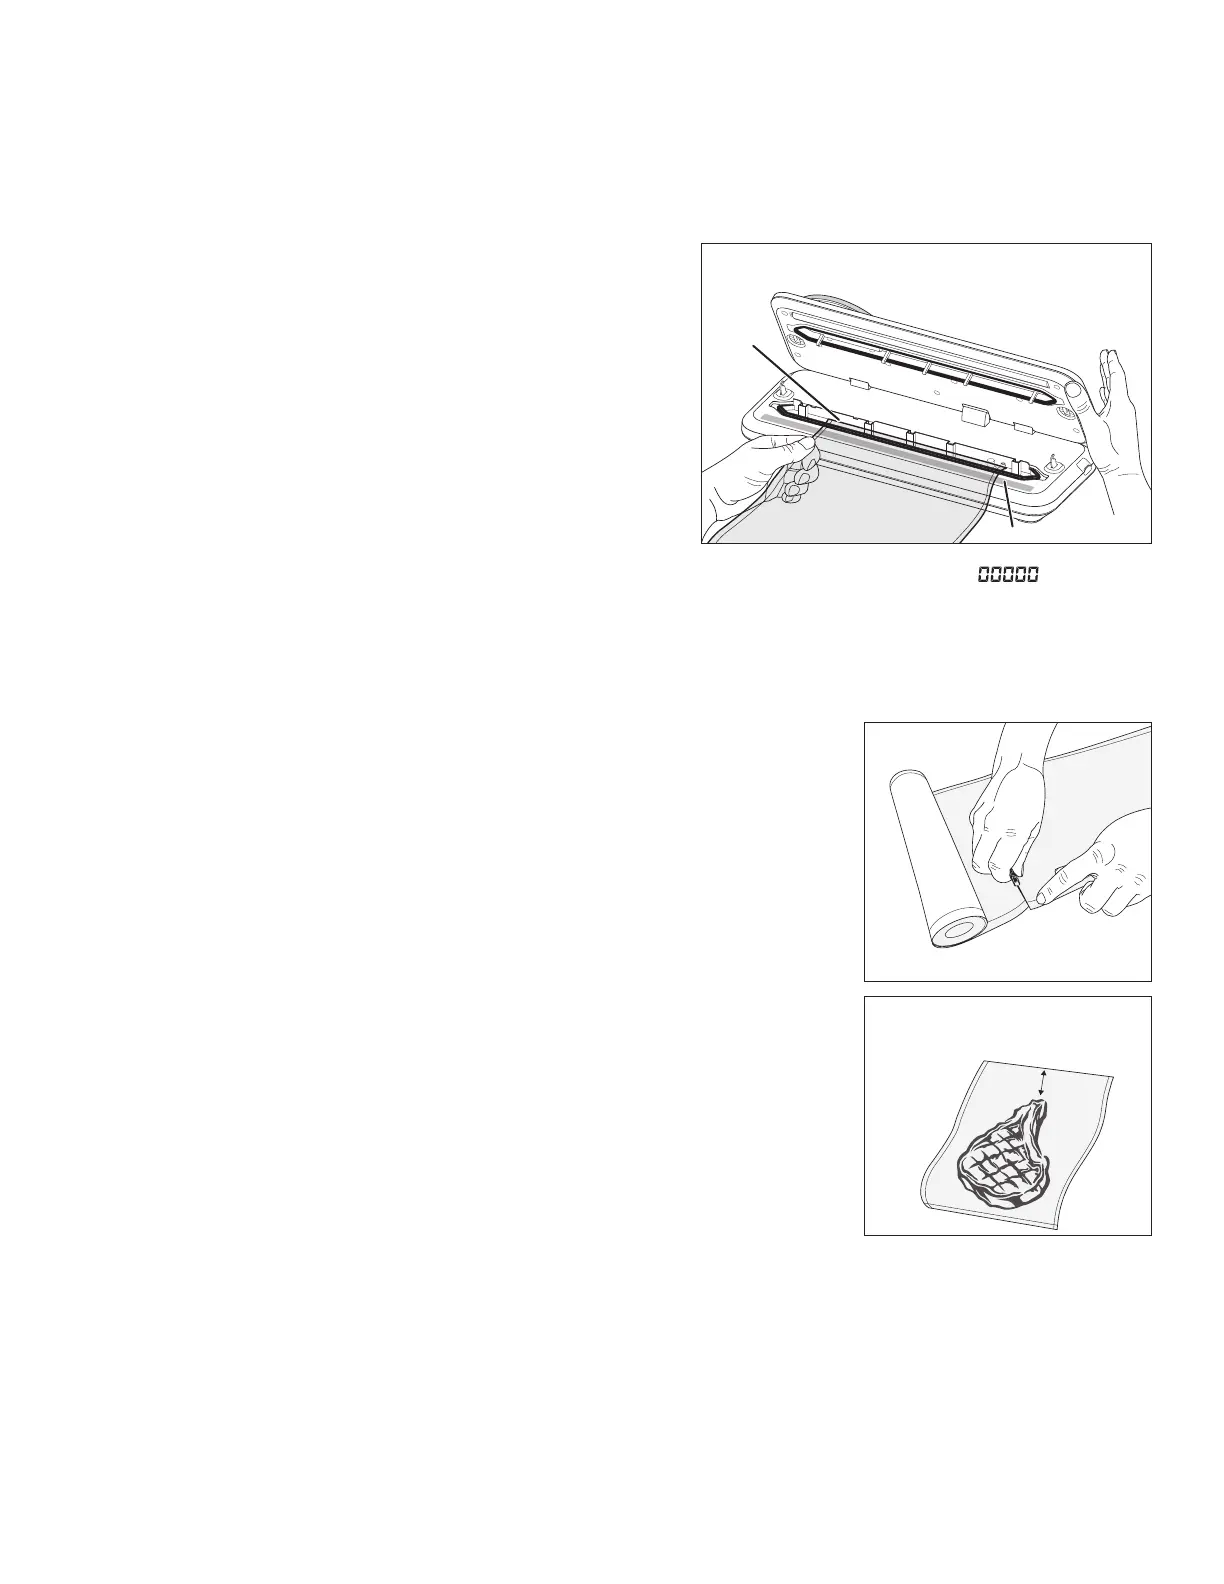
Sealing strip
Fig. G
Position open end of bag material so it overlaps sealing strip.
Proper positioning is the key to a complete seal.
Open end
of bag
material
Cut bag material to desired length.
Fig. H
Fig. I
For thick foods, leave 3 inches of space
between bag contents and open end of bag.
For thin foods, leave at least 2 inches.
3 inches
5
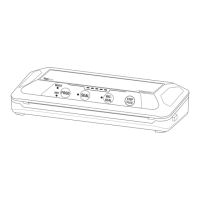
HOW TO USE
Always use the vacuum sealer on a dry level surface. Before using the seal or vacuum seal modes, take all objects off the scale platform
and press the TARE button to reset the scale to zero.
How to Make a Bag from Roll Material
1. Touch the stainless steel open/close bar. You will hear a brief low sound. The display should read OPEN. If it says CLOSE, press the
bar again.
2. Lift the vacuum sealer lid with the thumb of one hand and hold the lid
in the lifted position (Fig. G). Avoid touching the open/close bar. If you
accidentally touch the bar, and hear the low sound, touch the bar again.
3. With your other hand, position the open end of the bag roll material so
the entire end overlaps the
brown sealing strip (Fig. G).
The sealing strip
heats the bag material and forms the seal. Make sure the bag material is
smooth; there should be no folds or wrinkles.
4. Manually lower the vacuum sealer lid and touch the open/close bar. The
display should show the word CLOSE. If it says OPEN, touch the bar
again and verify it says CLOSE.
IMPORTANT: The bag will not seal if the unit is not fully closed and
locked.
5. Press the SEAL button. The word CLOSE will again appear in the
display and the motor will turn on. As the unit warms up and during the sealing process, the display will show a scrolling
pattern. It takes about 15 seconds to create a seal.
The unit will automatically stop when the seal is complete. After a few seconds, the word
OPEN will appear in the display and the unit
will automatically open. The 15 second countdown (protective cooling period) will then appear in the display.
CAUTION! To prevent burns, avoid touching the brown sealing strip immediately after use, as it may be hot.
6. Verify that the seal is complete and it is a smooth straight line. If there are folds or wrinkles in
the seal, cut off the sealed end and repeat the sealing process.
7. Using the food or object you plan to seal, determine the bag length needed. Allow enough
material to hold the item(s) to be sealed plus at least 3 inches above the item if it is thick, such
as meat, or at least 2 inches if the item is thin. If you plan to remove items from the bag and
then vacuum and reseal the bag, leave an additional inch for each time you plan to reseal it.
Place the bag material on the counter and measure from the seal created in step 5.
8. Remove the bag cutter from the right side of the vacuum sealer (Fig. D, page 4). Insert the
edge of the bag material between the blade and the blade guard (Fig. E, page 4). Then hold the
bag material securely with one hand and carefully slide the blade straight across the material
with your other hand (Fig. H). A straight cut is important for a successful seal.
How to Vacuum Seal a Bag
Refer to the vacuum sealing tips on pages 8 and 9. Follow instructions applicable for the type of
food being vacuum sealed.
1. If vacuum sealing moist or messy foods, such as raw meat, turn the top 2 inches of the bag
inside out before filling. That will keep the open end of the bag clean and dry. For other
foods, this step is optional.
2. Fill the bag with the item(s) you want vacuum sealed. If you turned the bag inside out in
step 1, unfold the top of the bag. Verify there are 2 to 3 inches of space between the bag
contents and the sealing end and that the sealing end is clean and dry (Fig. I).
3. Look at the FOOD button and make sure the light next to the type of food you will be
vacuuming (DRY or MOIST) is illuminated. If it is not, press the FOOD button and the other mode will light up.
Look at the PRESSURE button and make sure the light next to the type of vacuum pressure you want (NORMAL or GENTLE) is illumi-
nated. If it is not, press the PRESSURE button and the other mode will light up.