>
Using the A30.1 Integrated Amplifier
4
SWITCHING ON AND OFF
To switch on
• Use the switch under the left-hand edge of the front panel.
During normal operation you can leave the A30.1 switched on and in
standby.
To switch to standby
• Turn the STANDBY control switch on the front panel to STANDBY, or
press the STBY button on the remote control.
To switch on from standby
• Turn the STANDBY control switch on the front panel to OPERATE.
Selecting any function with the remote control will also switch on the A30.1
from standby.
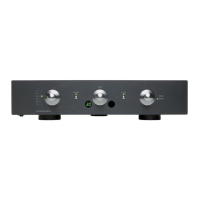
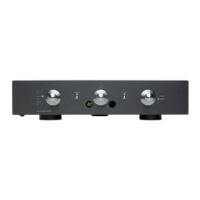
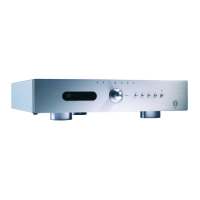
SELECTING A SOURCE
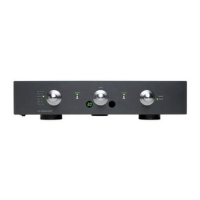
The A30.1 Integrated Amplifier provides a choice of six inputs, labelled: B1,
B2, CD, TV, AU, and TA.
To select a source
• Turn the source selector until the source is indicated on the front panel
display.
• Alternatively, press the SEL A or SEL V buttons on the C30 Remote
Control to step between sources.
CHANGING THE VOLUME
The A30.1 allows you to vary the volume from 0 (silence) to 79 (maximum
volume).
To change the volume
• Rotate the volume control on the front panel, or press the VOL A or
VOL V buttons on the C30 Remote Control.
The current volume setting is shown on the front panel.
CHANGING THE BALANCE
You can change the balance of the sound between the left and right channels
to shift the position of the stereo image.
To change the balance
• Press the MENU button on the C30 Remote Control.
The front panel display shows the current balance setting, where -6
corresponds to the leftmost position, 0 corresponds to centre, and 6
corresponds to the rightmost position.
• Press the VOL A and VOL V buttons on the remote control to adjust the
balance.
• Press the MENU button again to revert to the normal volume display.
Alternatively the normal display will revert automatically after four seconds.
§2 Using 14/5/01, 2:00 pm4