MOUNTING AND AIMING THE CAMERA
Mounting
After the setting the camera's time/date and other options
to your preferences, you're ready to take it outside and
begin capturing images of animals in the area you want to
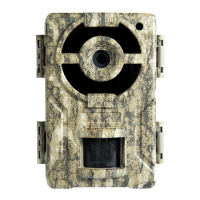
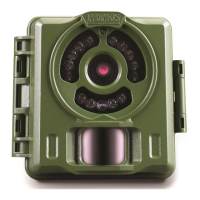
monitor. When setting up the Primos Mug Shot Trail
Camera for scouting game or other outdoor applications,
you must be sure too mount it in place correctly and
securely.
There are two ways to mount the Primos Mug Shot Trail
Camera: using the provided adjustable web belt,
or the
tripod socket.
Using the adjustable web belt:
Push one end of the belt
through the two bracket on the back of the Primos Mug
Shot Trail Camera. Thread the end of the belt securely
around the tree trunk by pulling the end of the strap firmly
so there is no slack left. Note: it is not possible to use a
cable lock (in the upper part of the bracket) and the web
belt at the same time.
Using the tripod socket: The camera is equipped with a
socket at the bottom end to enable mounting on a tripod or
other mountin
g accessories that use a standard 1/4-20
thread.
Sensing Angle and Distance Test
To test whether the Primos Mug Shot Trail Camera can
effectively monitor the area you choose, this test is
recommended to check the sensing angle and monitoring
distance of the Primos Mug Shot Trail Camera. To perform
the test:
Switch the camera’s Power Switch to AIM. You can
ignore the Setup display, no need to change any settings
(provided you already set the time/date and other Setup
Mode options in ad
vance).
Make movements in front of the camera as several
positions within the area where you expect the game or
subjects to be.
Try different distances and angles from the camera.
If the AIM/Status LED blinks, it indicates that position
can be sensed. If it doesn’t blink, that position is outside
of the sending area.