WINDOWS 7/8 instruction guide for your Printrbot printer and computer software
Select the Preview tab and you will be able to see the sliced model
You are now ready to print your model.
Ensure that the printer power supply is connected and switched on, the USB cable is connected
and that the Connect button is green. You can if desired, press the Toggle Log button to show the
G code operation as the print progresses at the bottom of the screen
Press the Start Print Button.
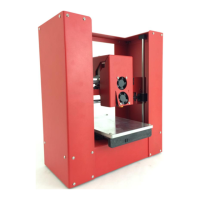
The printer will probe the bed, heat
the nozzle to 200’C (this will take some
time) and when the nozzle is at the correct temperature, it will start to print the cube.
I would suggest that maybe you do this a couple of times to get used to the process.
Alter the amount of infill, more infill will give you a stronger print but will take longer to print and
of course use more filament.
Your second print
The fan shroud will be your next print. As before, download, unzip and load the stl model into
Repetier. Repeat the previous process. We suggest a 50% fill.
Page 18 of 23