10
4
77
59
45
95
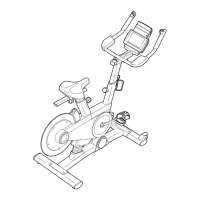
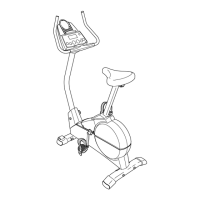
4. Using a plastic bag to keep your fingers clean,
apply some of the included grease to the right
Crank Arm (20).
Next, identify the Right Roller Arm (59), orient
it as shown, and slide it onto the right Crank
Arm (20).
Attach the Right Roller Arm (59) with an
M8 x 20mm Screw (95) and a Crank Cover (77);
make sure that the Crank Cover is oriented
as shown in the inset drawing.
Repeat this step for the Left Roller Arm (45).
20
Grease
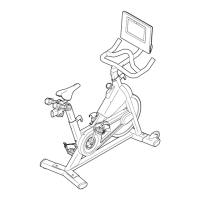
5. Tip: Avoid pinching the Upper Wire (110).
Have a second person hold the Upright (4) on
the Frame (1).
Tip: Two M10 x 25mm Screws (92) are
preattached to the Frame (1).
Attach the Upright (4) with two additional
M10 x 25mm Screws (92); do not fully tighten
the Screws yet.
5
Avoid pinching the
Upper Wire (110)
4
1
92
92
110
95
77
 Loading...