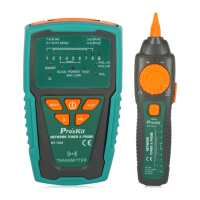
2) As the Figure 1 shown, when push , the indicator of “POWER/
BAT LOW” will light up and turn on the power. Push button
for cable tracing. When the RED indicator flickers, the low-tone
cable tracing is working. Push button again to feature the
high-tone cable tracing, the RED indicator will flicker faster. Push
button again, the RED indicator will stop and standby for next
operation.
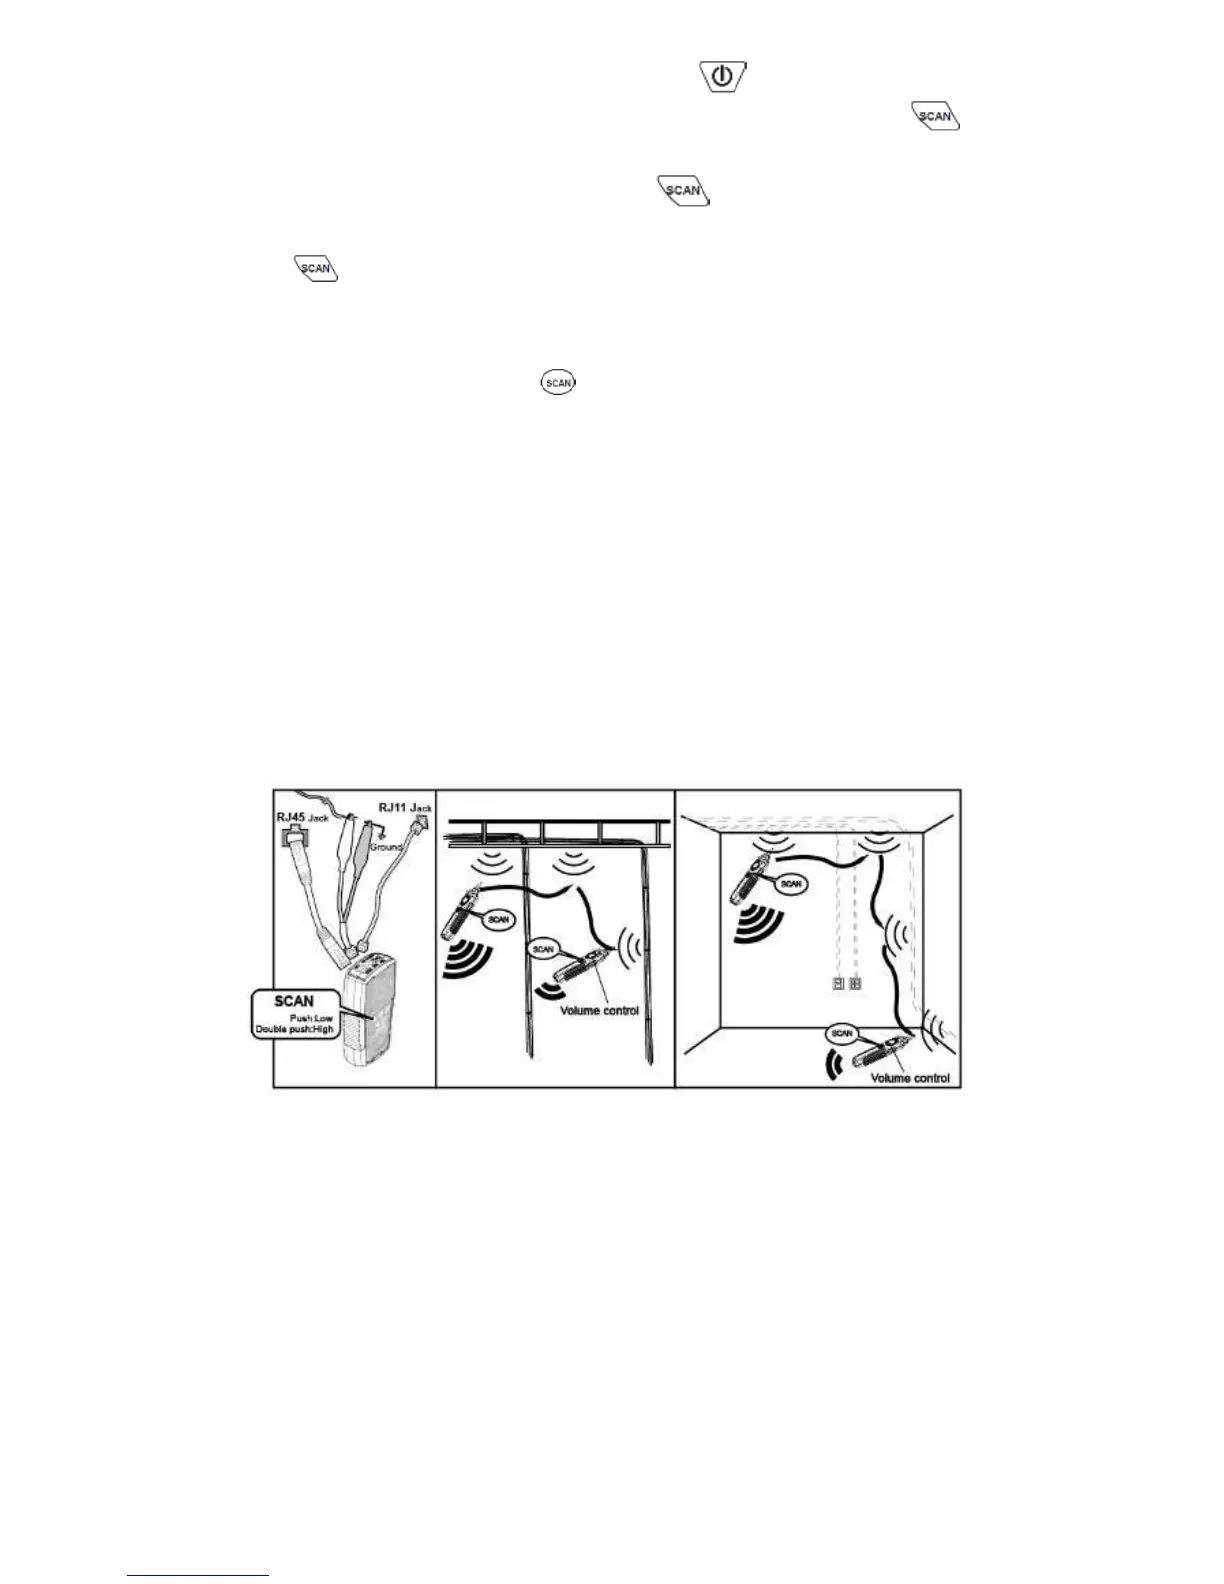
3) As the figure 1 shown, place the receiver function switch at "scan"
or "LED", and push “ ” on receiver to operate cable tracing
function. The tracing sound will be output from speaker. When put
on earphone, there will be no sound from speaker, but from the
earphone.
4) Use the Receiver to find the general location of the tone at a cable
rack, patch panel, or behind a wall. In locating mode, the
Receiver’s signal status indicator LED will light up, the LED
brightness depends on signal strength, if the indicator does not
light up, there is no signal.
5) Adjust the volume control on the receiver to locate the wire pairs
from 10cm to 30cm.
Figure 1 Locating cables
3. Isolating Cables
To isolate the tone source in the cable bundle or at the patch panel, do the
steps as described in the previous section of “Locating Cables”.
1) Strip the cable’s shield to a length of between 30 to 45 centimeters
and divide the wires into two parts. Do the wire separation to
isolate the cables to verify the signal of each part. If the beeper
gets louder and LED lights up, you have located the position you
are looking for.
2) Adjust the volume control from high low to locate the wire that