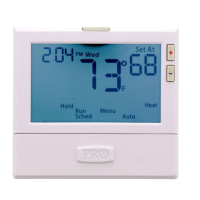
Tech Setup Steps
Adjustment Options
DefaultLCD Will Show Tech Setup Steps
Adjustment Options
Default
LCD Will Show
Technician Setup Menu
Technician Setup Menu
This feature allows the installer
to change the calibration of the
room temperature display. For
example, if the thermostat reads
70˚ and you would like it to read
72˚ then select +2.
OFF
This feature will ash a reminder
after the elapsed run time to
remind the user to change the
lter. A setting of “OFF” will
disable this feature.
Filter Change
Reminder
You can adjust the lter
change reminder from “OFF”
to 2000 hours of runtime in
50 hour increments.
Tech Setup Steps
Room
Temperature
Calibration
0˚F
You can adjust the room
temperature display to read
up to 4˚above or below the
factory calibrated reading.
Adjustment Options Default
LCD Will Show
FILTER
OF
0
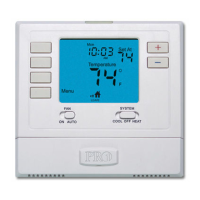
This thermostat has a technician setup menu for easy installer
conguration. To set up the thermostat for your particular application:
1. Press the MENU button.
2. Press and hold the TECH SET button for 3 seconds. This 3
second press is designed so that homeowners do not accidentally
access the installer settings.
3. Scroll through the installer options as desired using the table below.
Use the or keys to change settings and the NEXT
or PREV key to move from one step to another.
Note: Only press the DONE key when you want to exit the
Technician Setup options.
4. Press the DONE key to exit.
The swing setting often called
“cycle rate”, “dierential” or
“anticipation” is adjustable. A
smaller swing setting will cause
more frequent cycles and a larger
swing setting will cause fewer
cycles.
Cooling
Swing
The cooling swing setting
is adjustable from 0.2˚ to
2˚. For example: A swing
setting of 0.5˚ will turn the
cooling on at approximately
0.5˚ above the setpoint
and turn the cooling o at
approximately 0.5˚ below
the setpoint.
0.5
0.5˚
Swing Setting Tip
The second stage will turn on at 2x the swing setting. The second stage will
turn o when 1x the swing is reached. For example, if the swing setting is .5
degrees for heating and the thermostat is set at 70˚F, the rst stage will turn
on at approximately 69.5˚F. The second stage will turn on at 69˚F. The second
stage will turn o at 69.5˚F and the rst will turn o at 70.5˚F.
COOL SWING
CALIBRATE
Keypad
Lockout
Keypad lockout allows you to
congure the thermostat so some
or all of the keys don’t function.
Use the and buttons to
select OFF, BASC, PART, FULL
OF - OFF= keypad lock-
out has been disabled.
BA - BASIC = basic keypad
lockout locks the menu key.
PA - PARTIAL= partial keypad
lockout, which locks all the
keys except the or setpoint
keys.
FU - FULL= full keypad
lockout, which locks out all
the keys.
OFF
KEY
LOCKOUT
OF
This feature allows you to set a
minimum cooling setpoint limit.
The setpoint temperature cannot
be lowered below this value.
Cool
Setpoint
Limit
Use the or key to
select the minimum cooling
setpoint.
COOL LIMIT
CO
44˚F
This feature allows you to display
temperatures in either Fahrenheit
or Celsius.
˚F or ˚C
˚F for Fahrenheit
˚C for Celsius
˚F
F OR C SET
F
o
You can select either a 12 or 24
hour clock setting.
12 or 24
Hour Clock
Use the or key to
select 12 or 24 hour clock.
12H
CLOCK SET
12
The display light can be
congured to stay on all the
time or turn on when any key
is pressed. There are LOW and
HIGH selections for continuous ON
selection.
NOTE: The thermostat will need to be
hardwired in order for the LOW and
HIGH display light functions to work
properly. “ALWAYS ON LIT” will alter-
nate in the text eld with “HARDWIRE
ONLY” when HIGH is selected. These
prompts will alternate every three
seconds.
If the thermostat is hardwired
this feature will default to LOW.
Display
Light
Use the and buttons
to select OFF, LOW, or HIGH.
OFF congures the display
light to come on when the
light key or any button is
pressed.
LOW congures the display
light to stay on at a low
intensity constantly. When a
button is pressed, the display
light will transition to high
intensity.
HIGH congures the display
light to remain on at high
intensity all the time.
ALWAYS ON LIT
dL
OFF
HARDWIRE ONLY
dL
LOW
If
Hardwired
If Battery
Powered
This feature allows you to put
your phone number in the
display. You can choose ON or
OFF.
Notes:
If contractor call number is selected
ON, the phone number entered will
show in the display if there has been a
continuous call for heating or cooling
for 24 hours or if the light button is
held down for 3 seconds. To remove
the phone number from the display,
hold the light button down for 3
seconds.
Contractor
Call Number
If selected ON, you will see
the input screen after
pressing NEX T STEP. Use the
or button to select
the desired number and
the FAN or SYSTEM key to
move from one character to
another. See note below for
operation.
OFF
OF
PHONE NUMBER
Contractor Call Number Note
If contractor call number is selected ON, the phone number entered will
show in the display if there has been a continuous call for heating or
cooling for 24 hours or if the light button is held down for 3 seconds. To
remove the phone number from the display, hold the light button down
for 3 seconds.
Technician Setup Menu
Enables a reminder for the user to
change the UV light bulb.
UV Lamp
Reminder
Use the or key to
select OFF, 1 YR, 2 YR
OFF
UV LAMP
Enables a reminder for the user
to change the IAQ Cell after
25,000 hrs.
IAQ Cell
Reminder
Use the or buttons to
select OFF, or 25 (stands for
25,000 hours).
IAQ CELL
OFF
OFF
OFF
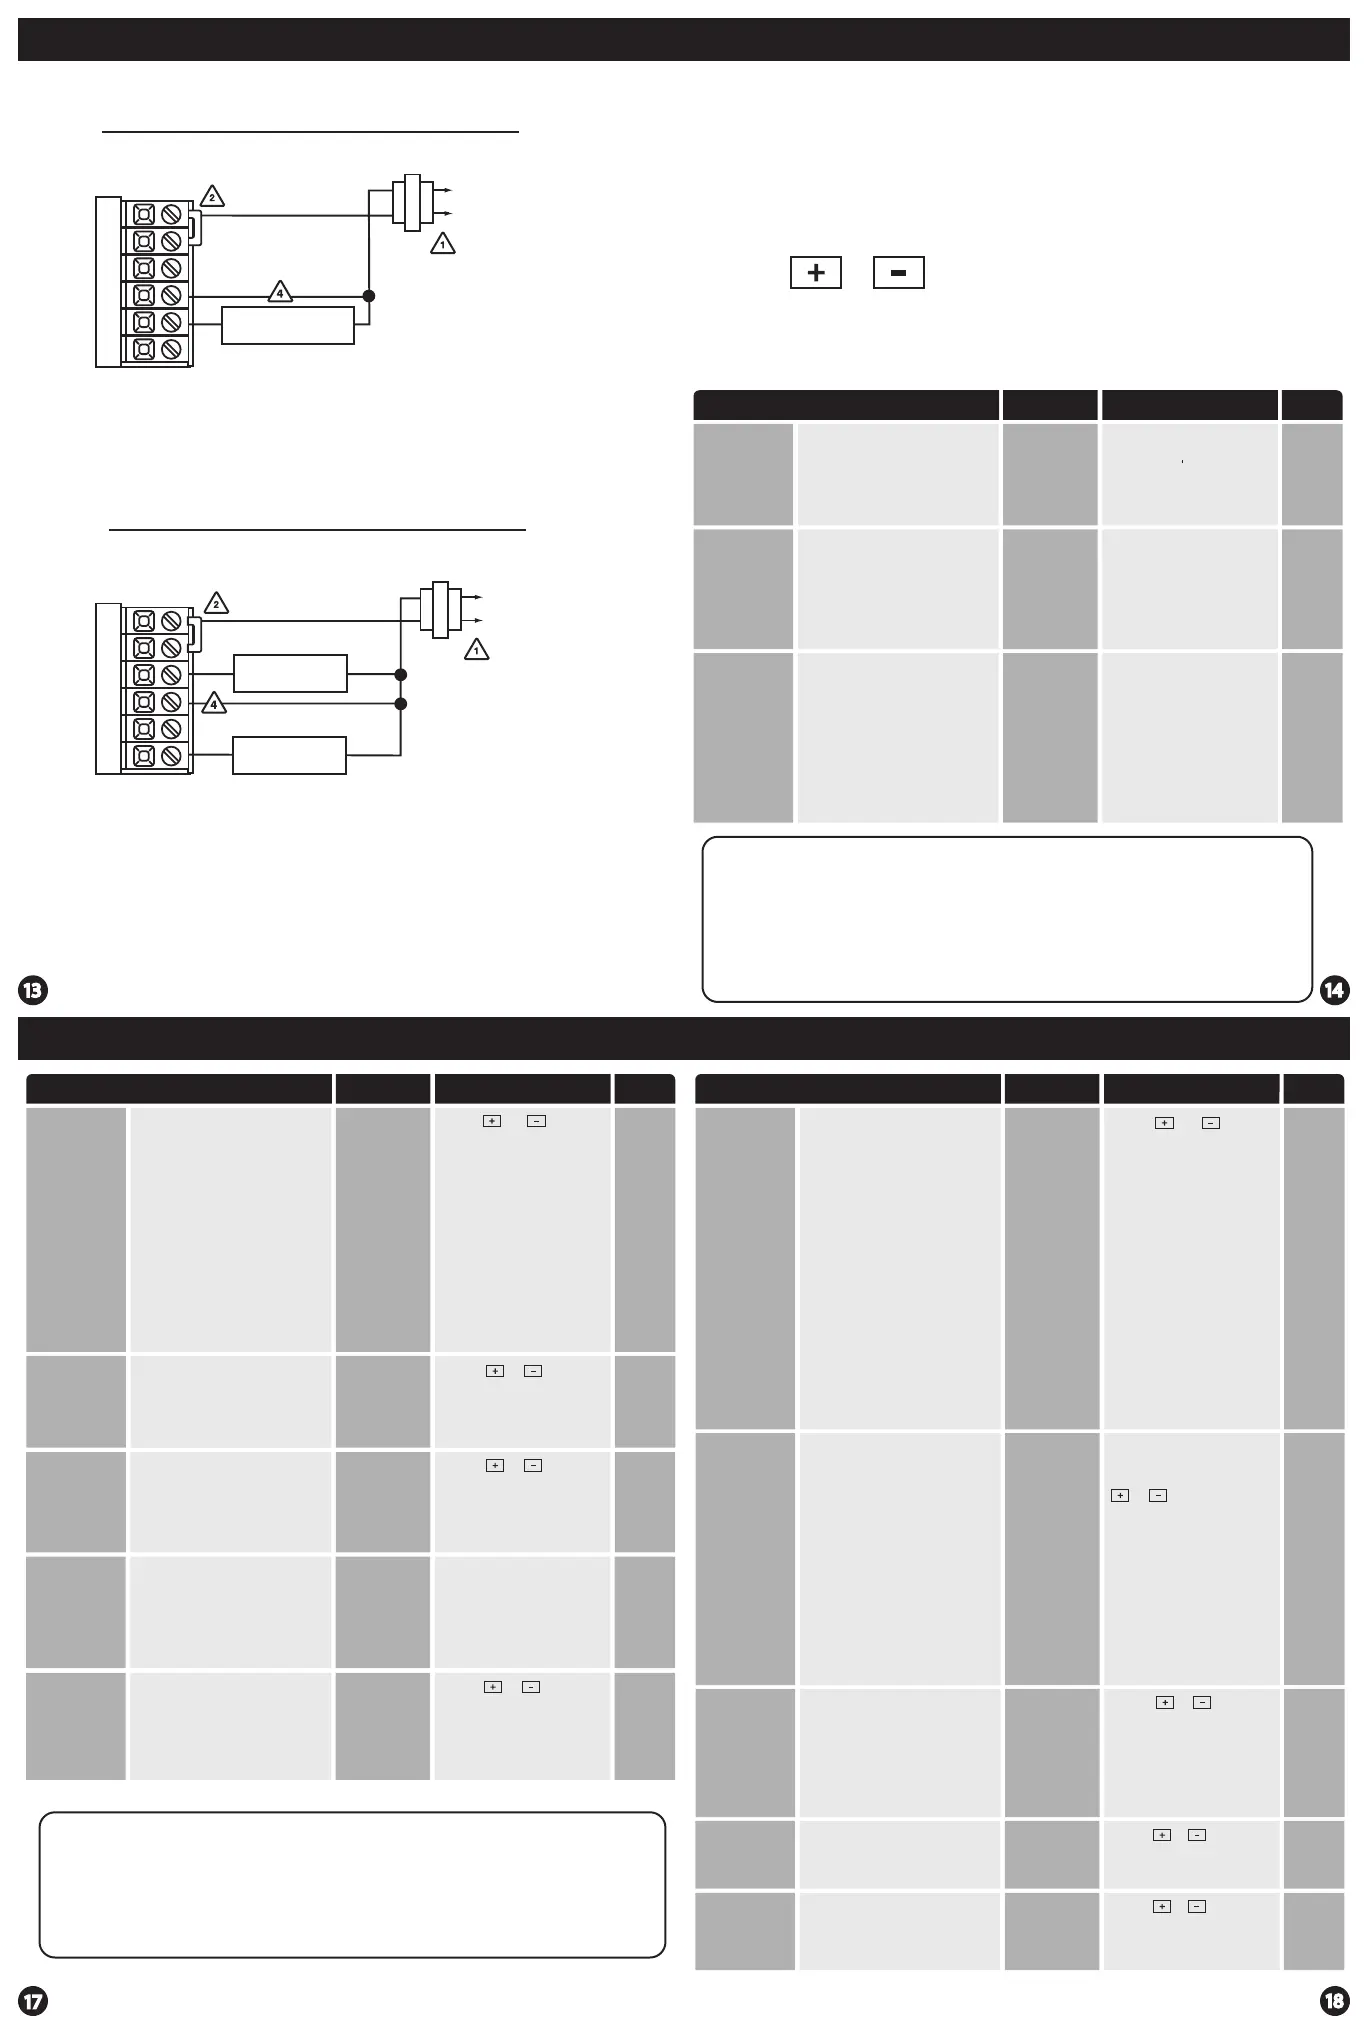
Typical Heat-Only System
Typical Cool-Only System
Wiring Diagrams
RC
Y
C
W
G
RH
HEAT RELAY
C
R
L2
L1 HOT
L2
RC
Y
C
W
G
RH
COMPRESSOR
RELAY
FAN RELAY
C
R
L2L2
L1 HOT
This feature allows you to set a
maximum heating setpoint limit.
The setpoint temperature cannot
be raised above this value.
Heat
Setpoint
Limit
Use the or key to
select the maximum heat
setpoint and the minimum
cooling setpoint.
HEAT LIMIT
HE
90˚F
Enables a reminder for the user to
change the humidity pad.
Humidity
Pad
Reminder
Use the or key to
select OFF, 600, 1000, 1500,
or 2000. These represent
hours of heat operation.
OFF
HUMIDITY PAD
OFF
 Loading...