Do you have a question about the PROCEED AMP2 and is the answer not in the manual?
How to unpack the Proceed AMP 2 or AMP 3 power amplifier and keep packing materials.
Placing the Proceed AMP near the preamplifier/control center or loudspeakers.
Ensuring adequate clearance for heat dissipation through air circulation.
Identifying the correct AC operating voltage for your location on the AMP's bottom label.
Each audio channel has its own dedicated power supply for superior imaging.
Addresses power supply impedance for optimal performance and freedom of current access.
Allows configurable balanced or single-ended inputs for noise immunity and compatibility.
Features eight 150-watt power transistors per channel, tested and sorted for reliability.
Includes DC output protection, thermal shutdown, and inrush limiting for safety.
Explains Lucasfilm's standards for Home THX audio systems and the AMP's certification.
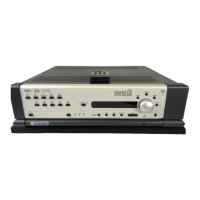
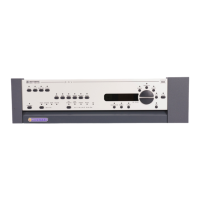
Controls amplifier power and responds to remote turn-on signals.
Shows the operational status of the amplifier (on, standby, or no power).
Connects the AC power cord to the amplifier.
Allows remote control of amplifier power status.
Location and replacement values for the mains fuse.
Gold-plated posts for connecting loudspeakers, recommending high-quality cable.
Accepts balanced signals via XLR connectors, detailing pin assignments.
Selects between XLR and RCA inputs, adjusting gain and disabling unused input.
Accepts single-ended inputs from preamplifiers via RCA outputs.
Reconfiguring circuitry to act as a single, larger amplifier for increased power output.
Using preamplifier's balanced outputs with a Madrigal Balanced Bridging Kit.
Details the Madrigal Bridging Kit for connecting to XLR inputs.
Step-by-step guide for connecting the balanced bridging input adapter.
Bridging using single-ended (RCA) outputs with a Madrigal Single-Ended Bridging Kit.
Details the Madrigal Single-Ended Bridging Kit for connecting to RCA inputs.
Step-by-step guide for connecting the single-ended bridging input adapter.
Uses a Y-adapter to provide a full range signal to two amplifier channels.
Illustrates horizontal and vertical biamping configurations for loudspeakers.
Covers defects in material and workmanship for ninety days from purchase.
Offers repair or replacement for defects for five years from purchase.
| Type | Stereo Power Amplifier |
|---|---|
| Channels | 2 |
| Power per channel @ 8 Ohms | 100 W |
| Frequency Response | 20 Hz - 20 kHz |
| Damping Factor | >100 |