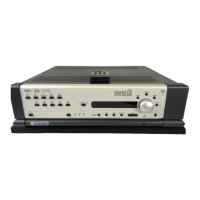
Do you have a question about the PROCEED HPA 3 and is the answer not in the manual?
Instructions for safely removing the Proceed HPA 3 Power Amplifier from its packaging and storing materials.
Guidance on positioning the Proceed amplifier for optimal operation and ventilation, considering clearance and surfaces.
Recommendations for ensuring adequate airflow around the amplifier to prevent overheating and maintain performance.
Dedicated power supply per channel for superior imaging and separation.
Design focus on ample power access for maximum audio circuitry performance.
Flexibility to use balanced or single-ended inputs for noise immunity and compatibility.
Use of matched transistors and overbuilt design for performance and reliability.
Protection against DC, short circuits, and overheating for amplifier and speaker safety.
Description of the main power button function, standby mode, and remote turn-on.
Explanation of standby button for output stages and remote trigger input.
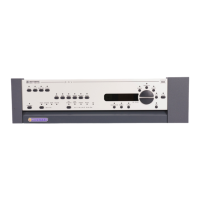
Details the function and meaning of front panel power and standby indicator lights.
Information on connecting the AC power cord to the amplifier's IEC receptacle.
Overview of RJ-45 ports for inter-component communication and system integration.
Details on using 1/8" jacks for remote turn-on via 5-12V DC triggers.
Instructions for connecting balanced audio signals via XLR connectors and pin assignments.
Explanation of the switch to select between balanced XLR and single-ended RCA inputs.
Instructions for connecting single-ended audio signals via RCA connectors.
Details on connecting loudspeakers using gold-plated binding posts and recommended cable termination.
Defines bridging as reconfiguring two channels into one larger amplifier for increased power.
Guidance on bridging using balanced outputs from a preamplifier.
Details on using the Madrigal Balanced Bridging Input and Output Adapters for proper connection.
Instructions for bridging using single-ended (RCA) outputs from a preamplifier.
Details on using the Madrigal Single-Ended Bridging Input Adapter for connection.
Using an active electronic crossover to divide frequencies for separate amplification.
Using a Y-adapter to send a full-range signal to two amplifier channels.
Details the initial 90-day warranty period and registration requirements.
Information regarding the optional five-year extended warranty and its coverage.