6
Chapter 2: Getting Started
CAUTION: If you have purchased the bicycle by mail order or through a sales channel whereas your
new G Plus Stride R is still in the box, it is recommended you read Chapter 3 “Basic Instructions” section g
“Before your first ride” prior to your first ride. There may be additional adjustments required due to harsh
shipping by the freight carrier.
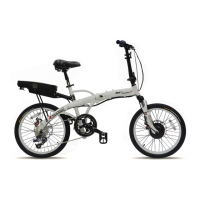
a) Unpacking your box
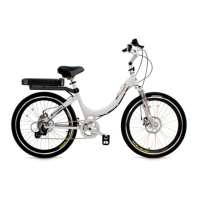
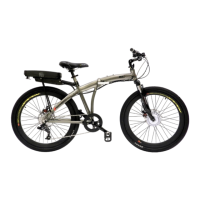
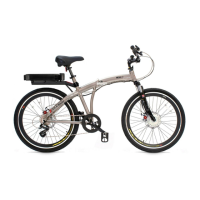
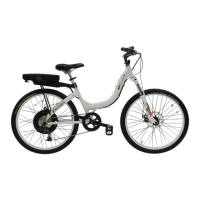
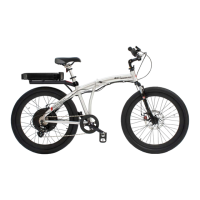
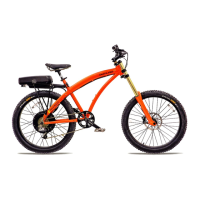
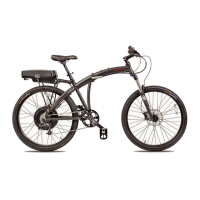
Your G Plus Stride R arrives fully assembled in it’s box other than need for the insertion of the seatpost and
handlebar stem. You can learn on how to insert the seatpost and adjust for your height in Chapter 3 “Basic
Instructions” section b “Adjusting the saddle”. The insertion of the stem and tightening of the stem bolt is detailed on
Chapter 3 “Basic Instructions’ section c “Installing and adjusting the stem”.
The G Plus Stride R has been fully tested and adjusted prior to being packed in the Heavy Duty double wall box
with expanding foam fitting system. To remove the G Plus Stride R from it’s box, simply remove the top layer of
expanded foam (wrapped in a thin film) and place one hand under the front portion of the frame and the other hand
under the center of the frame. Pull up slowly and the bicycle will lift out of the box. Remove the bottom layer of
expanded foam (if attached to bicycle) and set the bicycle down by balancing the bicycle on the opened kick stand
and both wheels. The kick stand also performs as a crankset protector. To unfold the bicycle, read the following
paragraph, section b.
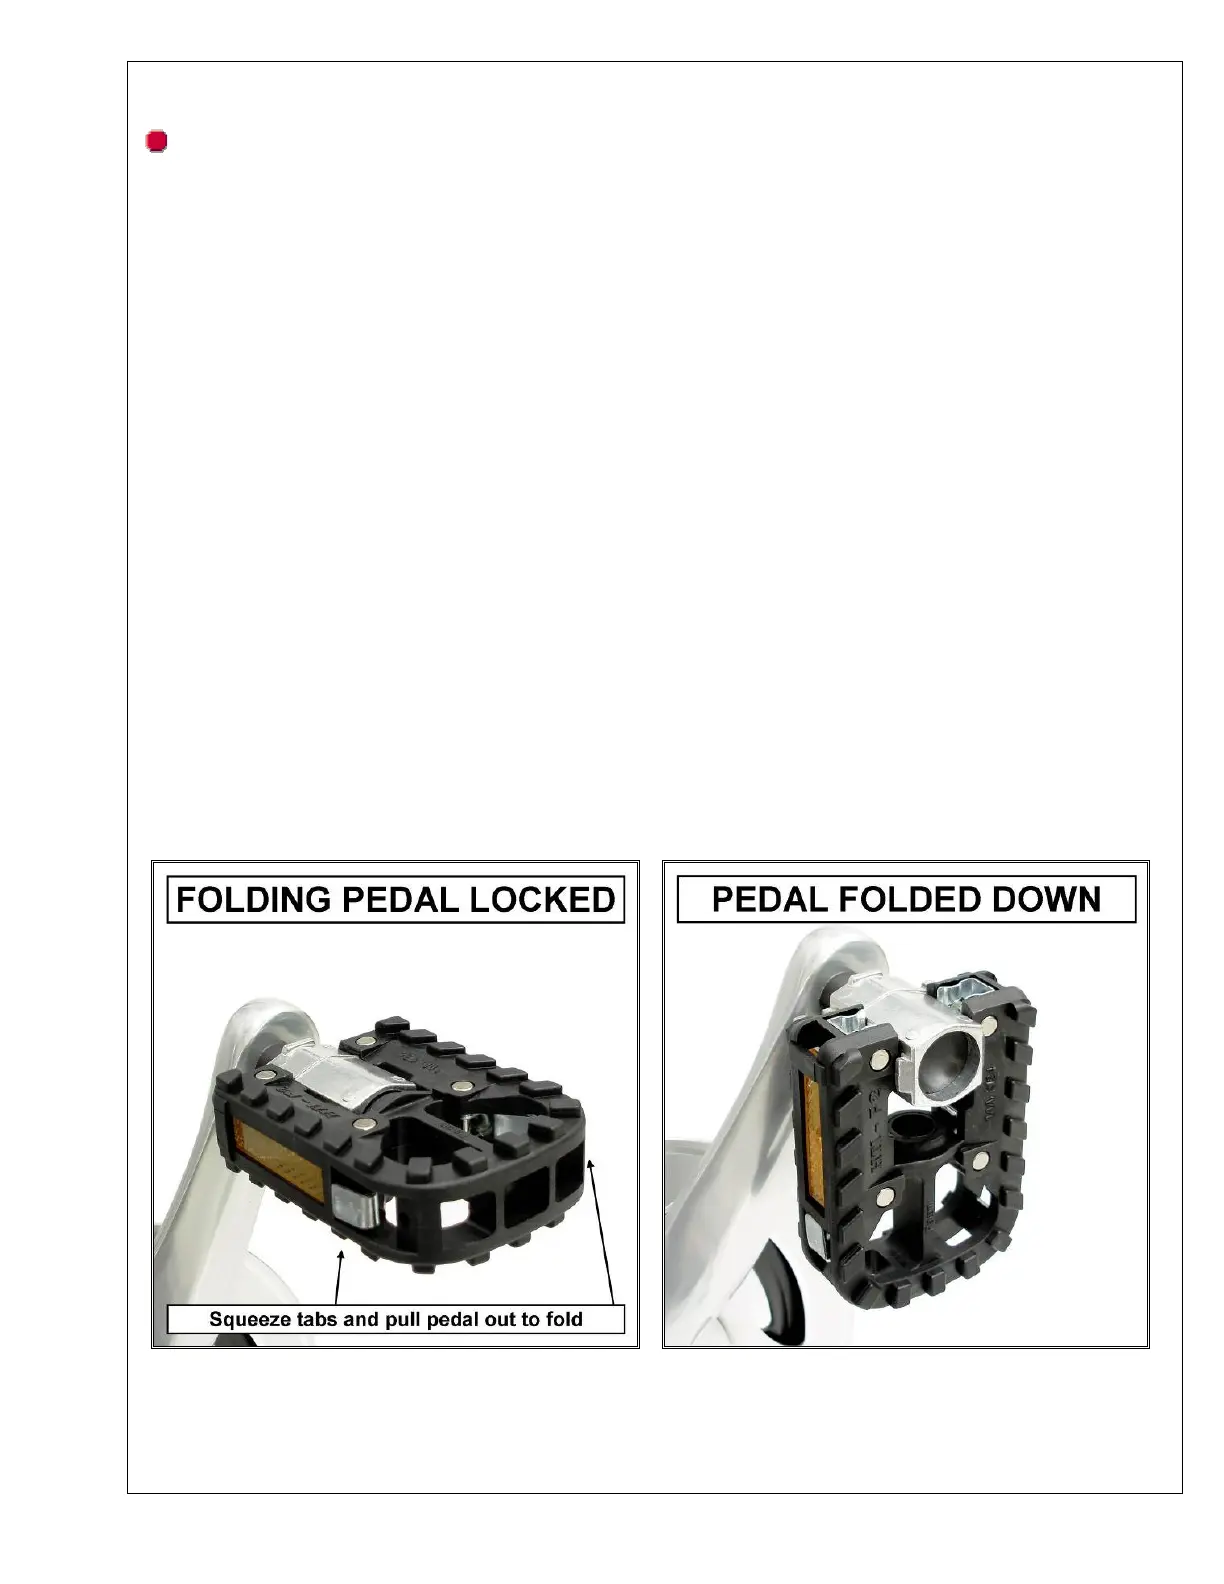
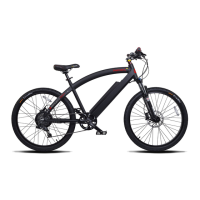
b) Folding pedals
The bicycle arrives with the pedals folded downwards to allow for a slimmer fit in the box. To unfold each pedal,
lift a pedal parallel with the ground (90º to the crank arm) and push in the two metals tabs on the side of the pedal.
Push the pedal firmly in place until you feel the pedal locks. The nylon platform of the pedal should be even with
the aluminum body at the back of the pedal. The two tabs do not have to be pressed if you firmly hit the outside
edge of the pedal with your palm to push the pedal its locking place.
The pedals can be folded again by squeezing the same two metal tabs on the outside edges of each pedal,
pulling the pedal outwards and then pushing the pedal down.