8 9
MT2 FEATURES MT2 FEATURES
1
2
3
4
5
6
7
8
4
9
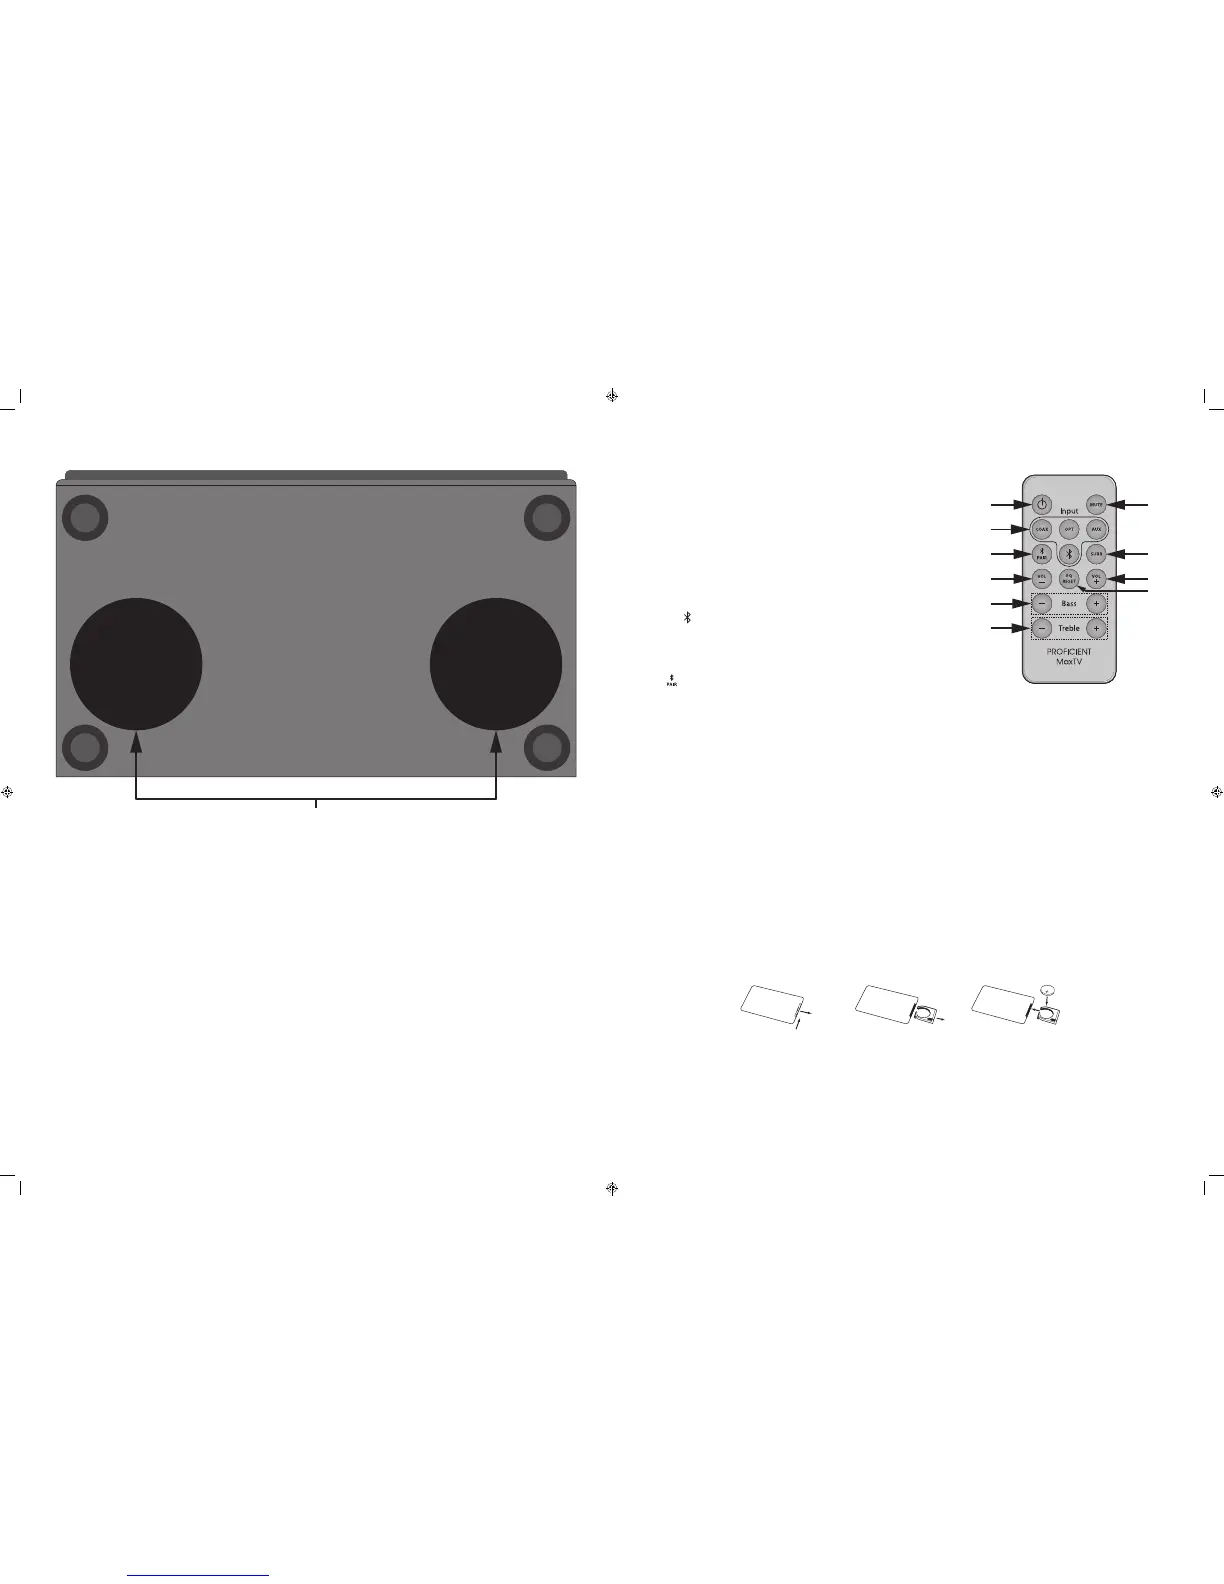
MT2 IR REMOTE CONTROL
1. POWER - Press this button to turn the MT2 ON/OFF. (Power switch on the
MT2 rear panel must be in the ON position.)
2. INPUT - Press to select a connected source. The MT2 Front Panel Status
LED will flash once to indicate a change in input selection.
COAX - Press to select the Digital Coaxial Input.
OPT - Press to select the Digital Optical Input.
AUX - Press to select the L&R Line Level Audio Input.
- Press to select a paired Bluetooth device. A Bluetooth device
must be paired to the MT2 for audio output. A paired Bluetooth
device will remain ‘connected’ after changing inputs as long as
the Bluetooth device has not moved out of range, turned off or
otherwise disconnected.
3. - Press this button to initiate Bluetooth pairing mode. The Front Panel
Status LED will rapid flash blue. The MT2 will output a pairing code that
will be picked up by any active Bluetooth device that is within range of the
MT2. See section: Pairing A Bluetooth Device for additional information.
4. VOLUME ± - Press VOL - to reduce volume. Press VOL + to increase volume.
5. BASS ± - Press BASS - to reduce low frequency output. Press BASS + to
increase low frequency output.
5. TREBLE ± - Press TREBLE - to reduce high frequency output. Press TREBLE +
to increase high frequency output.
7. MUTE - Press this button once to mute the MT2, (no audio output from
the speakers). Press this button again to un-mute the MT2, (audio output
from the speakers).
8. SURR - Press this button to activate the simulated surround audio mode.
Press again to turn Surround Mode OFF.
9. EQ RESET - Press this button to cancel any changes to the Treble & Bass
controls.
Remote Control Battery Replacement CAUTION:
WHEN REPLACING THE LITHIUM BATTERY IN THE REMOTE, MAKE SURE THAT THE REPLACEMENT BATTERY IS INSERTED
IN CORRECT POLARITY. PLACE THE BATTERY SO THAT ITS POSITIVE + SIDE FACES UP WITH THE TRAY HELD SO THAT THE
SURFACE WITH THE DOT AND + IS FACING UP.
CAUTION: DANGER OF EXPLOSION IF BATTERY IS INCORRECTLY REPLACED.
REPLACE ONLY WITH THE SAME OR EQUIVALENT TYPE CR2025.
WARNING: DO NOT EXPOSE BATTERIES TO EXCESSIVE HEAT SUCH AS DIRECT SUNLIGHT, FIRE OR THE LIKE.
DISPOSE OF DEAD BATTERIES IN ACCORDANCE WITH LOCAL REGULATIONS.
Remote Control Battery Installation
Push small tab toward
battery slot.
Pull battery drawer out. Insert battery with “+” side up,
and slide drawer back into remote.
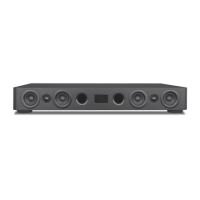
MT2 BOTTOM PANEL
10. DOWN FIRING SUBWOOFERS - The MT2 bottom panel features two 5-¼" subwoofers, one for left channel bass one for right
channel bass. This down-firing configuration, combined with the front and rear panel bass ports is what allows the MT2 to
achieve such outstanding bass performance in such a small cabinet.
When handling the MT2, be careful not to grab or hold the cabinet on the bottom where the subwoofers are located to
prevent damaging the subwoofers. Also take care to not set the cabinet down on anything that can damage the subwoofers.
When placing the MT2 on a shelf or stand, be sure there are no objects under the cabinet that will block the subwoofers and
check to make sure there are no objects on the sides of the cabinet that will block the space under the MT2. Blocking this
space will reduce overall bass performance.