16
www.equalizerhitch.com
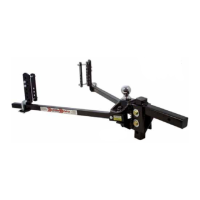
Pinch the inside and outside link plates tight to the trailer frame so that
both lay at against the frame. Inside link plates are sometimes slightly
bowed from the manufacturing process. If this is the case, the center of the
bow should be placed toward the trailer frame so that as they are tightened
they atten out against the frame
Continue holding them in place while you hand tighten both nuts. Use
wrenches to nish tightening the link plate bolts until they are snug, alter-
nating from top to bottom 1/2 turn at a time. Bolts and nuts should be fairly
tight, but do not over tighten them. Link plates must be at against the trailer
frame to work correctly. Uneven or over tightening may cause link plates to
bow and “walk” along frame. See Figure 8.
Do not use impact wrench to tighten link plate
or L-bracket bolts.
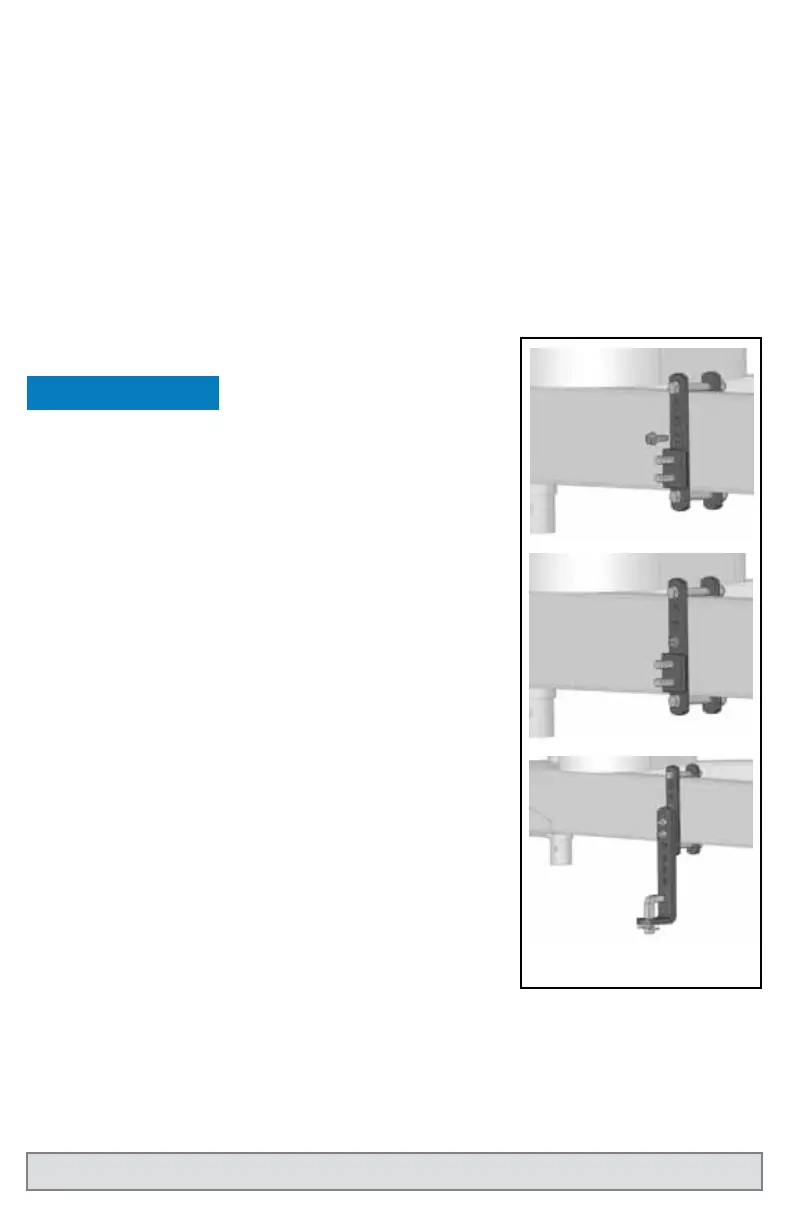
Once the inverted brackets are installed
correctly – use a 3/8” x 1” self-tapping washer-
head bolt to secure each outside link plate against
the frame (see gure 7d). This bolt (95-03-5610)
may be obtained from Progress Mfg. Inc.
Locate the hole in the outside link plate that
is nearest the center of the trailer frame (bottom
of the four holes). Using a center punch, make
a mark on the frame through the center of this
bracket hole. Then, drill an 11/32” hole at this
location. You may want to use a smaller drill bit
rst to make a pilot hole.
After completing the 11/32” hole, install the
3/8” x 1” self-tapping washer-head bolt. Tighten
the bolt until it is snug against the bracket. Be
careful not to over tighten and break the bolt.
Slide the L-brackets onto the link plate studs with the spring arm
plate facing away from the trailer. For the initial setup, leave 2 holes
showing at the top above the studs and two below. They may need to be
adjusted up or down later. Thread on the nylock nuts and tighten them.
Figure 7d