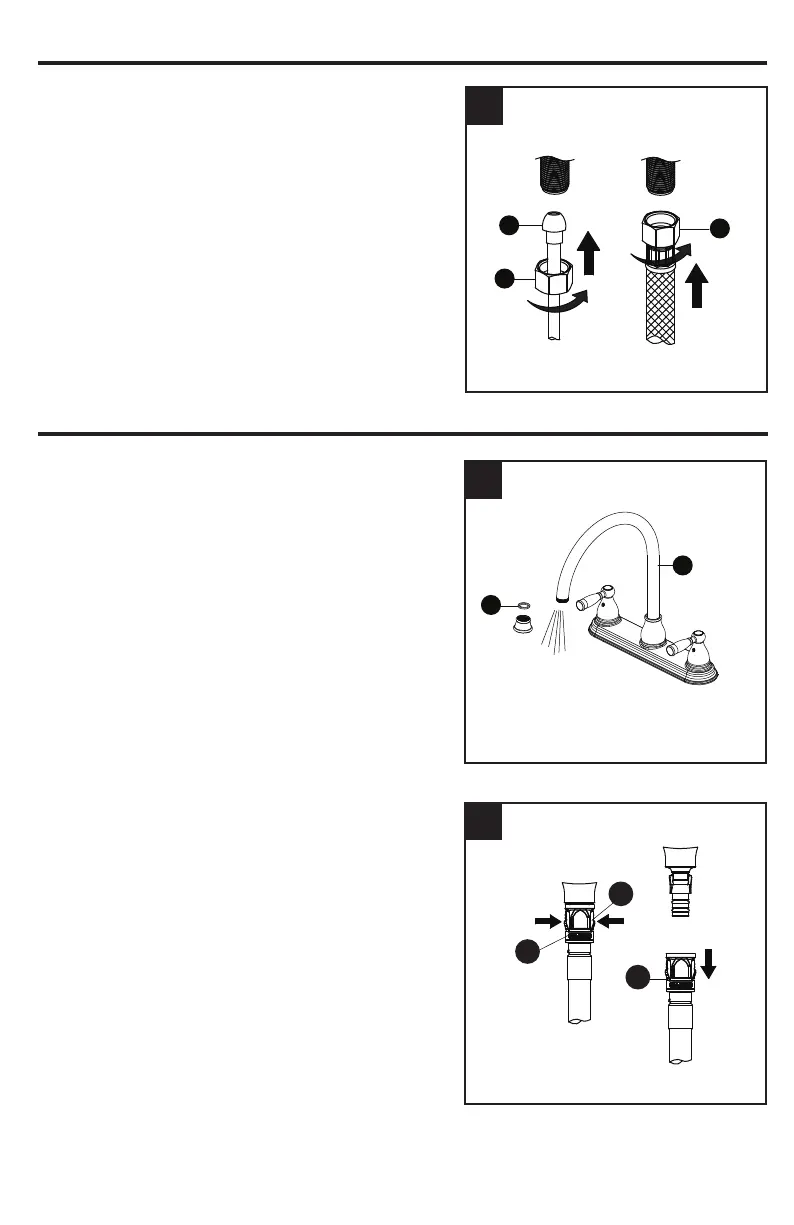
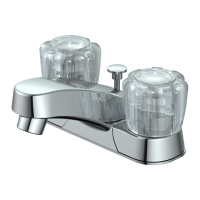
6. Making the water supply connections:
Use 1/2 in. I.P.S. faucet connections (2), or use
supply line coupling nuts (3) (not included) with
a 3/8 in. O.D. ball-nose riser (1). Use wrenches to
tighten the connections. Do not overtighten.
NOTE: Refer to the local plumbing codes for
permissible types of water supply connectors.
1. Flushing and checking for leaks:
Turn on the water supply and allow both hot and cold
water to run for at least one minute each. This flushes
away any debris that could cause damage to internal
parts. While the water is running, check for leaks.
Turn off the water and reinstall the aerator.
Important: After installation is complete, remove the
aerator from the faucet (A) to flush the water lines.
Do not lose the gasket (1) in the aerator.
OPERATION INSTRUCTIONS
6
2. If it is necessary to remove the quick connector (1),
squeeze the tabs (2) on the quick connector and
then pull down to disconnect.
1
2
6
2
3
1
A
1
ASSEMBLY INSTRUCTIONS
Squeeze
Pull
down
1
1
2