QUICK REFERENCE GUIDE/GUÍA DE REFERENCIA RÁPIDA
INSTALLATION OVERVIEW/DESCRIPCIÓN GENERAL DE LA INSTALACIÓN
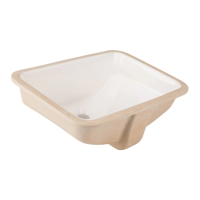
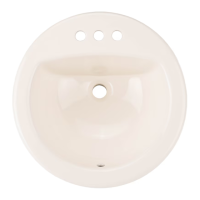
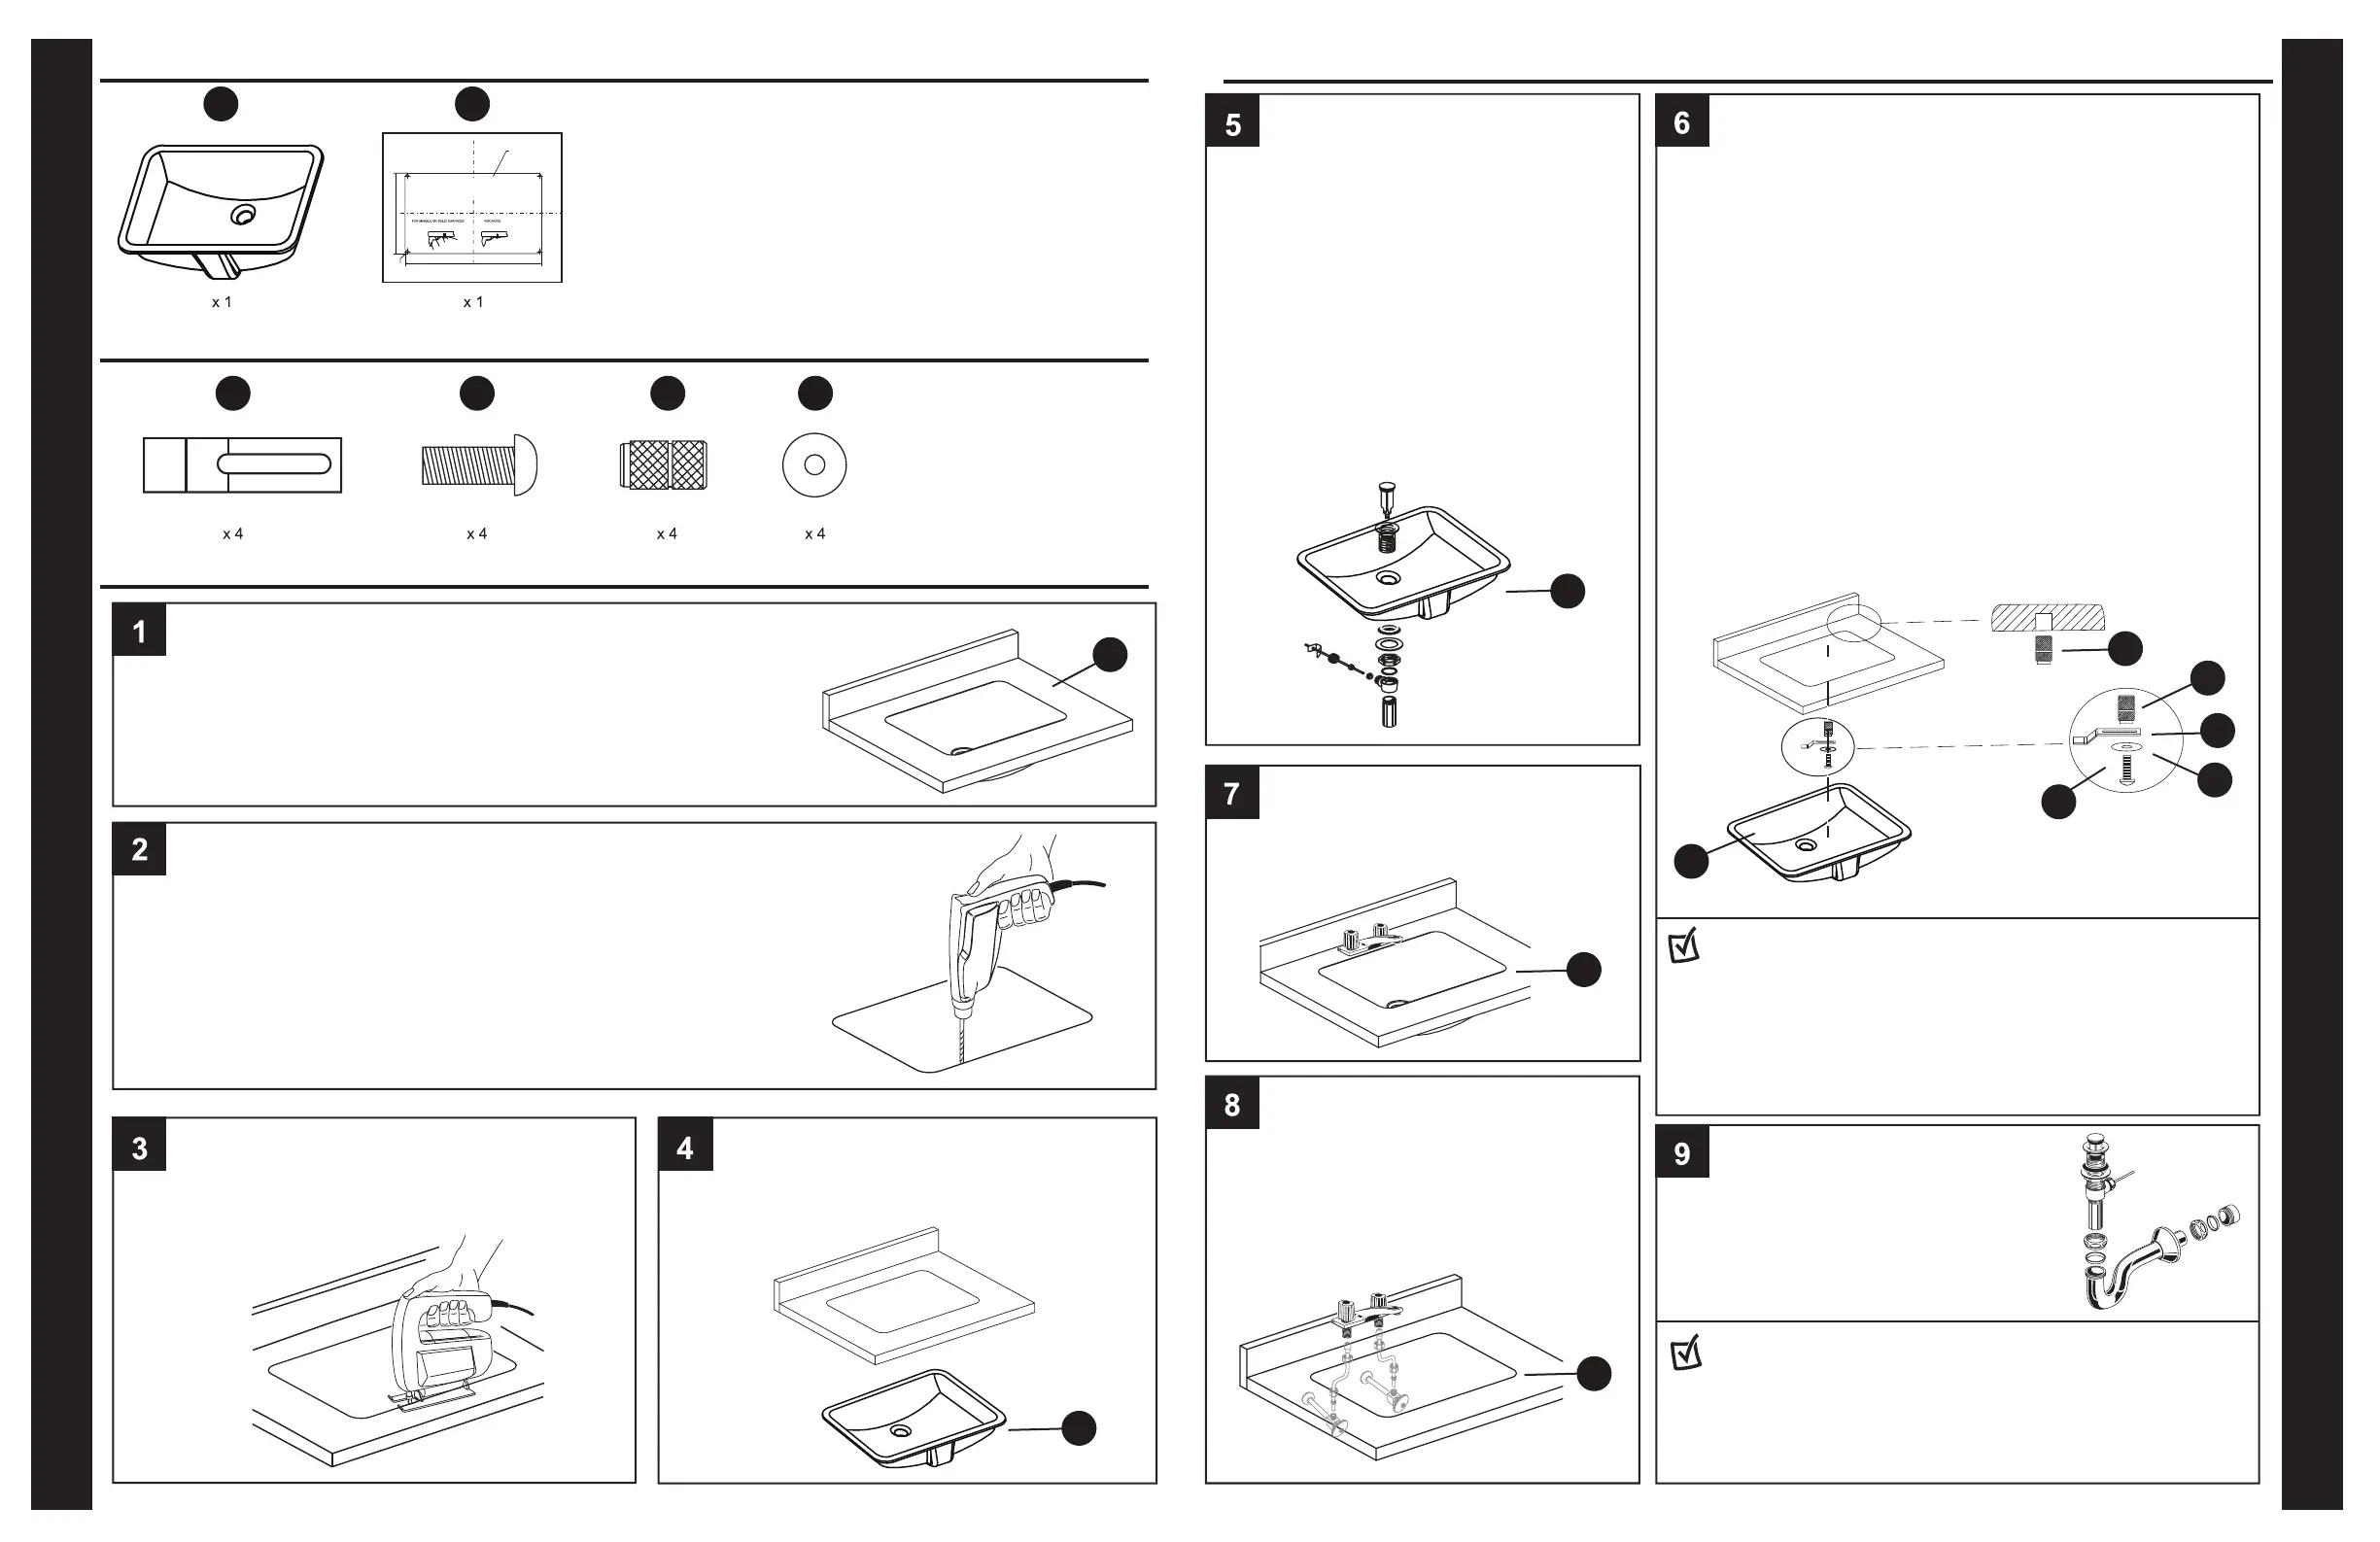
PACKAGE CONTENTS/CONTENIDO DEL PAQUETE
HARDWARE CONTENTS/ADITAMENTOS
Make sure there is enough space between the backsplash, faucet, fixtures and
cabinets to install the new sink (A)./ Asegúrese de que hay suficiente espacio
entre el protector contra salpicaduras, el grifo, las lámparas y los gabinetes
para instalar el nuevo lavabo (A).
If making a cutout is necessary, use the template (B), taping it into position on the countertop
at the desired location. Trace on the countertop as shown on the template (B) and drill
a clearance hole approximately 1/4 in. to 1/2 in. inside the perimeter line of the template
(B)./ Si es necesario realizar un corte, utilice la plantilla (B): fíjela con cinta adhesiva
sobre la cubierta prefabricada en la ubicación deseada. Marque la cubierta
prefabricada como se muestra en la plantilla (B) y taladre un orificio de
aproximadamente 6,35 mm a 12,7 mm dentro de la línea de perímetro
de la plantilla (B).
Following the perimeter line, cut opening for sink
(A) into countertop./ Siguiendo la línea del perímetro,
corte una abertura para el lavabo (A) en la cubierta
prefabricada.
Check for cutout alignment by temporarily
placing sink (A) in desired mounting position./
Revise la alineación del corte colocando el lavabo
(A) temporalmente en la posición de montaje.
Mount the drain assembly (not included)
on the sink, following the faucet
manufacturer's instructions. Apply a bead
of sealing putty (not included) on the
underside of the drain flange in order to
ensure a watertight seal between the sink
(A) and the drain. Remove any excess
putty after installing the drain on the
sink (A)./ Monte el ensamble del desagüe
(no se incluye) en el lavabo, siguiendo las
instrucciones del fabricante del grifo.
Aplique un cordón de masilla selladora (no
se incluye) en la parte inferior de la
lengüeta del drenaje para garantizar un
sello hermético entre el lavabo (A) y el
drenaje. Retire cualquier exceso de masilla
después de instalar el drenaje en el
lavabo (A).
To install sink (A) into a countertop with a minimum thickness
of 1 in., drill 3/8 in. anchor holes 1/2 in. deep. Apply a small
amount of epoxy (not included) to closed end of brass insert
(CC). Insert brass insert (CC), threaded open end exposed, and
allow epoxy to set. Apply adhesive sealant (not included)
around the topside rim of sink (A) near the edge. Carefully raise
sink (A) in place, align and press firmly. Wipe off excess
sealant. Attach undermount brackets (AA) to hold sink (A) in
place. Secure with washer (DD) and machine screw (BB)./
Para instalar el lavabo (A) en una cubierta prefabricada con un
ancho mínimo de 2,54 cm, taladre orificios para las anclas
de 9,52 mm con 12,7 mm de profundidad. Aplique una pequeña
cantidad de lechada epóxica (no se incluye) para sellar el
extremo del accesorio de latón (CC). Inserte el accesorio de
latón (CC) con el extremo abierto roscado expuesto y deje
curar la lechada epóxica. Aplique sellador adhesivo (no se
incluye) alrededor de la parte superior del reborde del lavabo
(A), cerca del borde. Levante cuidadosamente el lavabo (A) y
colóquelo en su lugar; alinéelo y presione firmemente. Limpie
el exceso de sellador. Fije las abrazaderas de montaje inferior
(AA) para sostener el lavamanos (A) en su lugar. Asegure con
la arandela (DD) y tornillos para metales (BB).
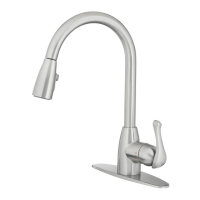
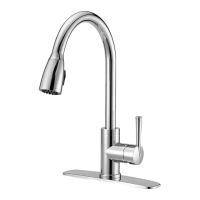
Install faucet (not included) following
manufacturer's instructions./ Instale el
grifo (no se incluye) según las
instrucciones del fabricante.
Connect supply lines and supply shutoff
valves per the manufacturer's instructions.
Hand tighten connections for a secure
seal./ Conecte las líneas de entrada y las
válvulas de cierre de los suministros de
acuerdo con las instrucciones del
fabricante. Apriete las conexiones a mano
para un sello seguro.
NOTE/NOTA
For thinner countertops, anchors (not included) will need to be
used. Also, for wood countertops, use wood screws (not
included) in place of machine screws./ Para cubiertas
prefabricadas (no se incluyen) más delgadas, deberá usar
anclas de expansión. Además, para las cubiertas prefabricadas
de madera, use tornillos para madera (no se incluyen) en lugar
de tornillos para metales.
Connect a trap (not included) to the
drain assembly. Hand tighten to secure./
Conecte un sifón (no se incluye) al
ensamble del desagüe. Apriete a mano
para asegurar.
NOTE/NOTA
It may be necessary to cut off part of the tailpiece of the trap
or part of the horizontal leg. Be sure to secure joints for
watertight assembly./ Es posible que sea necesario cortar
parte del tubo de descarga de la trampa o parte de la pata
horizontal. Asegúrese de fijar las uniones para un ensamble
hermético.
QUICK REFERENCE GUIDE/GUÍA DE REFERENCIA RÁPIDA
INSTALLATION OVERVIEW/DESCRIPCIÓN GENERAL DE LA INSTALACIÓN
SUGGESTED COUNTERTOP CUTOUT
(PROVIDES APPROXIMATELY 3/8 in.
OVER RIM LIP)
ANCHOR LOCATIONS ON UNDERSIDE OF COUNTERTOP
(4 LOCATIONS)
#
0470227
17.88 in.
454 mm
11.5 in.
292 mm
A
A
A
A
A
A
CC
CC
AA
DD
BB
A B
AA
BB
CC DD
 Loading...