8
ASSEMBLY INSTRUCTIONS
8
7
9. Insert the back panel as shown in the drawing.
9
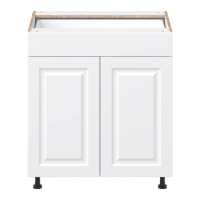
7. Assemble the cabinets parts as per the illustration.
Using a phillips head screwdriver, rotate the minix
cam clockwise to fasten into place. Ensure all cams
are locked into place before moving the cabinet.
8. Assemble the cabinets parts as per the illustration.
Using a phillips head screwdriver, rotate the minix
cam clockwise to fasten into place. Ensure all cams
are locked into place before moving the cabinet.