9
STEP 4 - CONNECT TO 240V MAINS POWER.
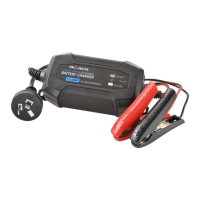
Connect the battery charger to a 240V mains powered socket.
Turn on the 240V Mains Power.
The RED ‘POWER ON’ LED will illuminate to confirm that the charger is receiving power
(except AC250B).
STEP 5 - CHARGING
The orange ‘Charging’ LED (or red LED on AC250B) will illuminate to confirm that the
battery is charging.
When the battery is fully charged the Orange ‘Charging’ LED (or red LED on AC250B) will
extinguish and the Green ‘Fully Charged’ LED will illuminate. The battery is now fully charged
and ready for use.
If left connected, the charger will monitor the battery and maintain the battery ready for use
until required. This prevents the battery from slow self-discharge, which is detrimental to
lead acid batteries.
STEP 6 - DISCONNECTION.
Turn the 240V mains power off.
Battery out of vehicle
Remove the BLACK lead (battery clip) from the battery.
Remove the RED lead (battery clip) from the battery.
Battery in vehicle
Remove the chassis connection.
Remove the battery terminal connection.
Battery in vehicle using harness (AC150 & AC250B only)
Unplug the harness from the charger’s output lead.
 Loading...
