Do you have a question about the Projecta Charge N' Maintain and is the answer not in the manual?
Critical safety precautions including handling explosive gases, ventilation, and electrical connections.
The initial stage to verify if the battery can accept a charge before proceeding.
Charges the battery rapidly to approximately 80% at maximum rate.
Charges the battery to 100% by adjusting the charge rate.
Maintains the battery at 100% charge indefinitely without overcharging.
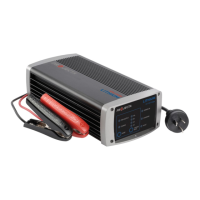
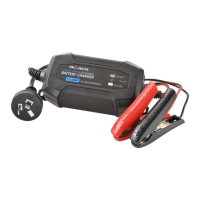
Utilizes modern electronics for a lightweight, compact, and efficient charger.
Safety features preventing sparks and damage from incorrect battery connections.
Indicates the charger's resistance to dust and water, suitable for outdoor use.
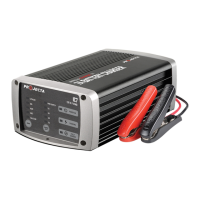
Bi-colour LED shows charging status and fault conditions for user feedback.
Pre-charge procedure to ensure adequate electrolyte levels in non-sealed batteries.
Instructions for connecting the charger to a battery that is not installed in a vehicle.
Details on connecting the charger to a battery while it is installed in a vehicle.
Guide for permanently connecting the charger to a battery using a fused harness.
Procedure for connecting the charger to a standard mains power outlet.
Describes the charging process and how to interpret the LED indicators.
Instructions for safely disconnecting the charger from the battery and mains power.
| Brand | Projecta |
|---|---|
| Model | Charge N' Maintain |
| Category | Battery Charger |
| Language | English |