5
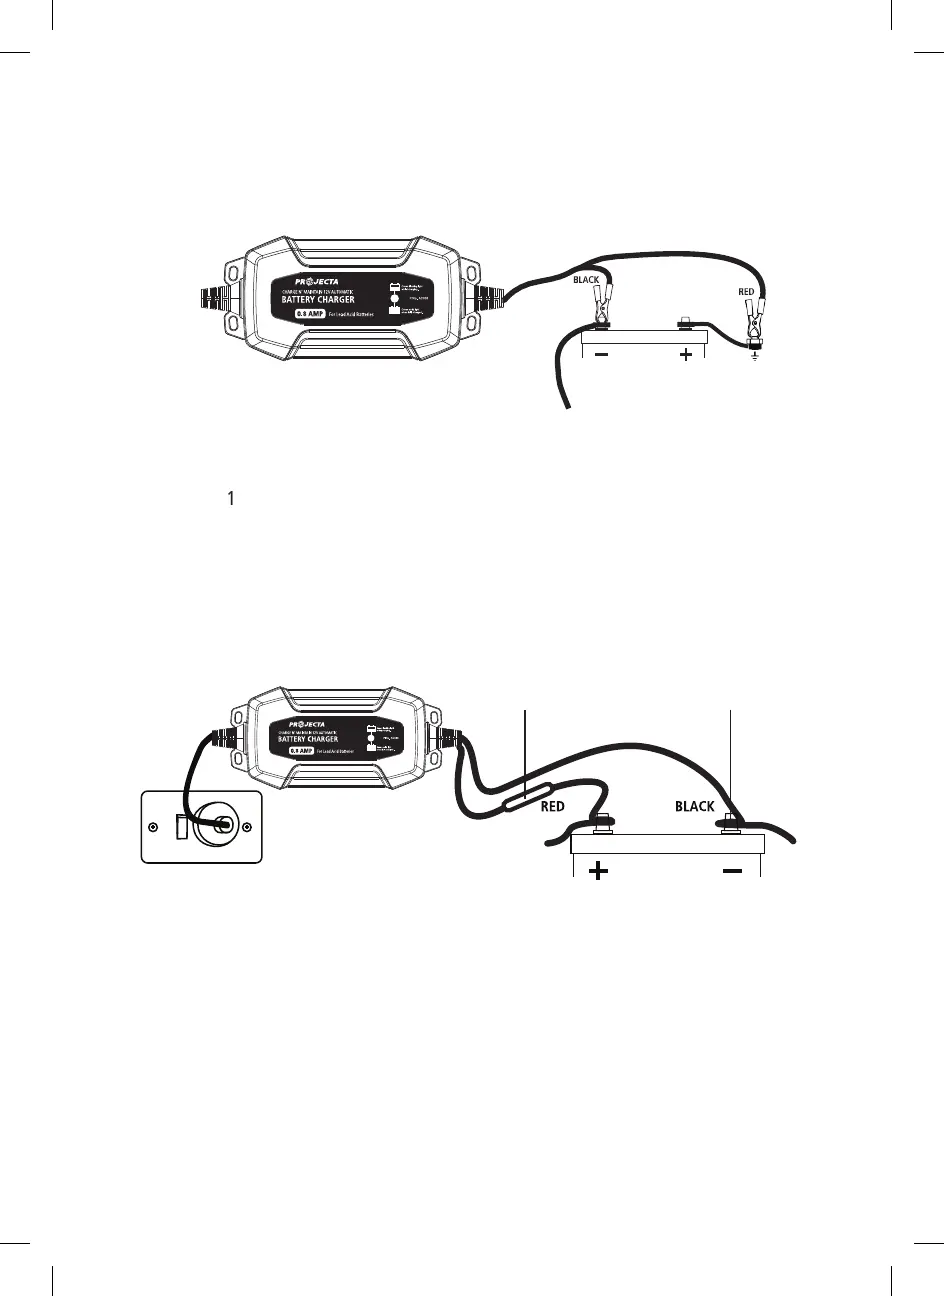
Positively earthed
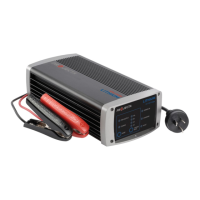
Connect the BLACK lead (battery clip) from the charger to the Negative (-) battery terminal.
Connect the RED lead (battery clip) from the charger to the vehicle’s chassis away from the
fuel line or moving parts.
STEP 2C – PERMANENT HARD WIRING
It is possible to hard wire the DC charging leads to the battery for permanent installations.
Use the supplied fused wiring harness.
AC008 use 1A fuse
AC015 uses 3A fuse
Connection:
1. Connect the RED lead (with inline fuse and ring terminal) to the Positive (+) battery post,
remove the supplied fuse.
2. Connect the BLACK lead (with ring terminal) to the Negative (-) battery post.
3. Fit the correctly rated fuse.
If the charger is used in a Permanent/Hard Wired application and the vehicle will not be used
for some time, it is best to leave the charger connected to mains power (turned ‘On’) so that
it can maintain the battery fully charged.
Ensure any modification to the 240V mains lead is carried out by a qualified person and that
connection to supply mains is in accordance with National wiring rules.
STEP 3 – CONNECT TO 240V MAINS POWER
Connect the battery charger to the 240V mains powered socket and turn on the mains power.
STEP 4 – CHARGING
The charging L.E.D should be on whilst charging and the full L.E.D will turn on when
fully charged.
Connection in vehicle
(positively earthed)
Inline fuse Ring terminal