Beta Draft Confidential
Logging In to the Thermostat
Proliphix Internet Managed Thermostat (IMT) Installation Guide 19
Part No. 600-03100-000, Rev. 4
Mounting the Thermostat into the Base Plate
To mount the thermostat into the base plate:
1 Mount the thermostat into the base plate (see page 3) by inserting the top two hinges
into the corresponding receptacle holes in the top of the base plate.
2 Snap the bottom of the thermostat securely into the base plate.
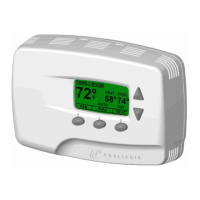
Verifying the Thermostat’s Operating Status
This section describes the procedures you can use to verify that the heat, cool, and fan
controls are operating properly on your thermostat. Before you begin, verify that the
HVAC system’s power is set to “On” and HVAC on the thermostat lcd panel is set to
“Auto”.
Testing the Heat Controls
1 Verify the HVAC mode is set to either Auto or Heat.
2 Continuously press the Up arrow until the heat set point is higher than the temperature
reading.
A flame icon appears, and the HVAC system activates the heat.
Testing the Cool Controls
1 Verify the HVAC mode is set to either Auto or Cool.
2 Continuously press the Down arrow until the cool set point is lower than the
temperature reading.
A snowflake and fan icon appears, and the HVAC system activates the cool and fan.
Testing the Fan Operation
Press the fan button until the mode is set to On. A fan icon appears, and the fan circuit
is now active.
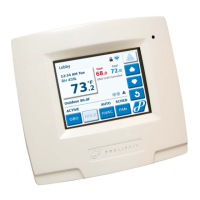
Logging In to the Thermostat
Log in to the web interface as the Administrator as follows:
1 Enter the username: admin.
2 Enter the password: admin (default).