7 8
R
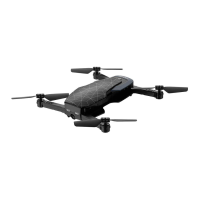
CALIBRATING THE FLEX 2.0™
NOTE: Your FLEX 2.0™ comes pre-calibrated out of the box so you are ready to fly.
After several crashes and shocks to your gyro sensors, you may notice that your drone is drifting and can
not hold its center position as well as it used to.
This most likely means that you need to recalibrate your FLEX 2.0™. Please follow the simple instructions
below.
1. Place the FLEX 2.0™ on a flat level surface
2. Make sure the FLEX 2.0™ is on and that the controller is synced (refer to syncing pg 4). Do not start the
blades. Instead move both the throttles and control stick down and to the right corner and hold them
there for 5 seconds(see diagram R). You will see the lights on the drone rapidly flash and stop. Once the
lights stop flashing you have completed your calibration and are ready to fly!
TROUBLE SHOOTING: If you do not see the lights flash, first remove the battery from the drone then turn off
your controller and start again. Always make sure to put your battery in first, then turn on your controller.
Push the left throttle stick up all the way and then pull back down again. When you hear the beep the
FLEX 2.0
™ is synced to the controller and you are ready to calibrate.
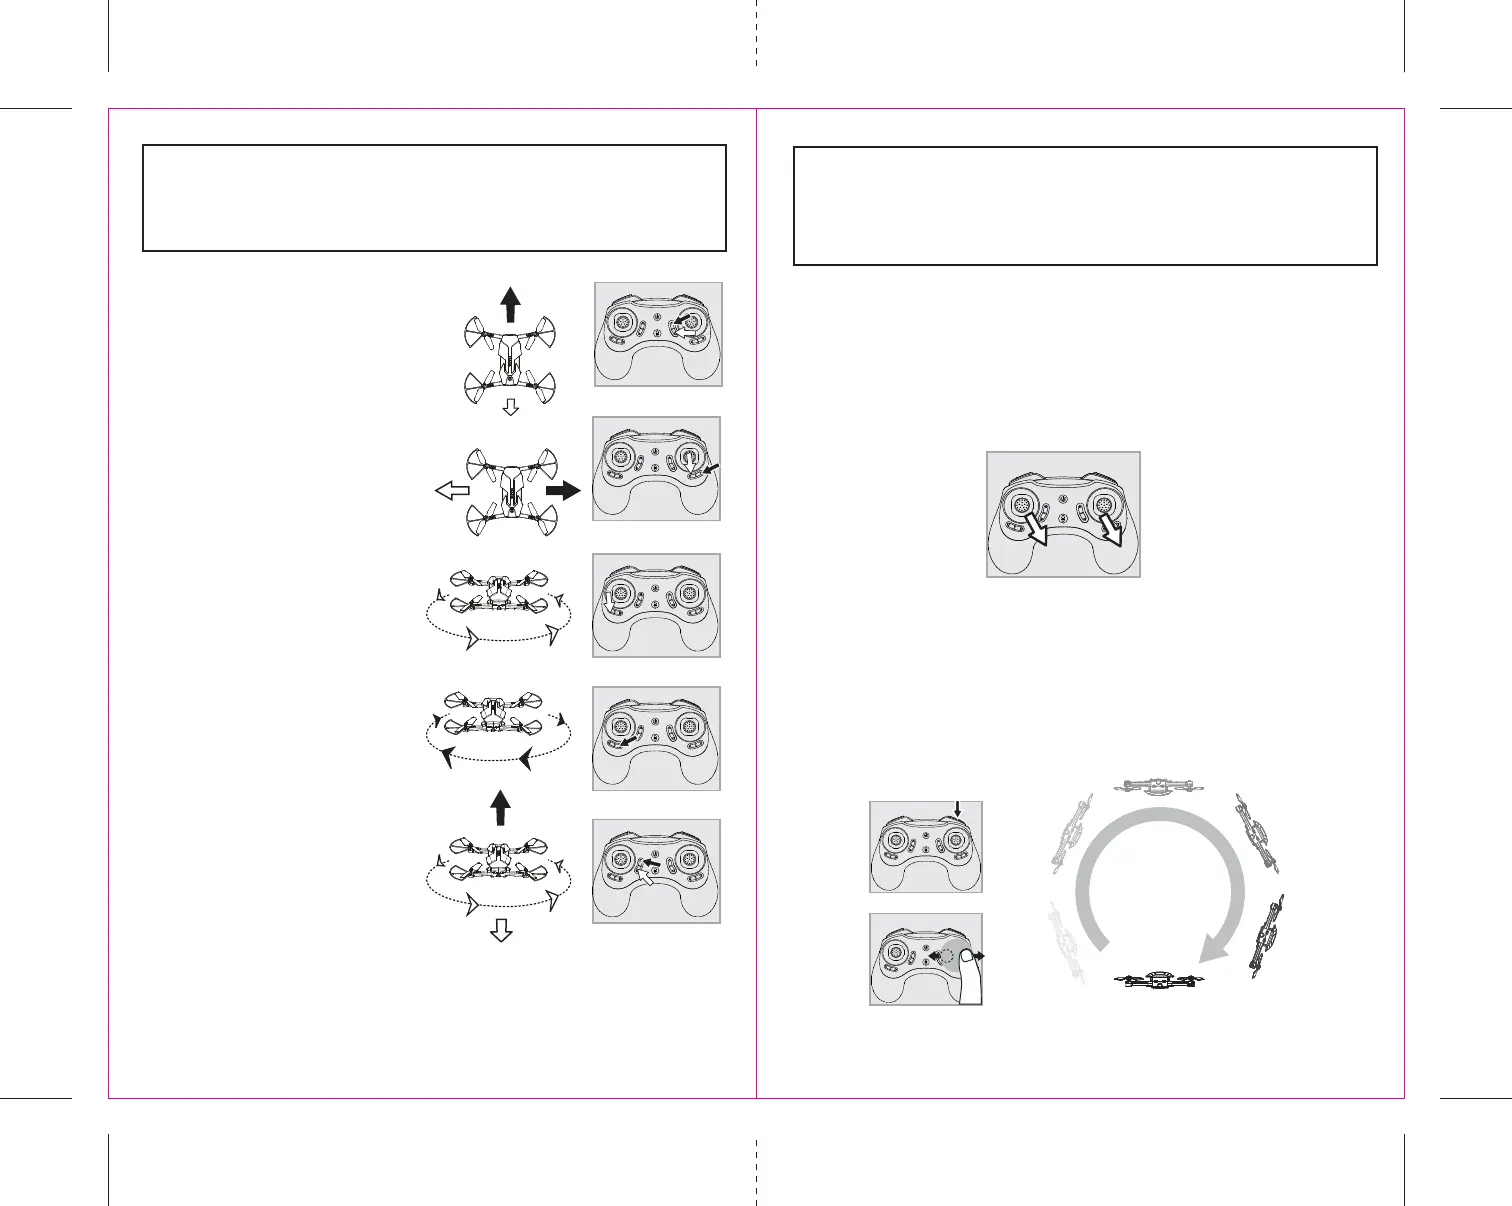
360˚Stunt Roll Button
S
T
NOTE: To exit the stunt roll mode without flip, you can press the button again. The beeping
sound will stop.
HOW TO PERFORM 360º STUNT ROLLS
Performing 360º stunt rolls with the FLEX 2.0™ is as easy as 1-2-3:
1. Hover the FLEX 2.0™ in still position making sure that you have at least 5 feet of clearance above and
below the quadrocopter. Set the speed settings to mode 2 or 3.
2. Press the 360 stunt button down and you will enter the stunt roll mode which is indicated by rapid
beeping (see diagram S) sounds.
3. Determine which direction you want it to flip and quickly push the right control stick in the direction you
want to flip your FLEX 2.0™ (see diagram T).
You have 2 choices a) Right side roll, b) Left side roll.
ADJUSTING THE TRIM
NOTE: The FLEX 2.0™ is already properly trimmed and calibrated right out of the box and should not
require any trim adjustments before flying. Some more experienced pilots may want to adjust trim
settings for their style of flying. After several crashes you may need to adjust trim settings for the FLEX
2.0™ to be more balanced.
NOTE: The use of the Trim buttons utilizes sounds. A single long Beep indicates the product is
center trimmed. When there’s no sound when press the trim means the product is trimmed to
the maximum on a particular side.
EMERGENCY STOP: press the “speed setting button” and “stunt button” simultaneously to stop
the drone blade from spinning. Use it when you lose control of your drone.
M
N
Forward/Backward Trim
• If your FLEX 2.0™ drifts forward while in the air,
push and release the FORWARD/BACKWARD TRIM
button downward repeatedly until the motion stops
and proper flight is maintained (see diagram M).
• If your FLEX 2.0™ drifts backwards, push and
release the FORWARD/BACKWARD TRIM button
upward in the same manner until the problem is
resolved.
Bank Right/Left Trim
• If your FLEX 2.0™ drifts / banks left while in the air,
push and release the BANKS TRIM button to the
right side repeatedly until the motion stops and
proper flight is maintained (see diagram N).
• If your FLEX 2.0™ drifts right, push and release the
BANKS TRIM button to left side in the same manner
until the problem is resolved.
Spin Left Trim
• If your FLEX 2.0™ spins left while in the air, push
and release the LEFT/RIGHT TURN TRIM button to
the right side repeatedly until the motion stops and
proper flight is maintained (see diagram O).
Spin Right Trim
• If your FLEX 2.0™ spins right while in the air, push
and release the LEFT/RIGHT TURN TRIM button to
the left side until the problem is resolved
(see diagramP).
Throttle Trim
• Release the Throttle to hovering your FLEX 2.0™ in
the air, if your FLEX 2.0™ keep ascend, push and
release the Throttle TRIM button downward
repeatedly until the motion stops and proper flight
is maintained (see diagram q).
• If your FLEX 2.0™ descend, push and release the
Throttle TRIM button upward in the same manner
until the problem is resolved.
O
P
q
 Loading...