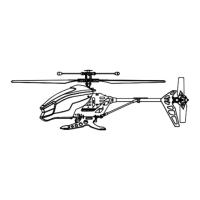
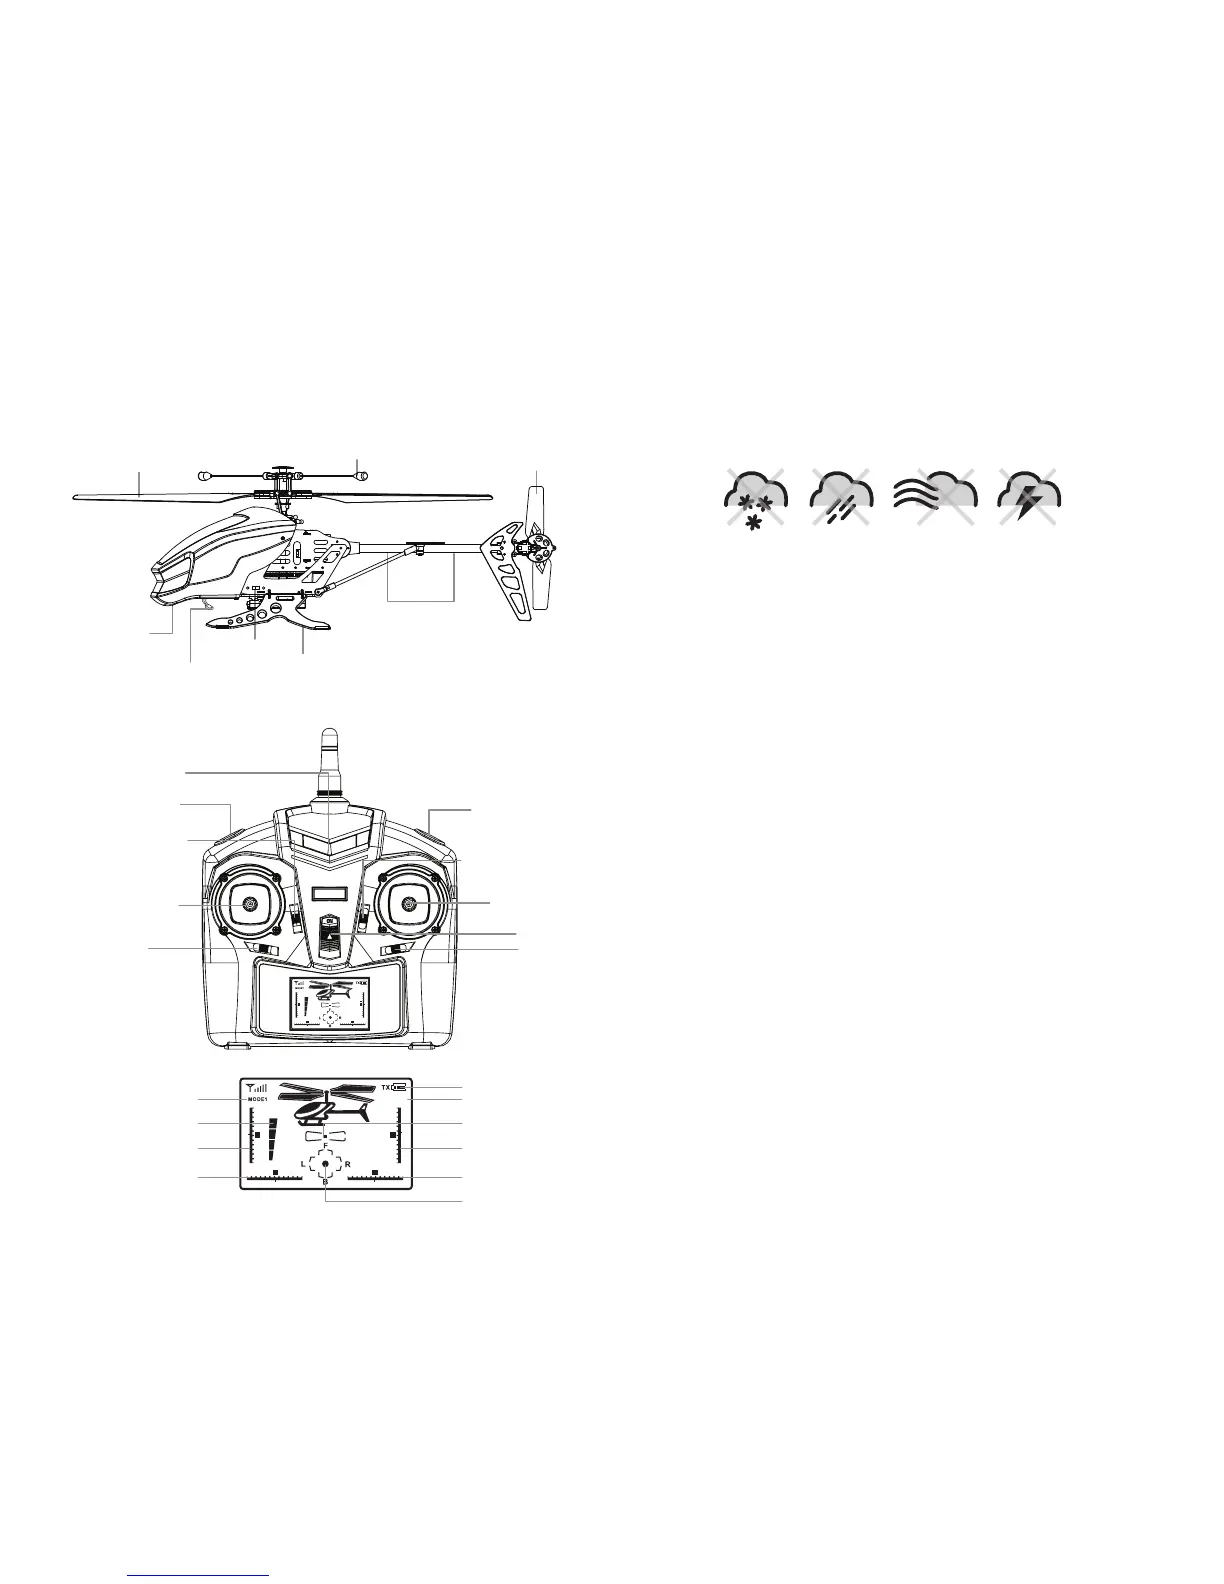
HELICOPTER DIAGRAM
Below is a basic list of features and parts on the helicopter.
REMOTE DIAGRAM
Below is a basic list of features on the wireless remote control.
Stabilizer
Landing Gear
Charging Socket
Search Light
Tail Rotor
Body Light
Power Switch
Main Rotor Blade
DO NOT FLY YOUR CLOUD QUEST IN FOUL WEATHER!
WARNING
•
Verify that there are 6 “AA” batteries inside the remote control unit and the helicopter has been fully charged.
• Make sure your helicopter and controller are turned on.
• Make sure to be in a large space with an open radius of at least 50 feet.
•
Make sure the empty space has no obstacles and river. Set your helicopter on a clean flat surface before take-off.
DO NOT ATTEMPT TO FLY YOUR CLOUD QUEST IF THERE IS RAIN, SNOW, HEAVY WINDS, THUNDER
OR LIGHTNING OUTDOORS. IT COULD DAMAGE YOUR PRODUCT AND POSSIBLY EVEN CAUSE
BODILY HARM.
FLYING TIPS
• It is recommended that you operate the helicopter in a wide space. The ideal space should have a
200 foot radius. The helicopter is designed for OUTDOOR USE ONLY.
• Parental guidance or adult supervision is suggested at all times.
• If you are flying the helicopter with others, make sure all spectators are behind you.
• For best performance, it is recommended that you operate the helicopter in zero wind conditions.
Wind can greatly affect the performance of the helicopter.
PREPARING FOR FLIGHT
Your Cloud Quest
™
utilizes an automatic 2.4G channel selection system that allows up to 8 people to
fly side by side in the same wireless range.
For One Person Play:
1. Before starting, make sure that the power on both your controller and helicopter are in the OFF
position. Make sure that there are no other 2.4G devices in the area as well.
2. Turn ON the helicopter and set it down on a flat surface. The red LED indicators inside the helicopter
body should flash.
3. ON the remote , pull the throttle all the way down, then turn ON your remote. The remote will beep
in 3-5 seconds. When you hear a long beep, the searching light and tail lights should turn on. This
indicates that your helicopter and remote have successfully synced. Should this not happen, repeat
all steps again.
For Multi Person Play:
4. Before starting, make sure that the power on all Helicopters and Controllers are in the OFF position.
Make sure that there are no other 2.4G devices in the area as well.
5. Each person will have to sync their helicopter individually at a different time to avoid interference.
Follow steps 1 to 3 above making sure to keep away from other people while also making sure that
no one else is syncing at the same time.
6. After syncing a players helicopter, it should be left ON until all players have synced their helicopters.
7. Should there be a mistake/interference, all players must turn off their controllers and helicopters
and start the process all over again.
SYNCING YOUR HELICOPTER
Antenna
Power Indicator Light
Speed Select Button
Throttle Sensitive Trim
Throttle/4 CH Left &
Right Turning Control
Left-Right
Turning Trim
Channel Select Button/
Helicopter Lights ON/OFF Switch
Forward & Backward Trim
Forward & Backward/
3 CH Left & Right
Control
Power On/Off
Banking Trim
Speed Mode Indicator
Throttle Indicator
Throttle Trim Indicator
Direction Trim Indicator
Battery
Channel Mode Indicator
Turning Direction
4 CH
Forward &
Backward Trim
Banking Trim Indicator
Control Stick Indicator
Remote Control Display
3 4