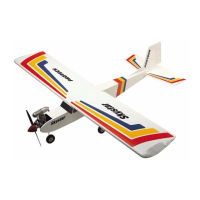
14 - Skystar
Assembling the push rods / Monteren van de stuurstangen /
Installation des commandes
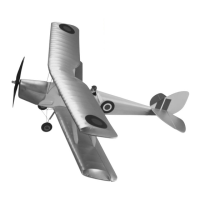
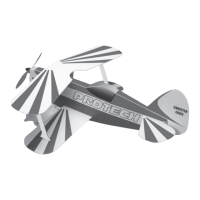
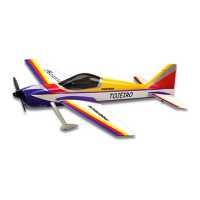
Cut with a sharp hobby knife the
openings for the control rods as
shown in the pictures.
(Pic. 33-34-35)
Snij met een scherp hobbymes
de openingen voor de
stuurstangen vrij. (Pic. 33-34-35)
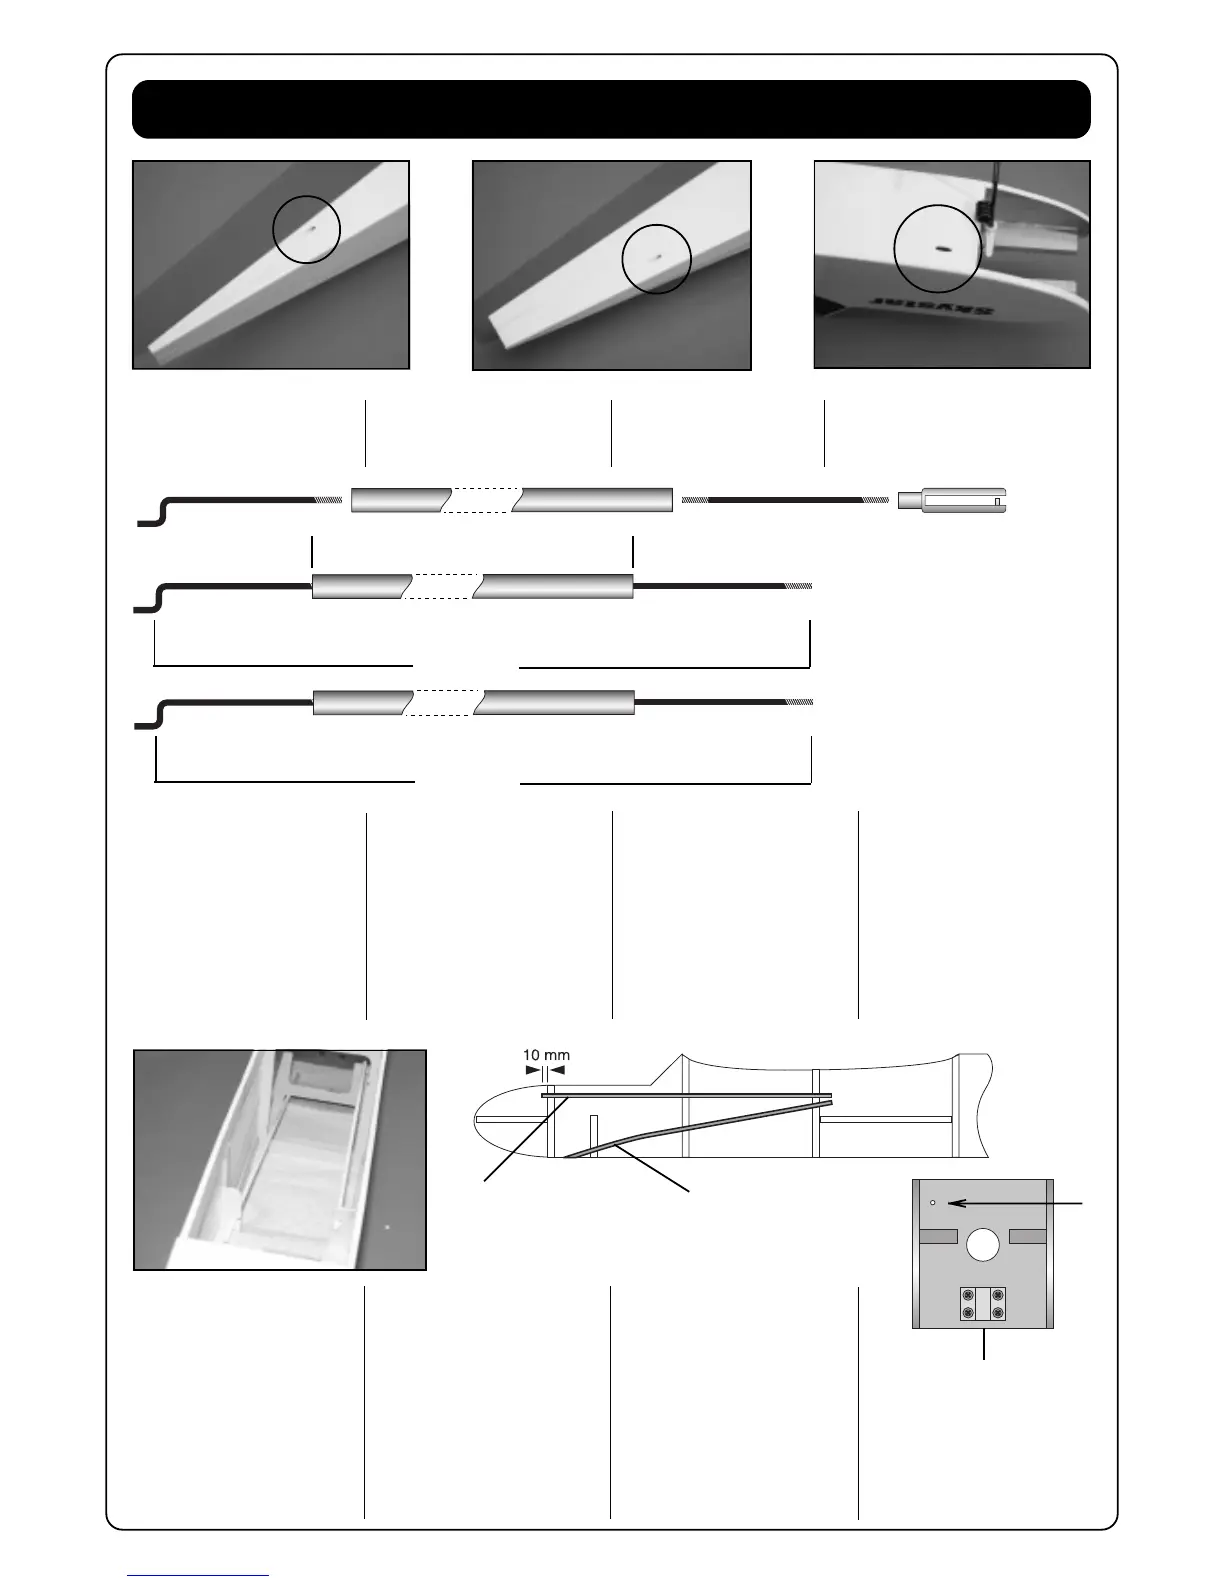
Assemble the push rods for the
elevator and rudder as shwon in
drawing. Use the plastic tubes
with a length of 480 mm. Do not
put on the plastic snap links yet.
The plastic snap links will be fit-
ted when the push rods are in
position.
(Drw. 14-15-16)
Monteer de stuurstangen voor het
hoogteroer en richtingsroer zoals
afgebeeld. Gebruik hiervoor de
kunststof buisjes van 480 mm. De
plastiek kwiklink moet nog niet
gemonteerd worden. De kwiklink
wordt gemonteerd als de
stuurstang op zijn plaats
geschoven wordt.
(Drw. 14-15-16)
640 mm
643 mm
Rudder - Richtingsroer - Direction
Elevator - Hoogteroer - Profondeur
Mount the plastic tube for the
throttle control rod as shown.
This plastic tube needs to be
glued into the firewall with a bit
of epoxy glue.(Drw. 18)
Mount the plastic tube for the
steerable front undercarriage as
shown with a bit of epoxy glue.
(Pic. 36) (Drw. 17)
Monteer het plastiek buisje voor
de gasstuurstang zoals
afgebeeld. Het plastiek buisje
wordt in de voorste motorspant
vastgelijmd met een beetje
epoxy lijm.(Drw. 18)
Monteer eveneens het plastiek
buisje voor de aansturing van
het neuswiel zoals afgebeeld en
fixeer met epoxy lijm.
(Pic. 36) (Drw. 17)
Plastic tube - Kunststof buisje - gaine
480 mm
Throttle tube
Buisje voor de carburator
Gaine vers le carburateur
Noseleg tube
Buisje voor het neuswiel
Gaine vers la roue AV
Firewall
Motorspant
Couple moteur
Pic. 33
Pic. 34
Pic. 35
Pic. 36
Drw. 14
Drw. 15
Drw. 16
Drw. 17
Drw. 18
Découpez avec un cutter le
passage des commandes.
(Pic. 33-34-35)
Assemblez les commandes de
profondeur et de direction comme
indiqué. Utilisez les gaines
plastiques d’une longueur de
480mm.
N’installez pas maintenant les
chapes, elles seront mises après.
(Drw. 14-15-16)
Montez la gaine pour la
commande du carburateur,
fixez-la au couple moteur avec
un peu de colle époxy.(Drw. 18)
Montez le gaine pour la
commande de la roue AV, fixez-
la avec un peu de colle époxy,
voir (Pic. 36) (Drw. 17)
 Loading...