7 12_2018
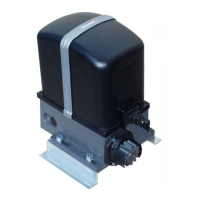
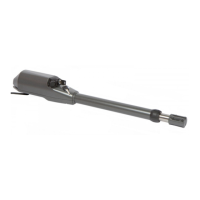
PR1
G1
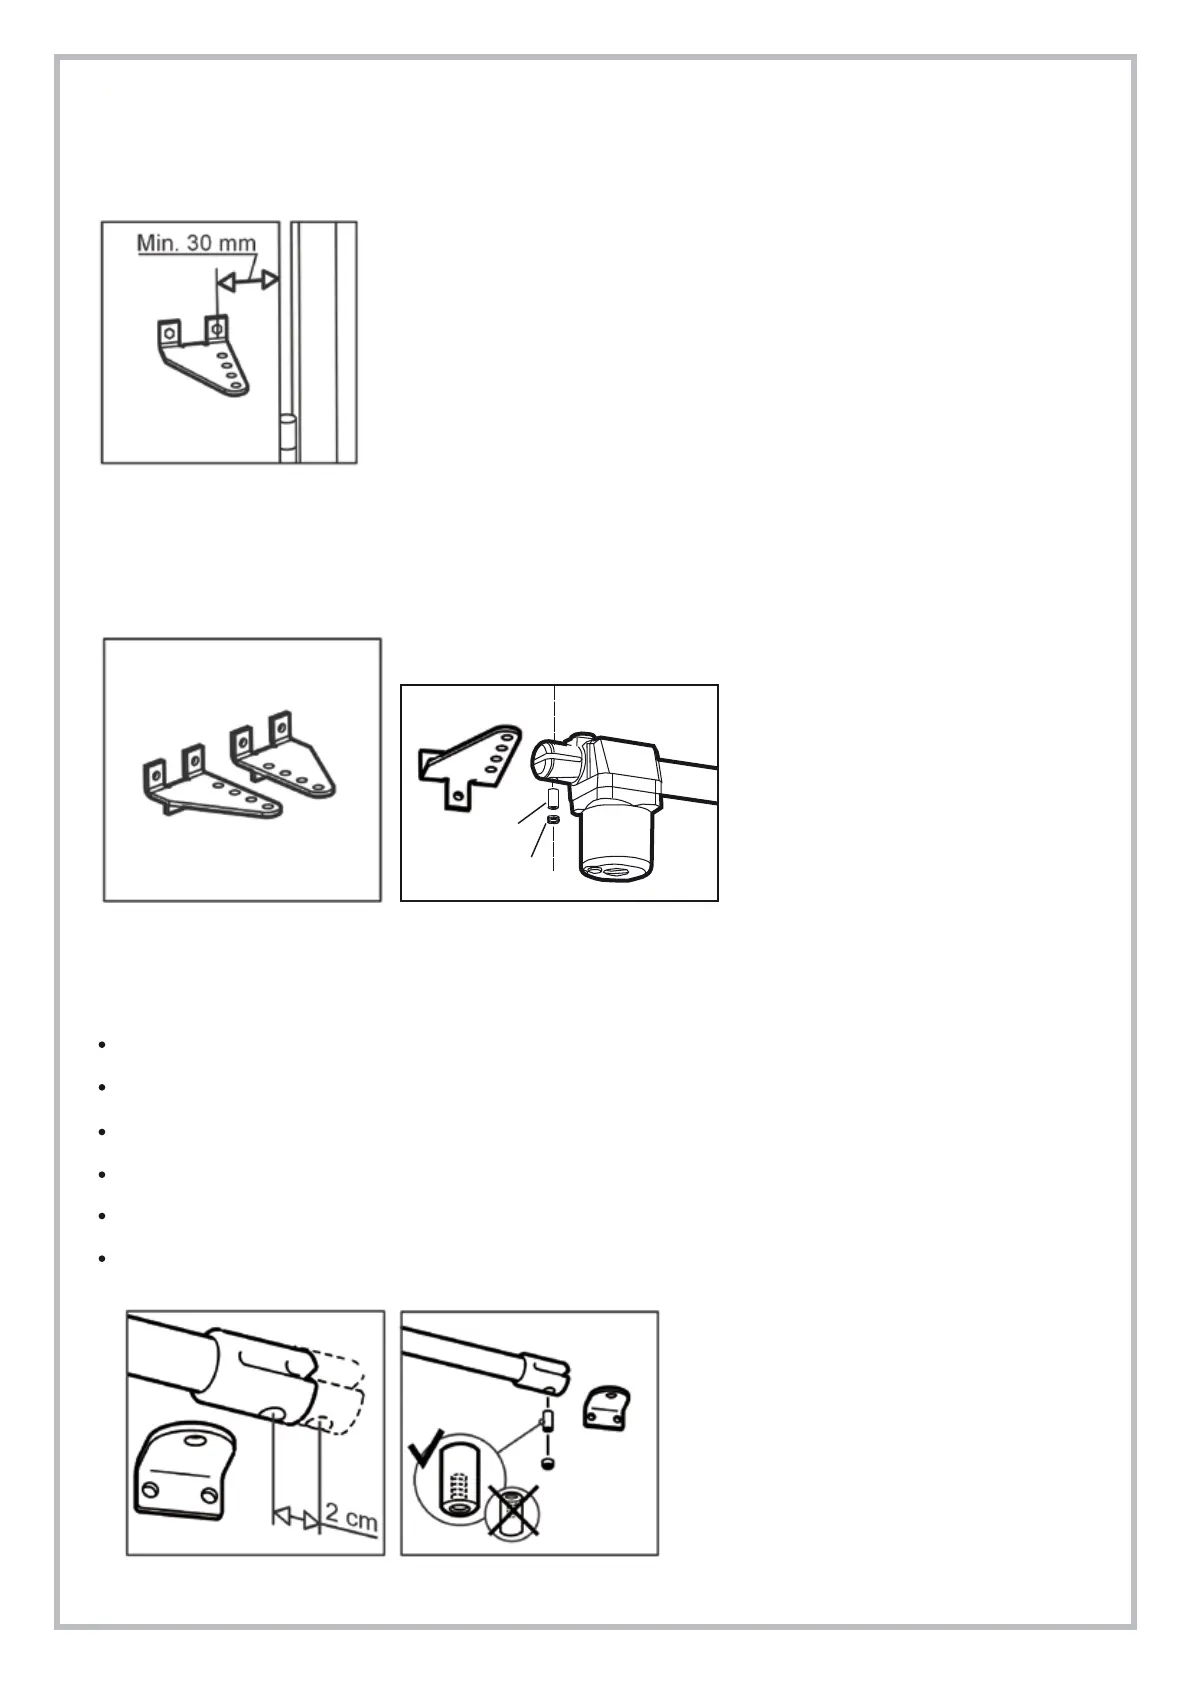
3.4.3. PILLAR BRACKET S1
Anchor the pivot bracket S1 onto the pillar by welding or bolting (Ø 13 mm bolts) , making sure the quotas shown
in the previous table are met. Ensure to keep a minimum distance of 30 mm from the pillar edge as shown in picture H.
In cases of masonry pillars, use chemical or resin to secure bolts or stone (cement) the bracket into position. Brackets S1 as well are supplied in two
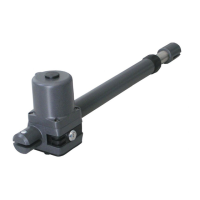
versions, left hand and right hand and match the according motor (see picture I). Fix motor into bracket S1 and place the pivot pin PR1 though the holes.
Keep the pivot pin PR1 oriented downward. See picture L.
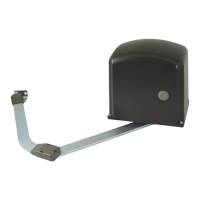
3.4.4. GATE BRACKET S3
To determine the position of bracket S3:
Put the gate in closing position
Release the operator (see paragraph 4)
Extend the arm fully
Turn back the arm 2 cms. This avoids the motor to “leap forward”(pic. M)
Affix the bracket S3 to the motor slot as illustrated in picture M. Place the pivot pin PR1 into the locating hole.
Mount the arm of the motor onto the gate. Ensure the arm is perfectly straight.
Pic. H
Pic. L
oriented
downward
DX
SX
Pic. I
Pic. N
Pic. M
NB.
Check the manual opening of the leaf before
definitively fixing the bracket to make sure the gate
can open fully to your required angle.
 Loading...