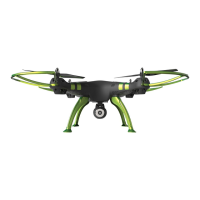
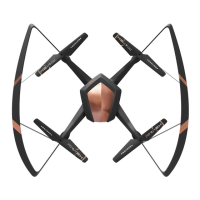
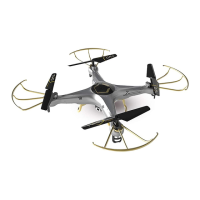
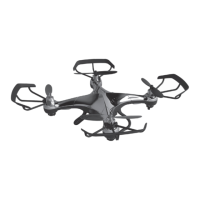
FLYING THE QUADCOPTER
Step 1: Open the battery
cover and insert the
battery into the power port.
Step 2: Close the battery
cover and turn on the
quad-copter.
Step 4: Push the throttle lever to the highest position, and
then pull it back to the lowest position. There will be two
beeps from the transmitter. This shows that the quad-
copter has synced with the remote.
Tips: When syncing your quad-copter keep it
in a horizontal position for stable flight.
1. If the Galileo and the remote do not sync after following the checklist, reverse steps 1 and
3 of the process. Turn the remote and Galileo off. Then, turn on the remote first and then
the Galileo. Follow with Step 4.
2. Turn on the controller; if, after 30 seconds, it has not recognized the drone, turn off the
controller to retry synchronization.
3. If quad-copter’s LED blinks slowly, it means that it has not recognized the controller; please
restart pre-flight procedure.
4. If the Galileo is unsteady in flight, it may not have been able to calibrate horizontally. Power
down both vehicle and remote and restart pre-flight procedure.
Tips: When syncing your quad-copter keep it in a horizontal position for stable flight.
NOTE
3
Step 3: Push the ON/OFF
power switch up.