Tsunami
®
800 and 8000 Series - Hardware Installation Guide 52
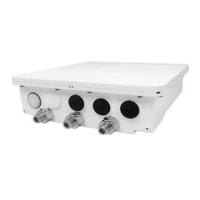
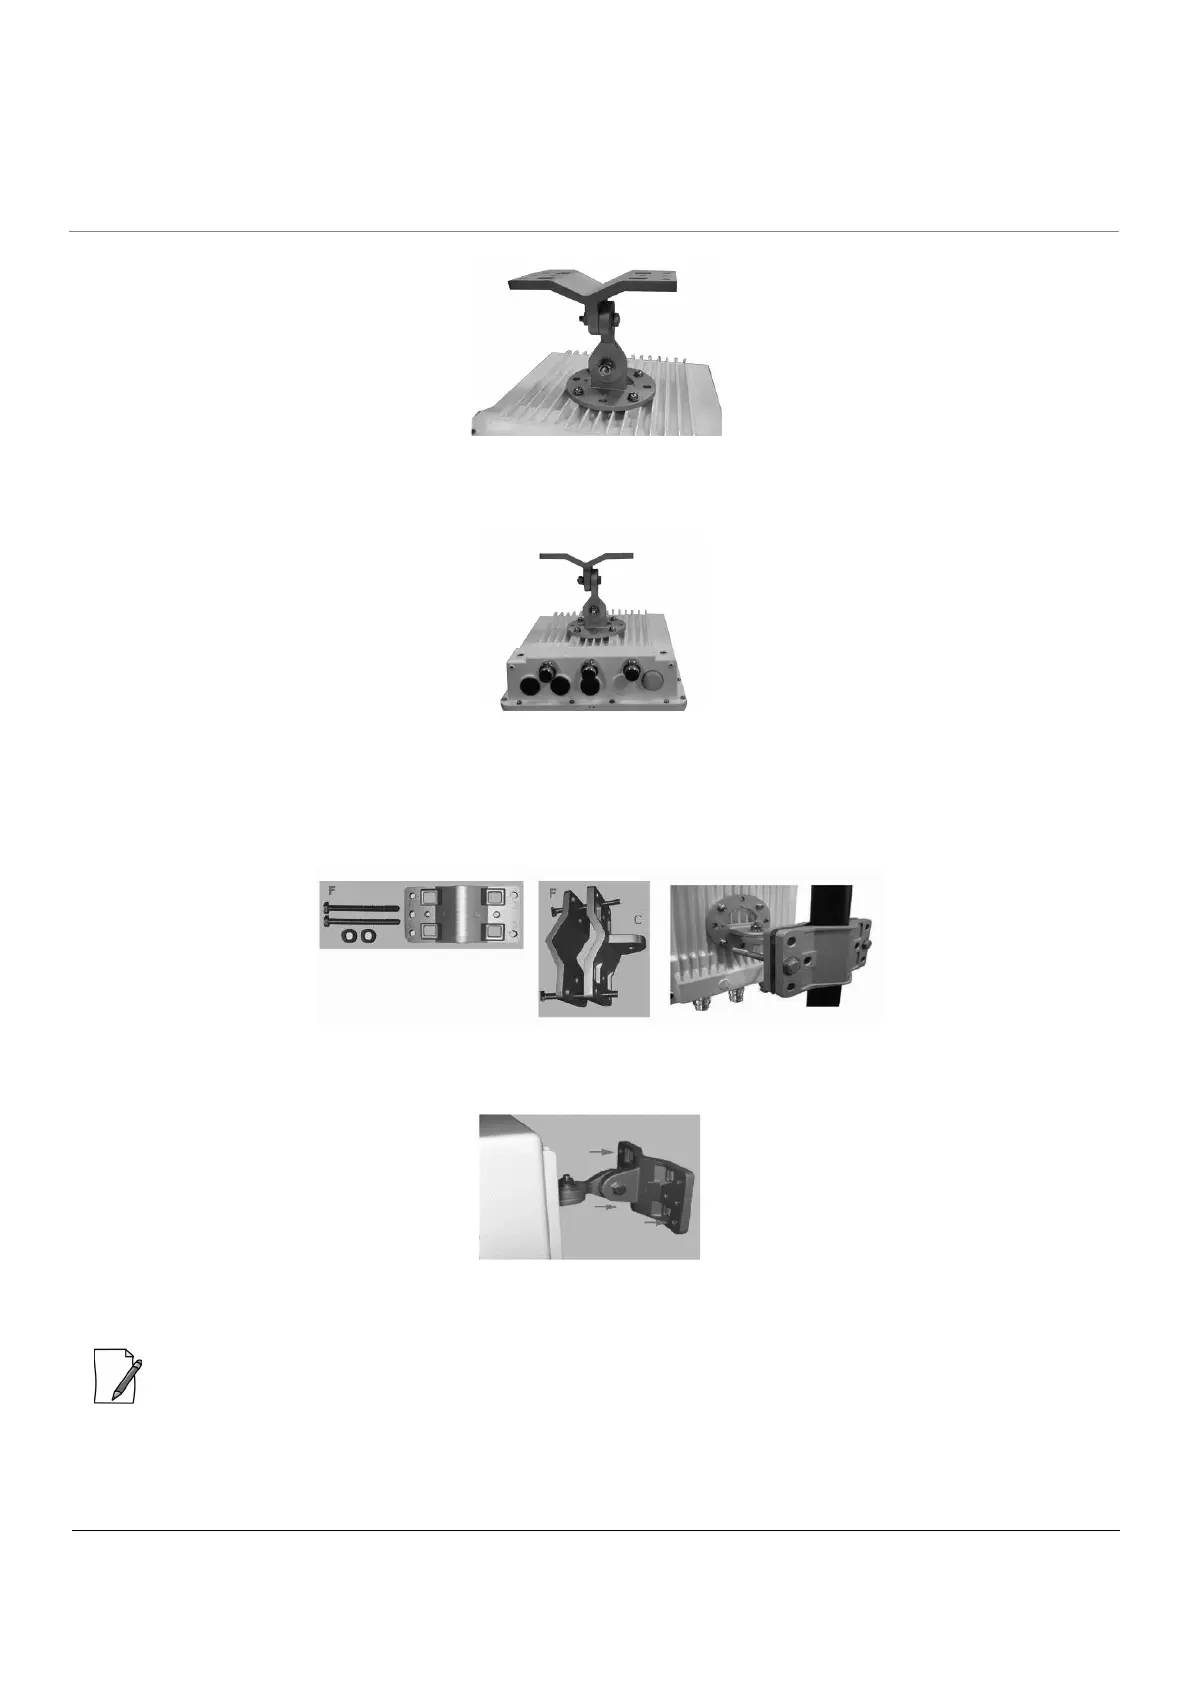
The following figure shows the fully assembled mounting hardware fixed to the device.
Figure 3-5 Assembled Device
Step 7: Mount the Device
1. To pole-mount the device, insert the provided screws and washers through bracket (F). Fasten around the pole to
bracket (C) and secure (Torque 11 N.m/100 in-lbs).
Figure 3-6 Pole Mounting
2. To wall-mount the device, mount the bracket (C) to a wall by using 4 screws (not supplied), as shown:
Figure 3-7 Wall Mounting
Step 8: Plug in the Cables
: Unscrew the sealing cap for installation of the cable.
1. Plug one end of the straight-through Cat5e/Cat6 cable into the Ethernet Port 1 of the device by following the
Weatherproofing steps as explained in Step 5. Connect the other end of the cable into the PWR LAN-OUT port on
the PoE Injector.
 Loading...