Getting Started
1. Assemble all tools listed on page 1 and clear your workspace.
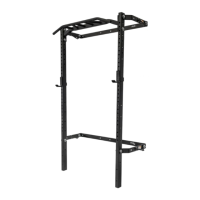
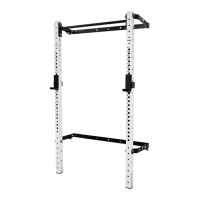
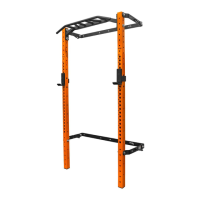
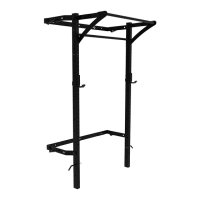
2. Check the stud spacing of your wall: All Profile® Squat Racks are designed to be mounted to
wood studs with standard 12”, 16”, or 24” spacing.
• To mount your rack to a wall with non-standard stud spacing, please use a stringer board. If
you have any questions about the stringer board, please email us at
support@prxperformance.com.
• PRx recommends professional installation for mounting the wall brackets to a block, concrete,
or metal stud wall.
3. Check your wall width: All Profile® Racks mount to 48” spaced studs. Identify the studs you plan
to mount your rack to and ensure you’ll have 32” on either side of your rack to allow space to use
a 20kg barbell.
4. Check your ceiling height: Standard installation is designed for ceilings 108” or taller. If your
ceiling is shorter than 108”, please see page 3 for modifications to your installation. If you have
any questions about the modified install, please email us at support@prxperformance.com.
5. Recruit a work partner to assist with lifting and holding the rack.