ENGLISH
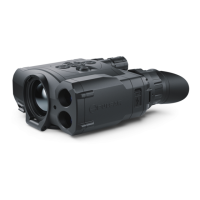
Installing Battery Pack into the Device
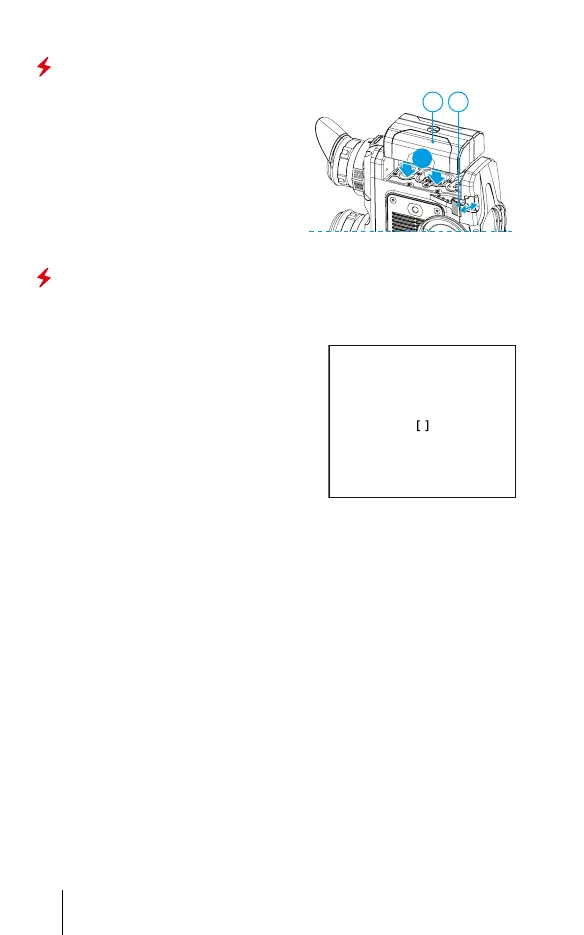
• Lift up the lever (16).
• Remove the battery (9) from the
charging pad.
• Insert the battery (9) as far as it will
go into the slot of the device body
designed for it so that the F part is at
the bottom.
• Lock the battery (9) by lowering the
lever (16).
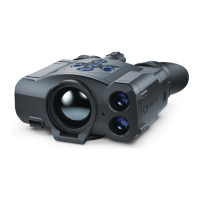
Using Built-in Laser Rangender
• Press the ON/OFF button (1) briey to power the device on.
• Press the UP button (2) briey to start the rangender. The rangender reticle
will appear in the center of the display.
• Place the rangender reticle on the target
to measure the distance.
• Briey press the UP button (2) to measure
the distance.
• The distance in meters (or yards) is
displayed in the upper right corner of the
display.
• --- m appears on the display in the case of
error or failure to measure the distance.
• The rangender will turn off after 3-4 seconds of inactivity. The rangender
reticle and obtained range values in the eld of view will disappear.
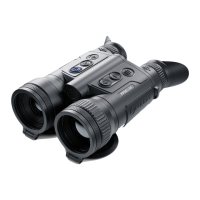
Scan Mode (SCAN)
• Press the ON/OFF button (1) briey to power the device on.
• Briey press the UP button (2) to start the rangender. The rangender
reticle will appear on the display.
• Place the rangender reticle on the measuring target.
• Press and hold down the UP button (2) for 2 seconds to measure the distance
in scan mode. A SCAN message will appear in the upper right corner of the
display.
• The distance value will change in real time depending on the visual target
distance.
• Additional settings of the rangender are in the main menu item (access the
menu by holding down the MENU button (3)).
• Hold down the UP button (2) for 2 seconds to deactivate the Scan Mode.
F
SCAN
125
m
3
 Loading...