ENGLISH
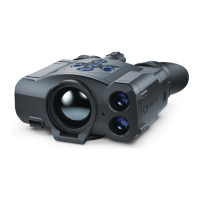
Buttons Operation
Short press Long press
Button ON/OFF (1)
Turning on device / Image
calibration
Turning off device/
display
Record button REC (4)
Video recording on/ pause/
continue recording video/ Take
a photo
Photo mode on/ video
recording off/ video
mode on
Navigation button
UP (2)
Turning on rangender/
measuring distance
Choose color palettes/
SCAN mode On/ Off
MENU button (3)
Access the quick menu /
Conrm selection
Log in/ out main menu
Navigation button
DOWN (5)
Change value of discrete zoom Toggle between
observation modes
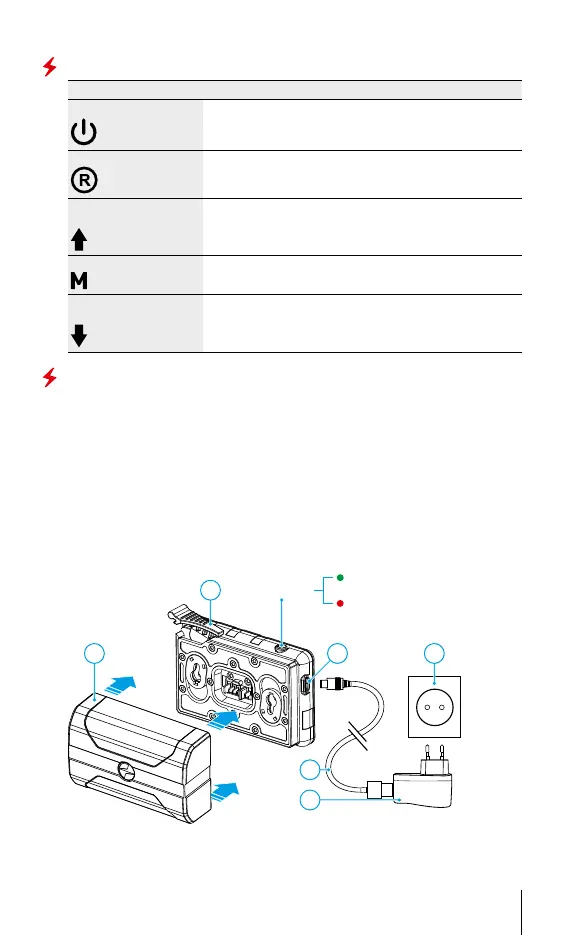
Battery Pack Charging
• Lift up the lever (11) of the charger (9).
• Install the Battery Pack (9) into the charger as far as it can go.
• Lower the lever (11).
• Connect the micro USB plug of the USB cable (12) to the micro USB port (13)
of the charger.
• Connect the other end of the microUSB cable to the mains adapter (14).
• Plug the mains adapter (14) into a 100 - 240 V socket (15).
• Disconnect the charger from the mains after the battery is fully charged
(green LED light stays on continuously).
13 15
11
9
14
12
LED Indicator
continuously – battery is full
Blinking red LED light –
battery is empty
Micro
USB port
Network
Lever
USB cable
Battery Pack
2
 Loading...