- 8 -
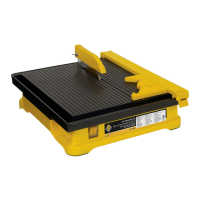
MMAAKKIINNGG AA BBEEVVEELL // MMIITTEERR CCUUTT
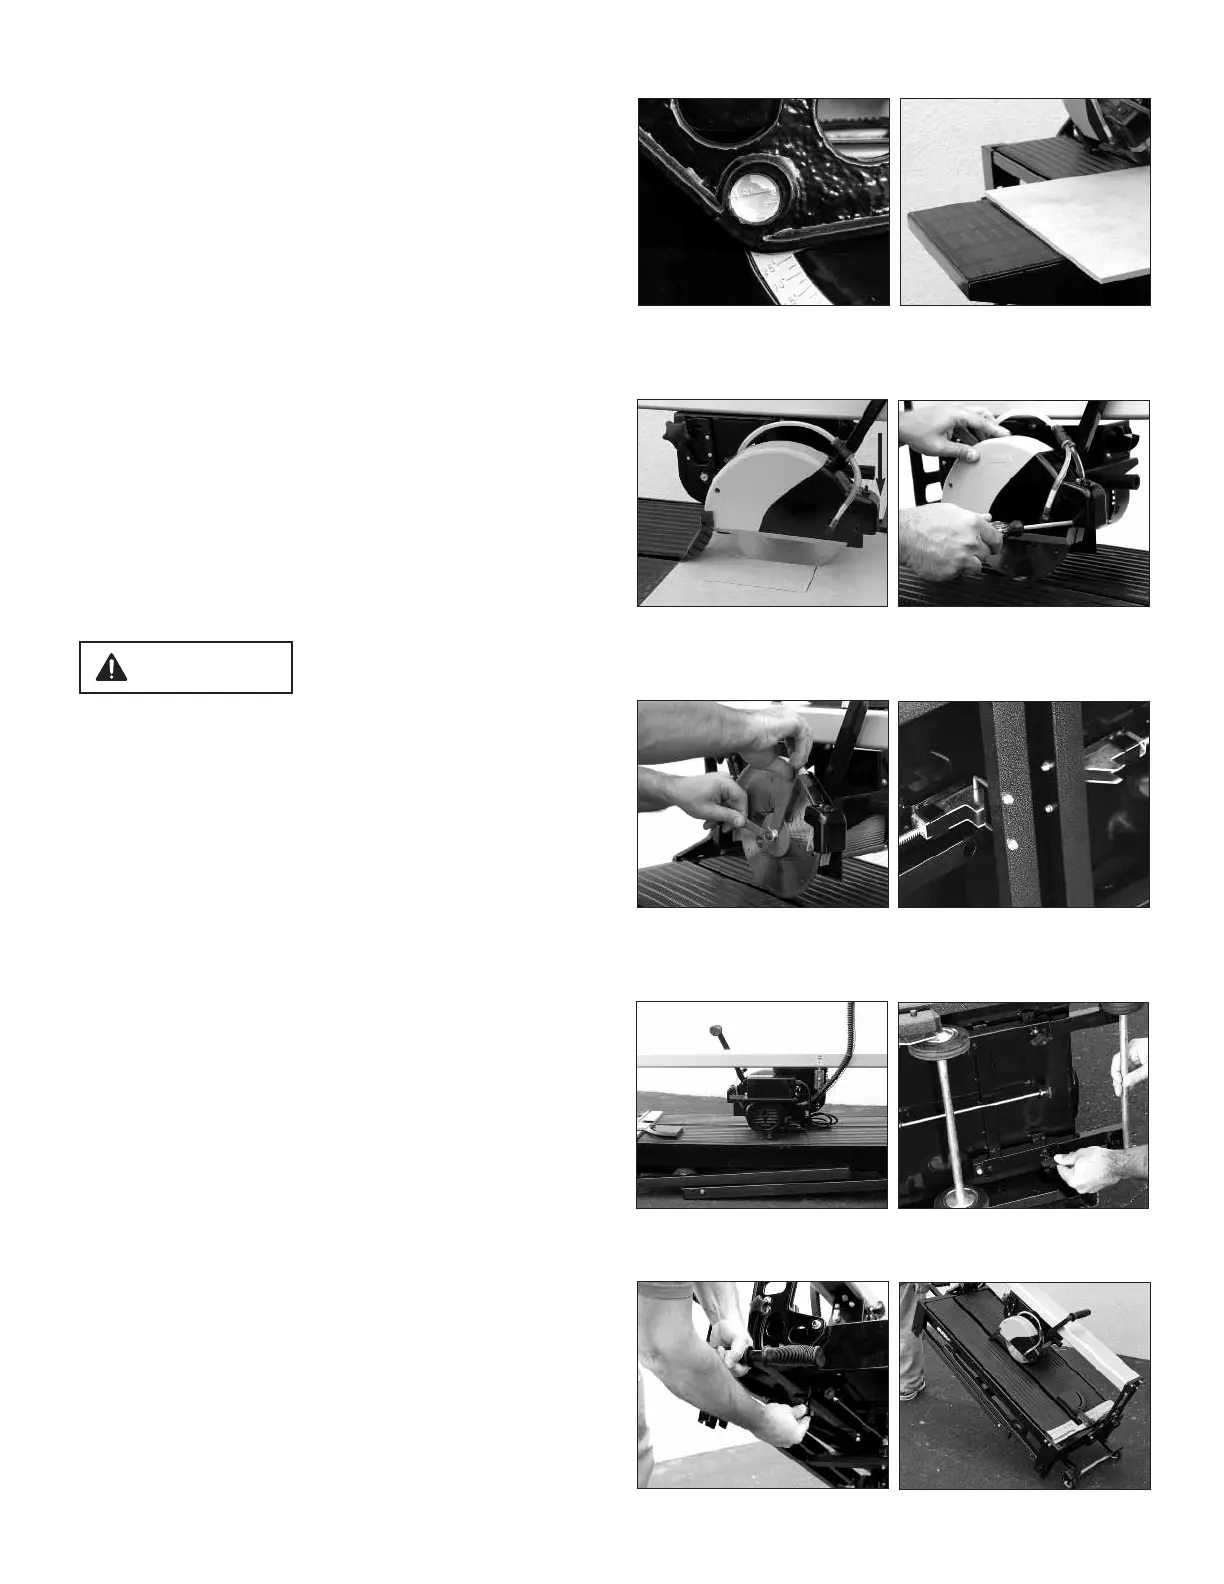
1. Loosen the knobs on each end of saw bridge (Fig. 18).
2. Tilt the bridge to the desired bevel/miter angle 0º to 45º,
shown on the bevel/miter guide (Fig. 19) at each end of
the saw. Tighten the knobs and follow the same
procedures as you would for a straight cut.
NNoottee:: iiff tthhee iitteemm yyoouu aarree ccuuttttiinngg iiss ttoooo wwiiddee ttoo ssiitt ffiirrmmllyy oonn tthhee mmaaiinn
ttaabbllee,, uussee tthhee ssuupppplliieedd eexxtteennssiioonn tthhaatt eeaassiillyy aattttaacchheess ttoo tthhee ssiiddee ooff
tthhee ssaaww ttaabbllee ffrraammee ((FFiigg.. 2200)) ttoo ssuuppppoorrtt ttiillee wwhhiillee ccuuttttiinngg.. TThhee
eexxtteennssiioonn ccaann bbee iinnssttaalllleedd oonn eeiitthheerr ssiiddee ooff tthhee mmaaiinn ffrraammee
ddeeppeennddiinngg oonn tthhee uusseerr’’ss pprreeffeerreennccee ffoorr ssuuppppoorrttiinngg tthhee ttiillee oorr ssllaabb..
MMAAKKIINNGG AA PPLLUUNNGGEE CCUUTT
1.
Loosen knob located above blade guard, allowing the
movement of the motor housing. The motor housing
will rise. (Fig. 14)
2. Position the tile being cut against the angle guide and
the rip fence. Mark the tile with a grease pencil marking
the cutting path. Press the handle down carefully for
plunge cutting. DO NOT force the motor to cut too
quickly (Fig. 21).
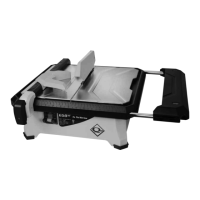
IINNSSTTAALLLLIINNGG // RREEPPLLAACCIINNGG TTHHEE BBLLAADDEE
Disconnect the power supply before
installing or making adjustments to
the blade.
1. CHOICE OF
THE SAW BLADE
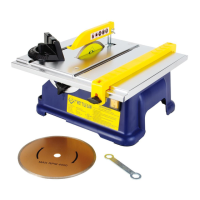
Only use diamond blades with diameter of 8 inches.
The arbor of the blade must be 5/8". This saw comes
equipped with a high quality QEP Black Widow
TM
blade
(#6-8008BW), specially designed for the fast cutting of
tile, including porcelain.
2. REPLACING THE SAW BLADE
A. First, remove the blade guard by removing
the three securing screws (Fig. 22).
B. Using the hexagonal wrench to hold the
blade securing nut, and using the other
spanner wrench provided to hold shaft.
Loosen the nut (Fig. 23).
C. Ensure that the shaft and flanges are clean
and re-fit the blade. Directional arrows on
blade MUST line up with directional arrow
on blade guard.
D. Replace the flange back, and adjust the blade
to make certain that the blade is secure and
well-seated in flange.
E. Replace and secure the lock-nut tightly.
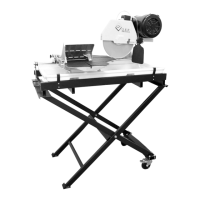
TTRRAANNSSPPOORRTTIINNGG TTHHEE SSAAWW
This machine is equipped with two sets of wheel systems
for easy transport from car to job site and for mobility
once on the job site.
Note: Before moving the saw, the water should be drained out of the
water tray.
• For long distance moves, the upper wheel system can
be used.
1. Make sure that the water tray is empty. Fold up legs as
shown, making certain that the legs are secured by the
brackets under the saw. (Fig. 24 and 25)
FFiigguurree 2233
FFiigguurree 2244
FFiigguurree 2211
FFiigguurree 2222
FFiigguurree 1199
FFiigguurree 2200
FFiigguurree 2255
FFiigguurree 2266
FFiigguurree 2277
FFiigguurree 2288
WARNING!